
On the Employees page you will find all colleagues with their master data — department, position, personnel number, contact details. Clicking a row opens the detail manager with all its tabs, from master data and activities through the employee profile to the user account and permission groups. This is where you maintain who is recorded as an employee in teamspace at all.
The employee list
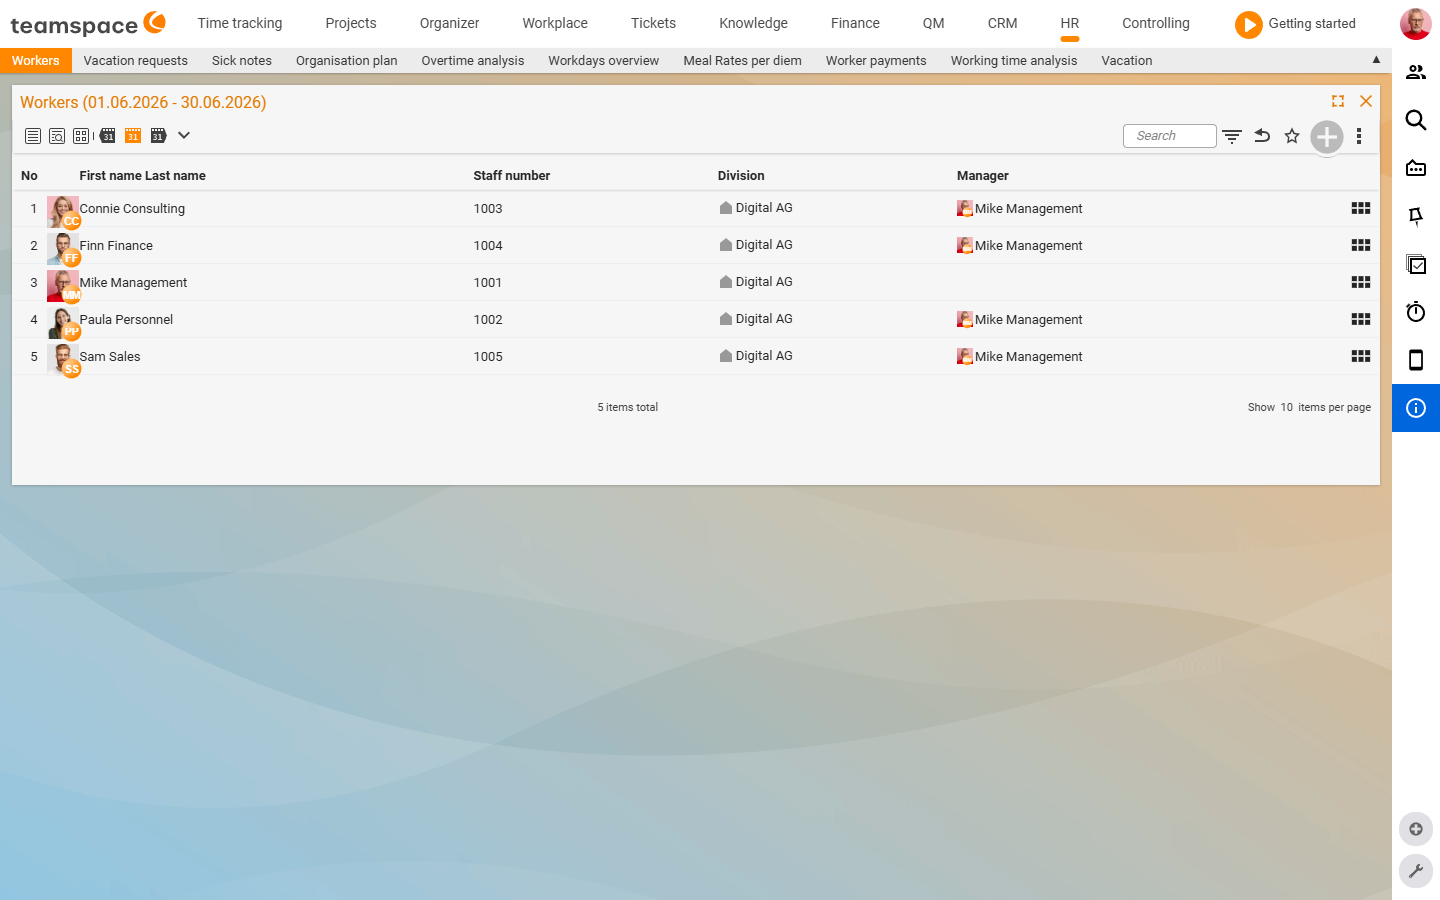
In the view header the list is called Employee overview. It has the columns No, First name, Last name, Personnel number, Department and Direct line manager.
In the toolbar at the top sit the filter switches: Analysis, Hourly rates, Working hours, Overtime, Appraisal meeting. They turn on additional columns — you then see, for example, the current hourly rate or the overtime balance directly in the list. What you see depends on your permissions: anyone who is only authorised for a subgroup sees only those colleagues.
See data at a given point in time
Use the month/date filter to change the effective date. The view header adapts: Employee overview (April), Employee overview (May) and so on. This lets you see contract data, hourly rates and sickness reports exactly as at the day that interests you — for example for an analysis at the turn of the year. Use the three-dots menu at the top right to show additional columns (e.g. Sickness report) and export the filtered list to Excel.
The detail manager — the contact manager
Clicking a row opens the detail manager. The left sidebar shows a record card with name, salutation and position, followed by address, telephone and email, the Assignments accordion (with the organisation), Service note and, right at the bottom, the Actions section with the most common actions plus the Show all actions link.
In the row of tabs at the top you have: Overview, Master data, Activities ▼, Employees, Profile, HR ▼, User account, User groups, Alarms, Files, External access. How the three data layers (contact, employee, user) relate to each other is explained in the HR concepts.
Master data
The Master data tab contains the data the employee has as a contact — it is also visible in the CRM contact list. The accordion boxes are called, among others, Contact (salutation, gender, first name, last name, note), Organisational aspects, Address, telephone and email, Statistics and classifications, Service note, Assignments and settings.
This is where company-wide relevant data sits — company email, work telephone, business address. Private data such as a private telephone number or home address does not belong here, but in the Employees tab. The mandatory field is Last name*. Buttons at the foot of the dialog: Save, Save and close, Close.
Activities
In the Activities ▼ drop-down you see everything that has happened in teamspace involving this employee — grouped into Activities (calls, notes, follow-ups), Times (booked project and attendance times), Appointments, Tickets, Documents and Sales opportunities. Each sub-list behaves like the normal module list — with filters, column selection and a three-dots menu.
Employees — the non-time-dependent data
The Employees tab is the place for employee-specific settings that are not time-dependent and do not affect the user account.

This is where you define:
- External employee: a toggle that flags the colleague as external (freelancer, subcontractor) — it affects filters and analyses.
- Private data: private telephone number, home address and other data that should not end up in the contact master data.
- Retroactive change in days: how many days back may the employee change times? A value of
5means: bookings from the last five days can still be corrected, older ones can no longer be. - Deputy rules: a general deputy plus area-specific deputies (for example for leave approval). Which deputy areas appear at all is controlled by the configuration — see HR permissions & data protection.
In the Time tracking section of the same tab you define which areas and categories the employee may book times to, which internal hourly rate applies and which cost types they can choose for paying out overtime.
HR — the time-dependent data
The HR ▼ drop-down leads to the employee’s time-dependent data. This is where contract data, hourly rates, salary, leave account and overtime account sit. Analysis shows all changes on a timeline — your entry point when you make a contract change. The details are on the pages Contract data & working hours and Hourly rates, salaries & remuneration.
Assigned documents is where HR documents are attached to the employee — contract amendments, non-disclosure agreements, signed employment contracts. You configure the document types centrally; then, per employee, you create the actual entries, with a date and a file attachment.
User account and user groups
In the User account tab you manage the employee’s login page — user name, password, time zone, date format, currency, language, display mode. The employee can also change much of this themselves if they have the rights. In the User groups tab you see all groups with a tick for the assigned ones; you change the membership directly here. Which groups exist and what they may do is managed in configuration mode under Users and rights → Permission groups.
Create a new employee
New employees are created by the HR department. Use the Send access details action to send the colleague their login details. The User account tab is rather technical in nature here — language and preferences can be adjusted by the user themselves later.
Common questions & needs
| You want to … | How to |
|---|---|
| See the current hourly rate of all employees | Turn on the Hourly rates filter switch in the toolbar – the column appears in the list. |
| Check data at a past effective date | Use the month filter to select the month you want; the view header shows e.g. Employee overview (April). |
| Record a home address instead of the business address | Enter it under the private data in the Employees tab – not in Master data. |
| Flag a freelancer | Activate the External employee toggle in the Employees tab. |
| Limit how far back someone may change times | Set the Retroactive change in days field in the Employees tab. |
| Export the list to Excel | Three-dots menu at the top right → Excel; this exports the currently filtered list. |