


There are several ways to store mail signatures in the system. Depending on the use case, different versions can be used in mails and tickets. The following describes where signatures can be entered and how they come into play.
If you already use the system and want to revise or update signatures, it is important that you first check where your signatures are currently maintained. To do so, you should first check the settings in your ticket channels.
The channel signature
The ticket channel is the most important place for setting up a mail signature. You find the relevant field under Configuration > Tickets > [select channel] > Content / Autoreply > Mail signature. Here a signature can be entered that is then used automatically by all users of the channel. There are various ways to build a signature. It is important that the signature fits regardless of which user in a channel sends a mail. Often great value is also placed on signatures being built uniformly and containing fixed information.
Three approaches can be useful when building a signature.
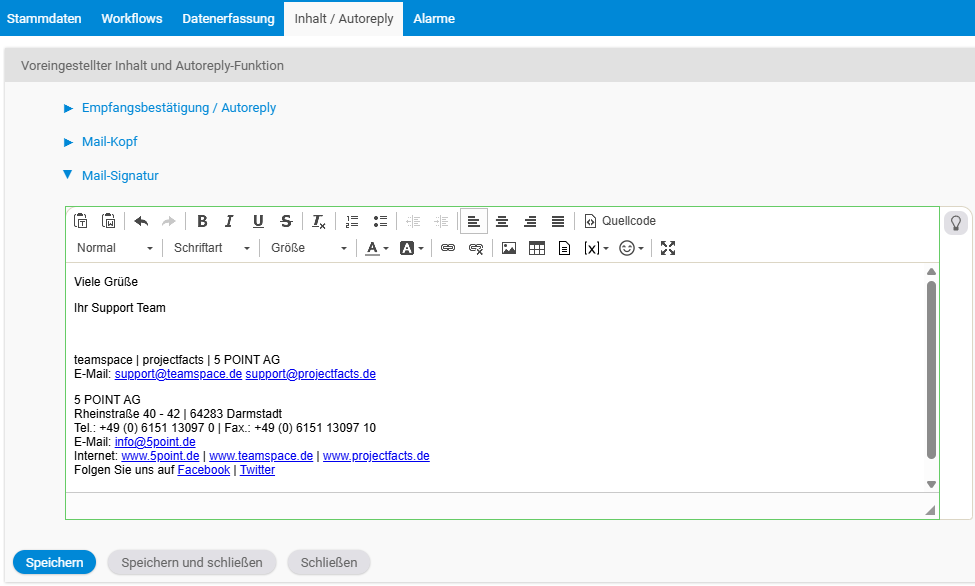
The universal signature
You can define a general signature that fits regardless of the user. To do so, you leave out user-specific information. This ensures that all outgoing mails carry a uniform signature.
The signature with personal elements
If a signature is wanted whose content should be largely predefined but should still contain individual information, you can achieve this via replacement fields. There are various values here that are automatically converted by the system when a mail is sent. This lets you, for example, flexibly insert the name of the user who sends the mail into the signature.
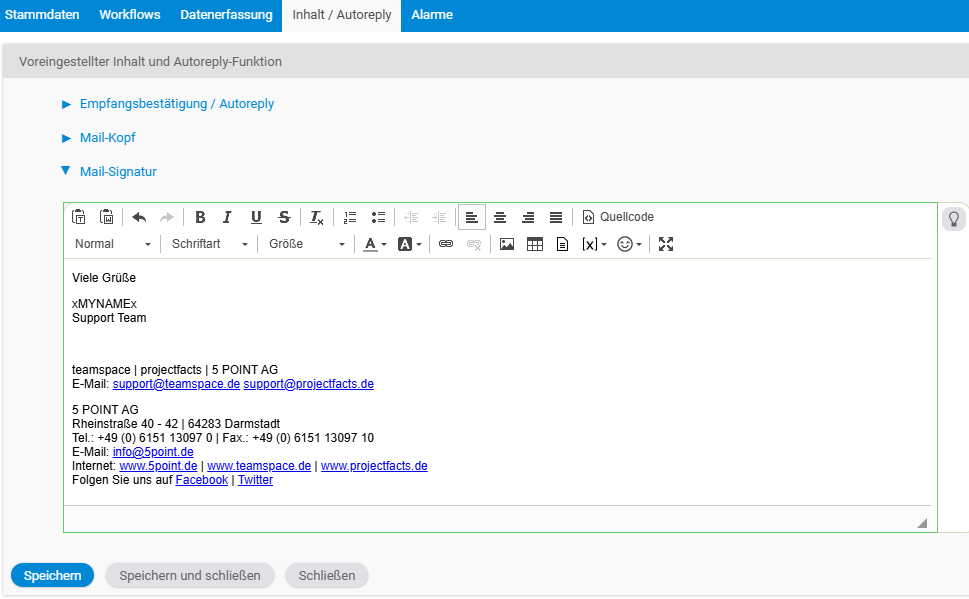
Many further pieces of information can also be inserted automatically. The replacement fields can be accessed via the toolbar of the text field. You find them under the following icon:

The individual signature
There is also the option of letting users use their own signature. In the Mail signature field in the channel, you then enter the following:
xDS_WORKERx.xEMAILSIGNATURExalternatively this also works:
xMYSIGNATUREx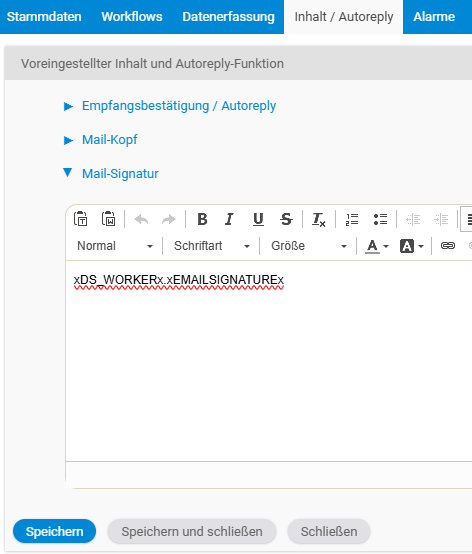
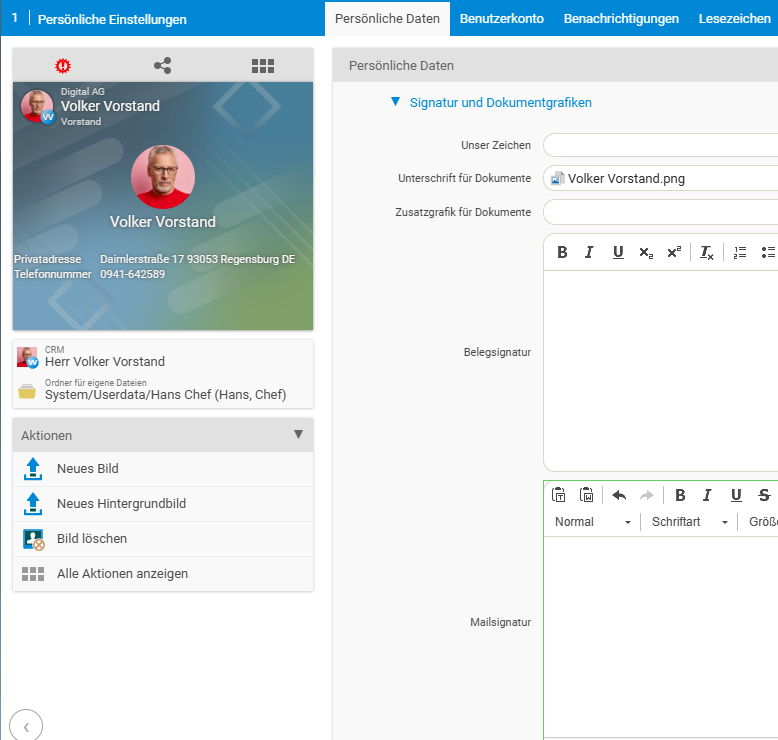
This replacement field points to a special field that each employee can fill in for themselves in the personal settings. To adjust it, you click your own profile picture (or the silhouette, if no picture is set) in the top-right corner. In the menu that follows you find the Personal settings. Here you switch to the Personal data tab. Under the Signature and document graphics section there is, here too, a Mail signature field. Here employees can enter a signature that is then retrieved via the replacement field xDS_WORKERx.xEMAILSIGNATUREx mentioned above. This way users can manage their signature independently. But it also means that the signatures may not share a uniform structure among each other.
Related topics
- Connect mail accounts Configuration Configuration
- Introduction to ticketing Ticketing Concept