
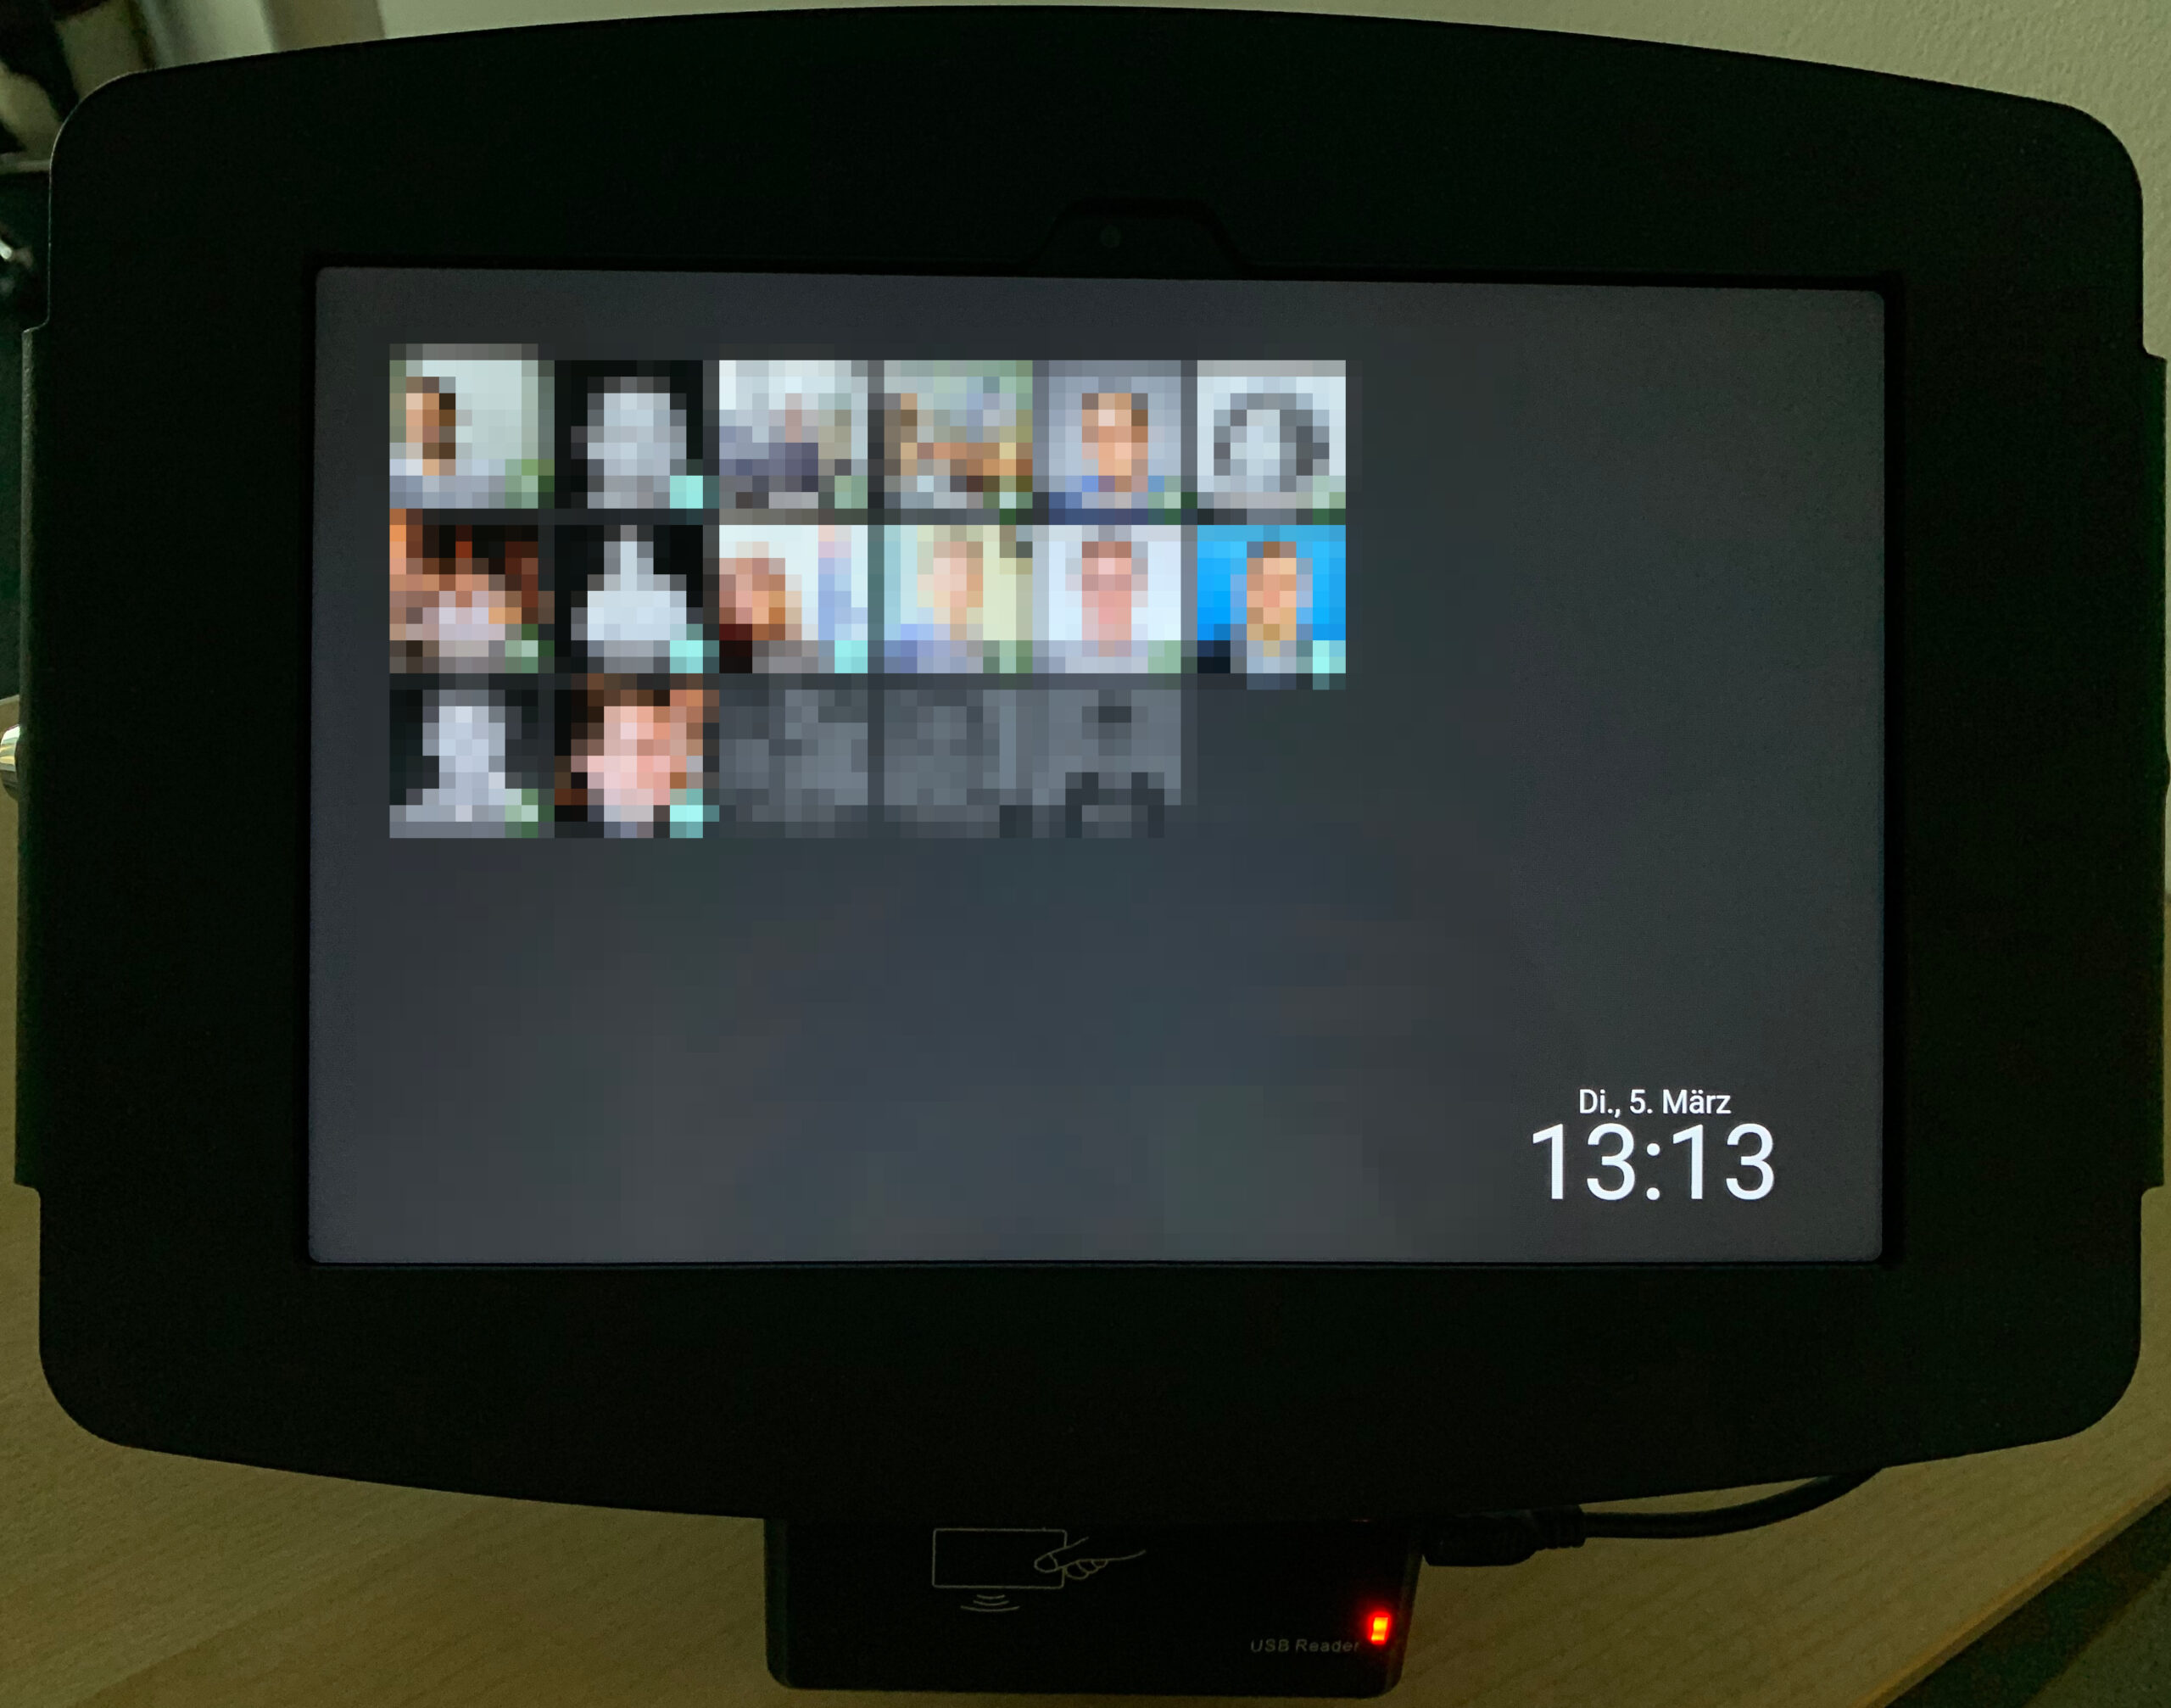
This guide presents an affordable solution for a check-in/out terminal. From standard hardware you build a sturdy tablet terminal with an RFID reader, at which your staff can clock in and out using a transponder.
Hardware required
- Space Kiosk Galaxy Tab with enclosure for Galaxy Tab A8 10.5″: Click here
- Samsung Galaxy Tab A8 10.5″: Click here
- USB-C right-angle cable: Click here
- USB-C dongle: Click here
- RFID reader: Click here
- RFID transponder: Click here
- Self-adhesive cable ties: Click here
- Hook-and-loop tape: Click here
Cost breakdown
Prices as of 5 March 2024. Prices may vary.
| Component | Price |
|---|---|
| Space Kiosk Galaxy Tab with enclosure | €139.90 |
| Samsung Galaxy Tab A8 10.5″ | €179.00 |
| USB-C right-angle cable | €9.99 |
| USB-C dongle | €21.99 |
| RFID reader | €11.99 |
| RFID transponder | €8.23 |
| Self-adhesive cable ties | €6.99 |
| Hook-and-loop tape | €8.99 |
| Total | €387.08 |
Assembly
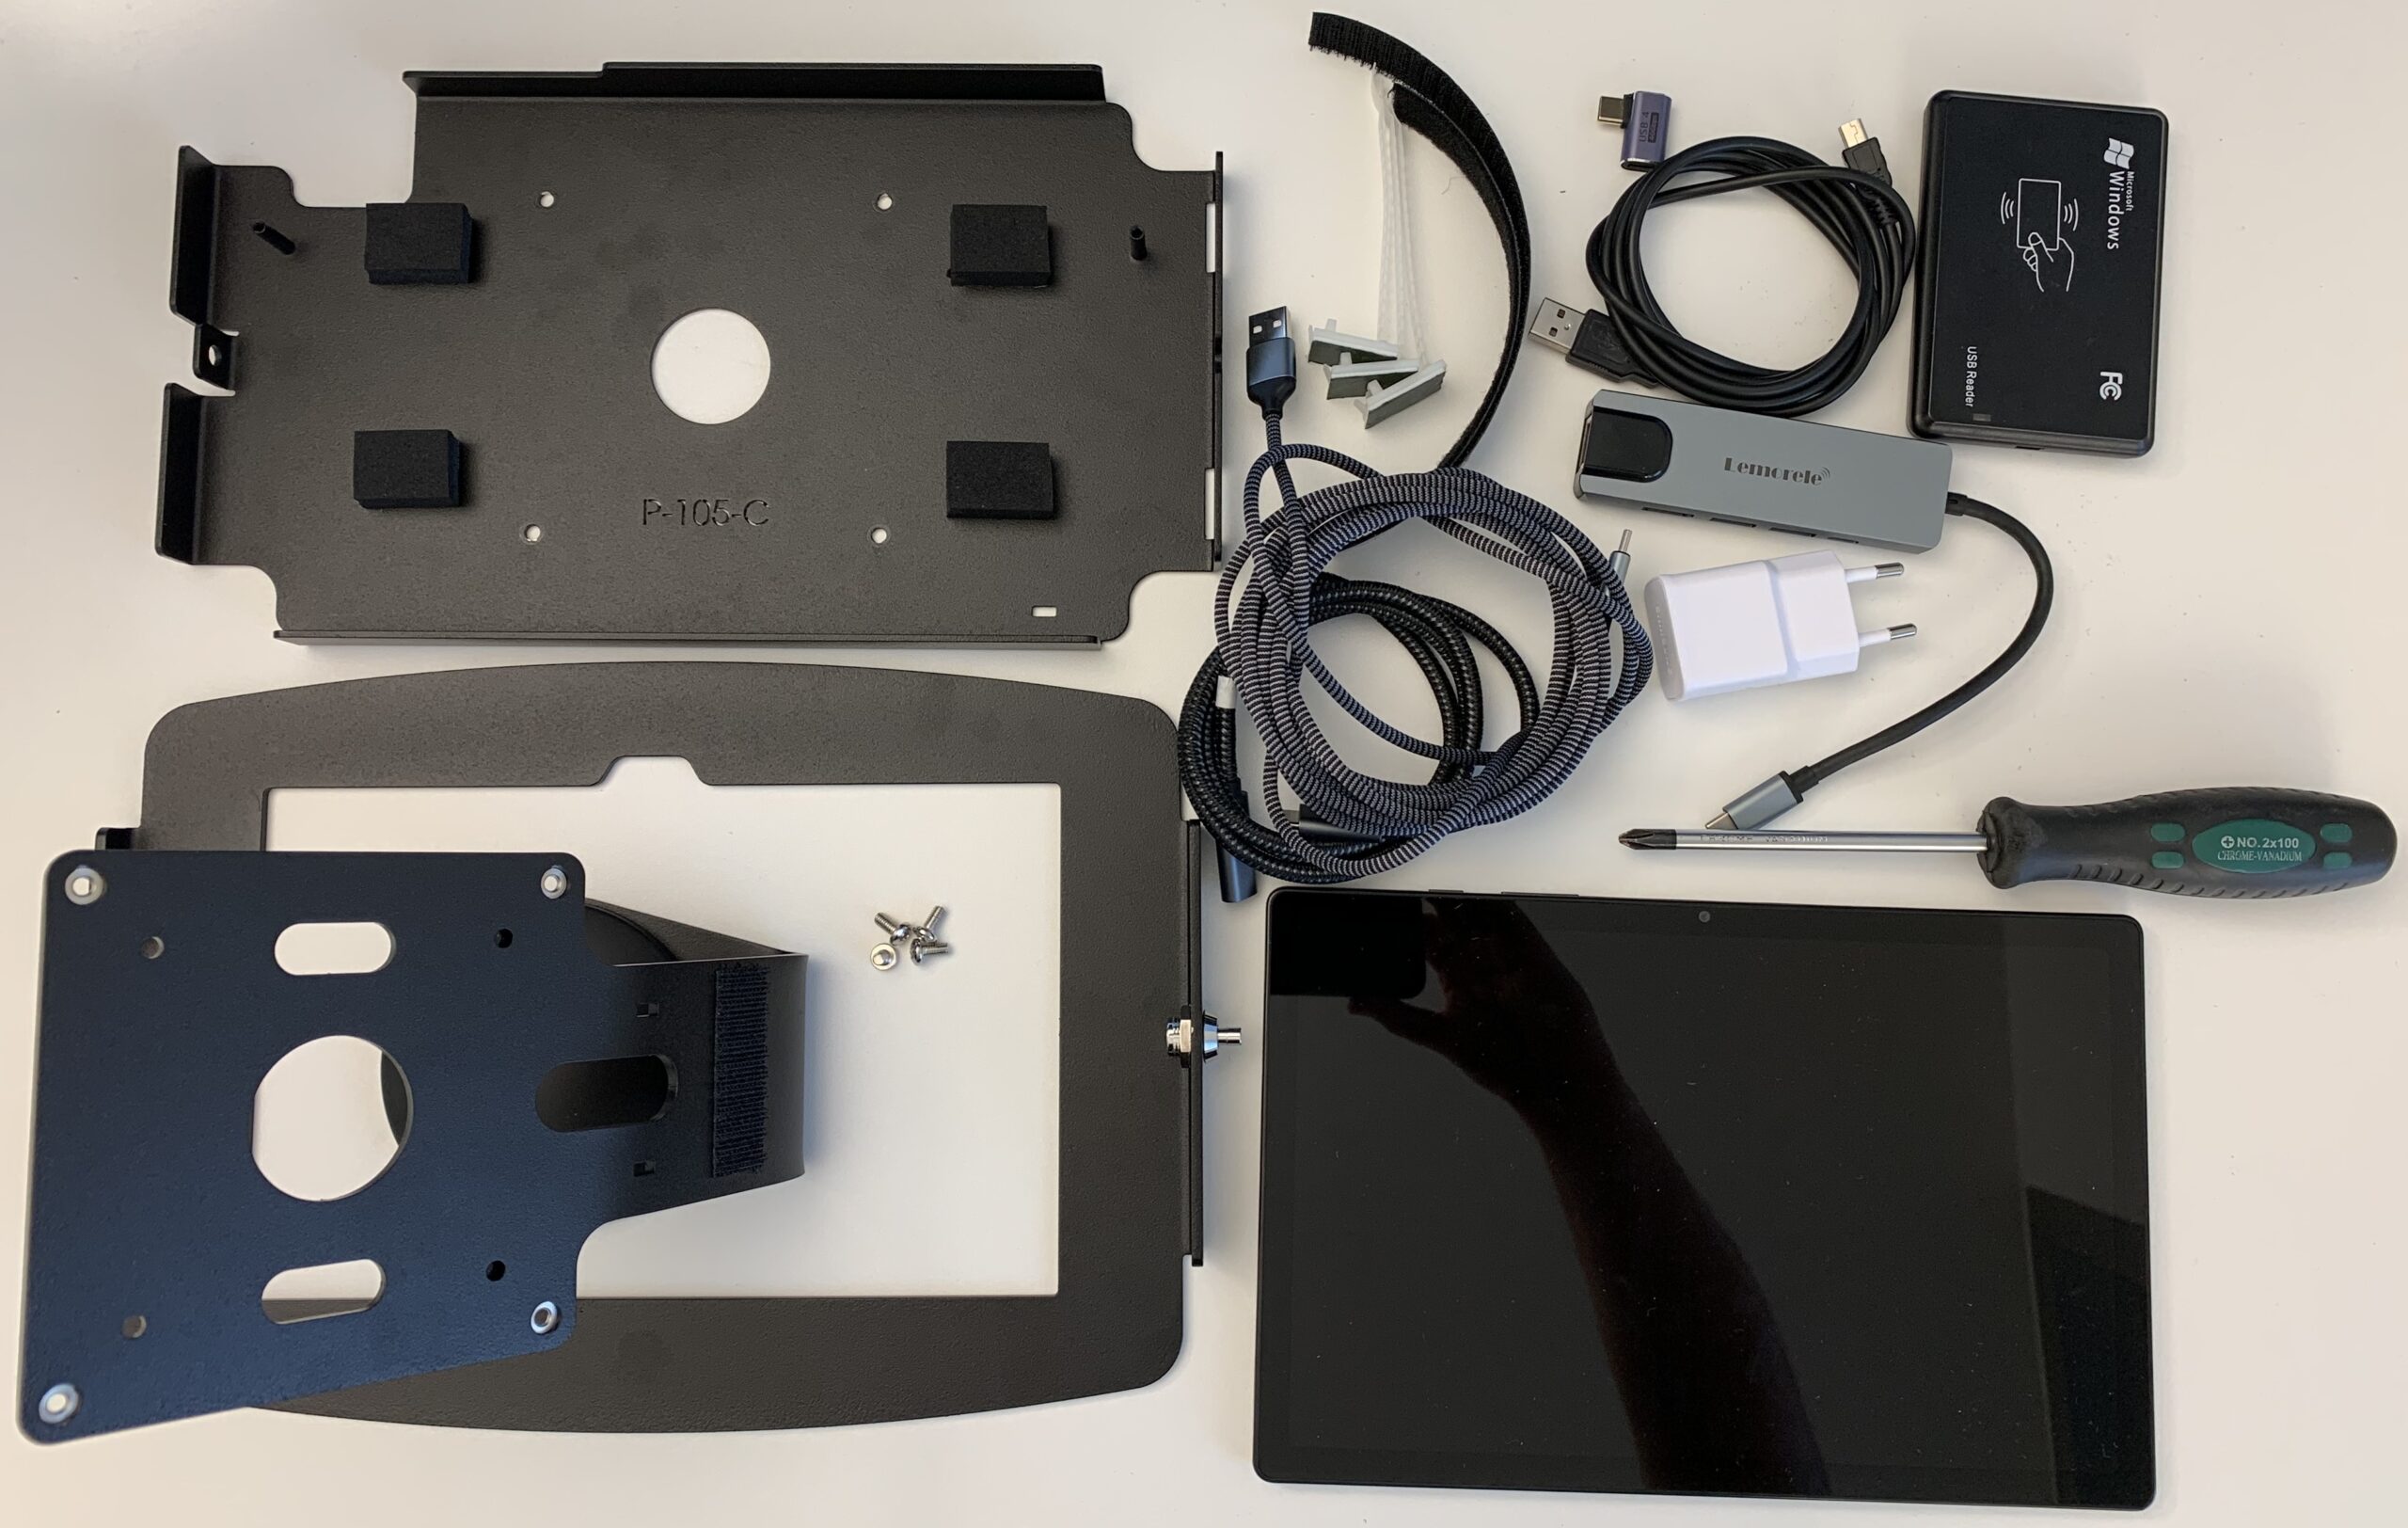
The following components are needed for the assembly:
- Space Kiosk enclosure
- Samsung Galaxy Tab A8 10.5″
- USB-C right-angle cable
- USB-C dongle
- RFID reader
- 3 self-adhesive cable ties
- Hook-and-loop tape
- Screwdriver
The instructions for the enclosure can be found here.
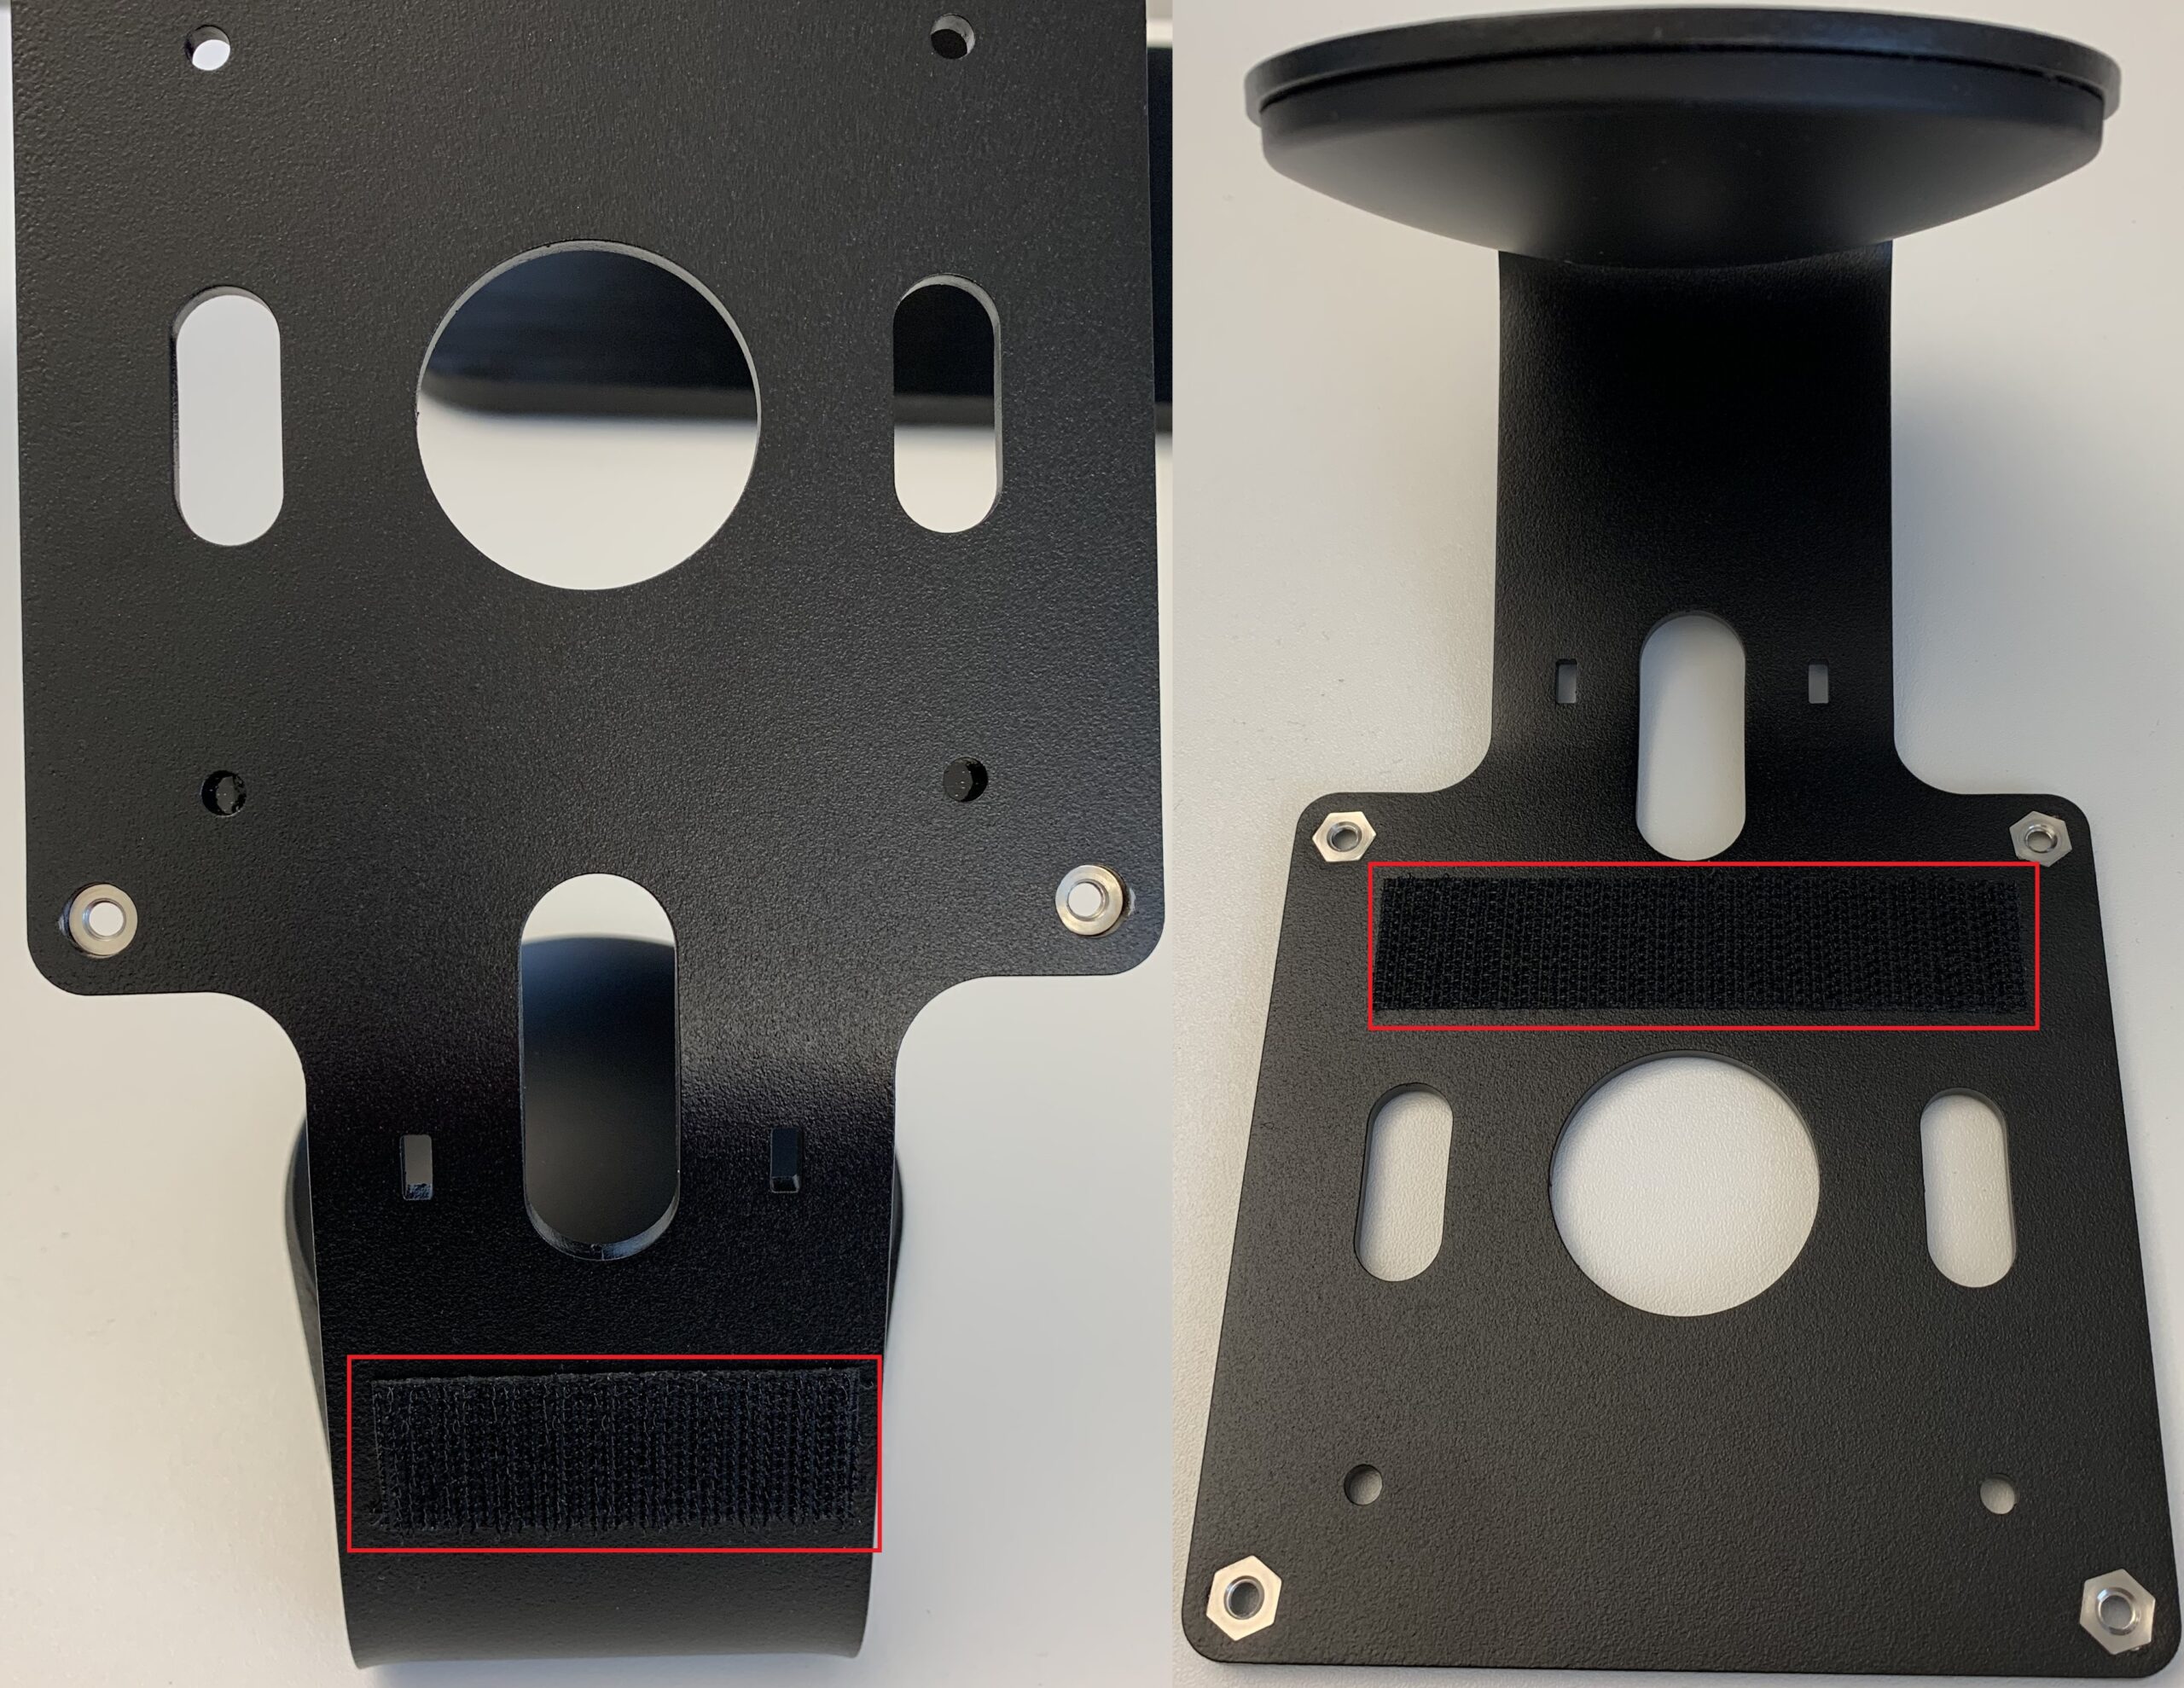
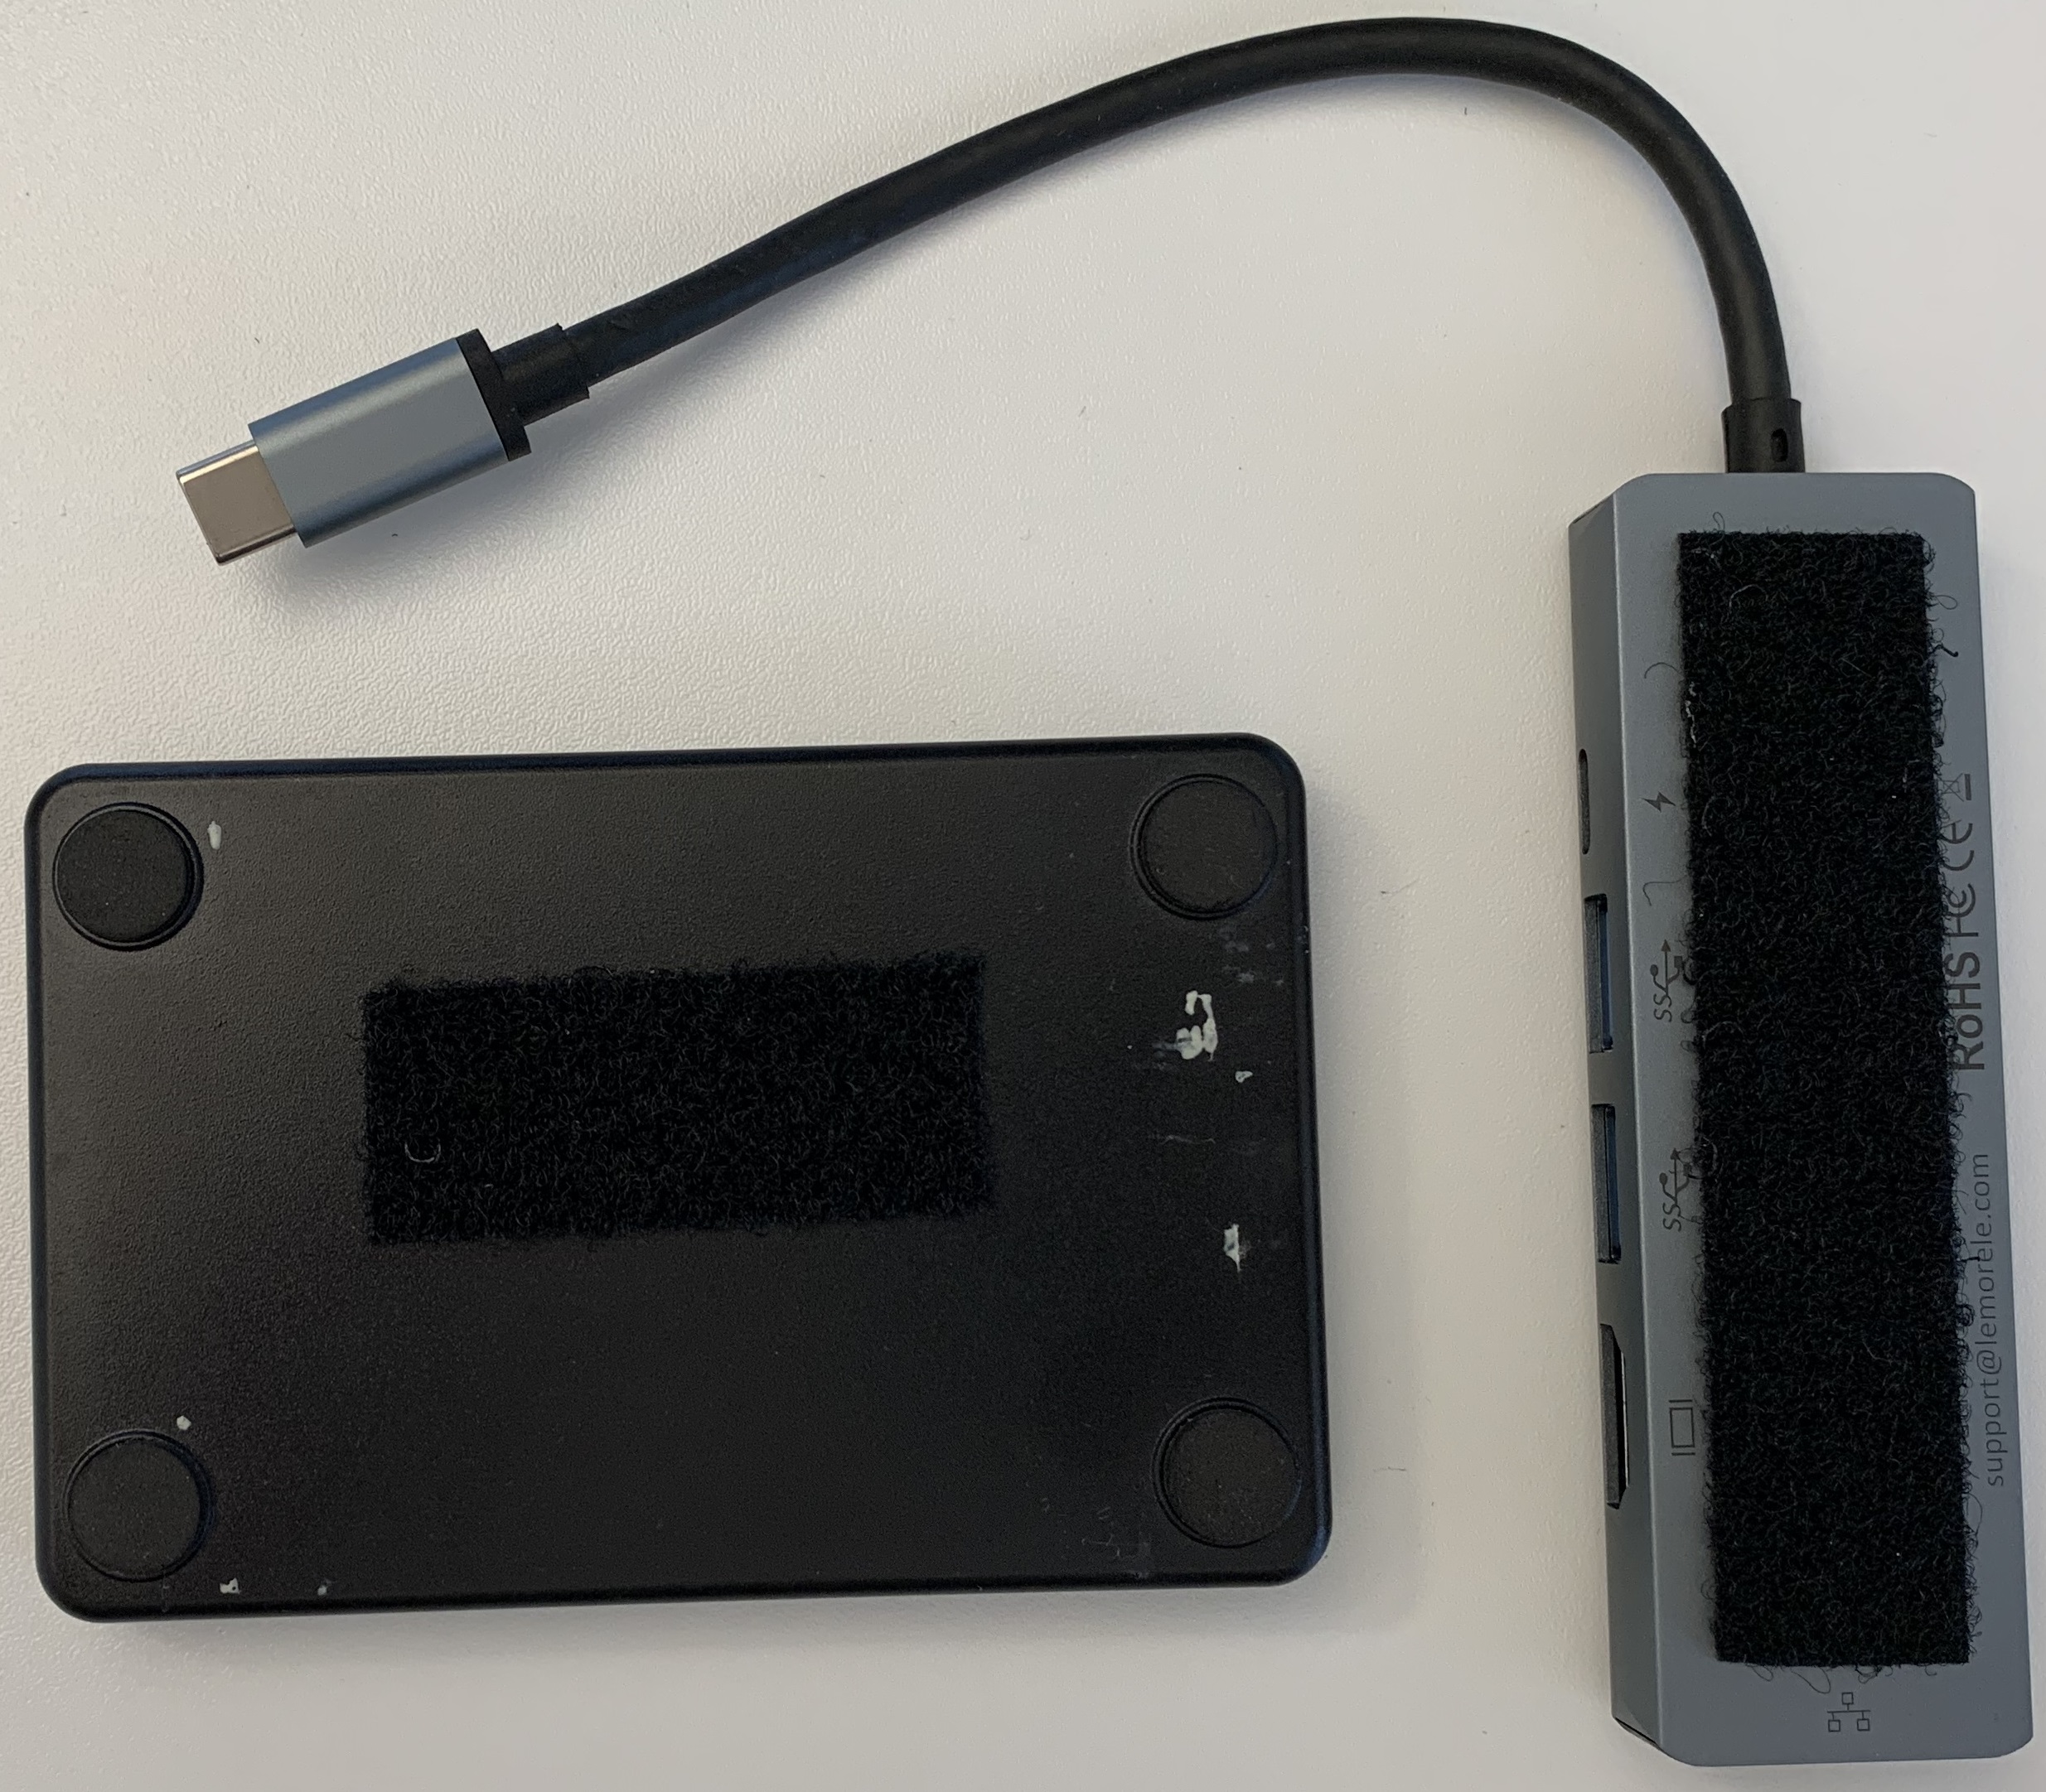
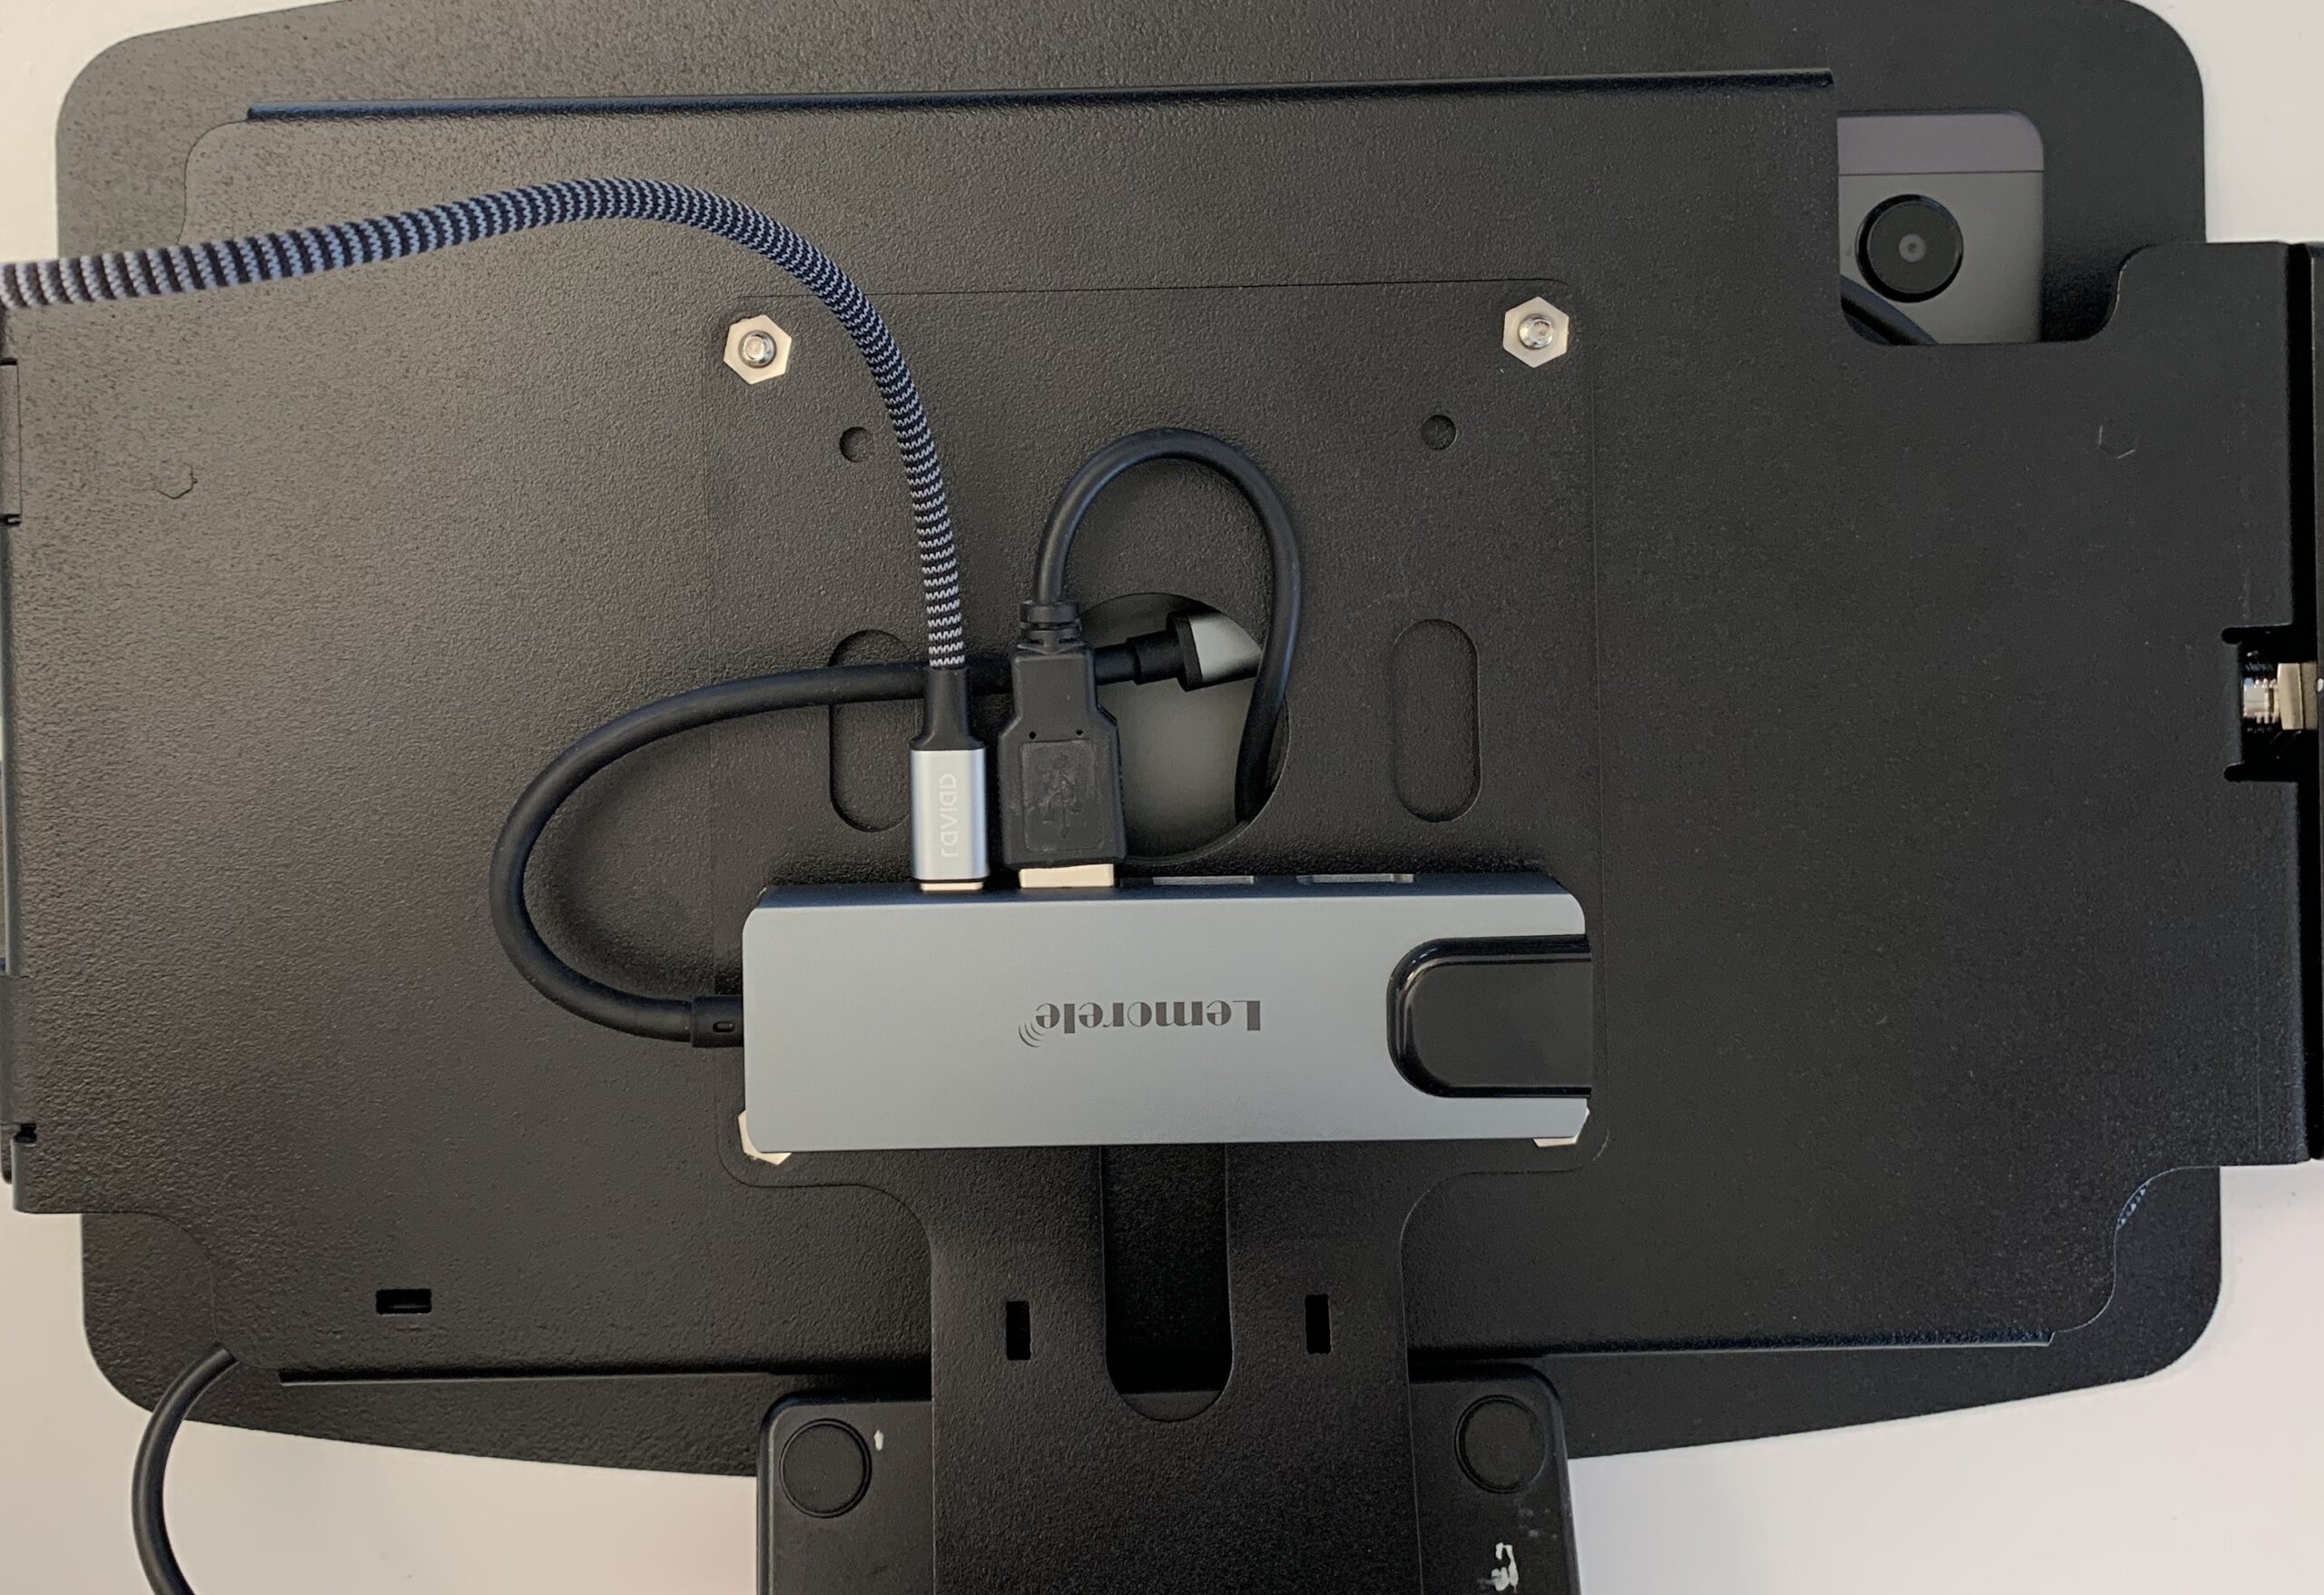
As shown in the picture, a strip of hook-and-loop tape is attached for the later mounting of the RFID reader. The same applies to the back of the USB-C dongle.
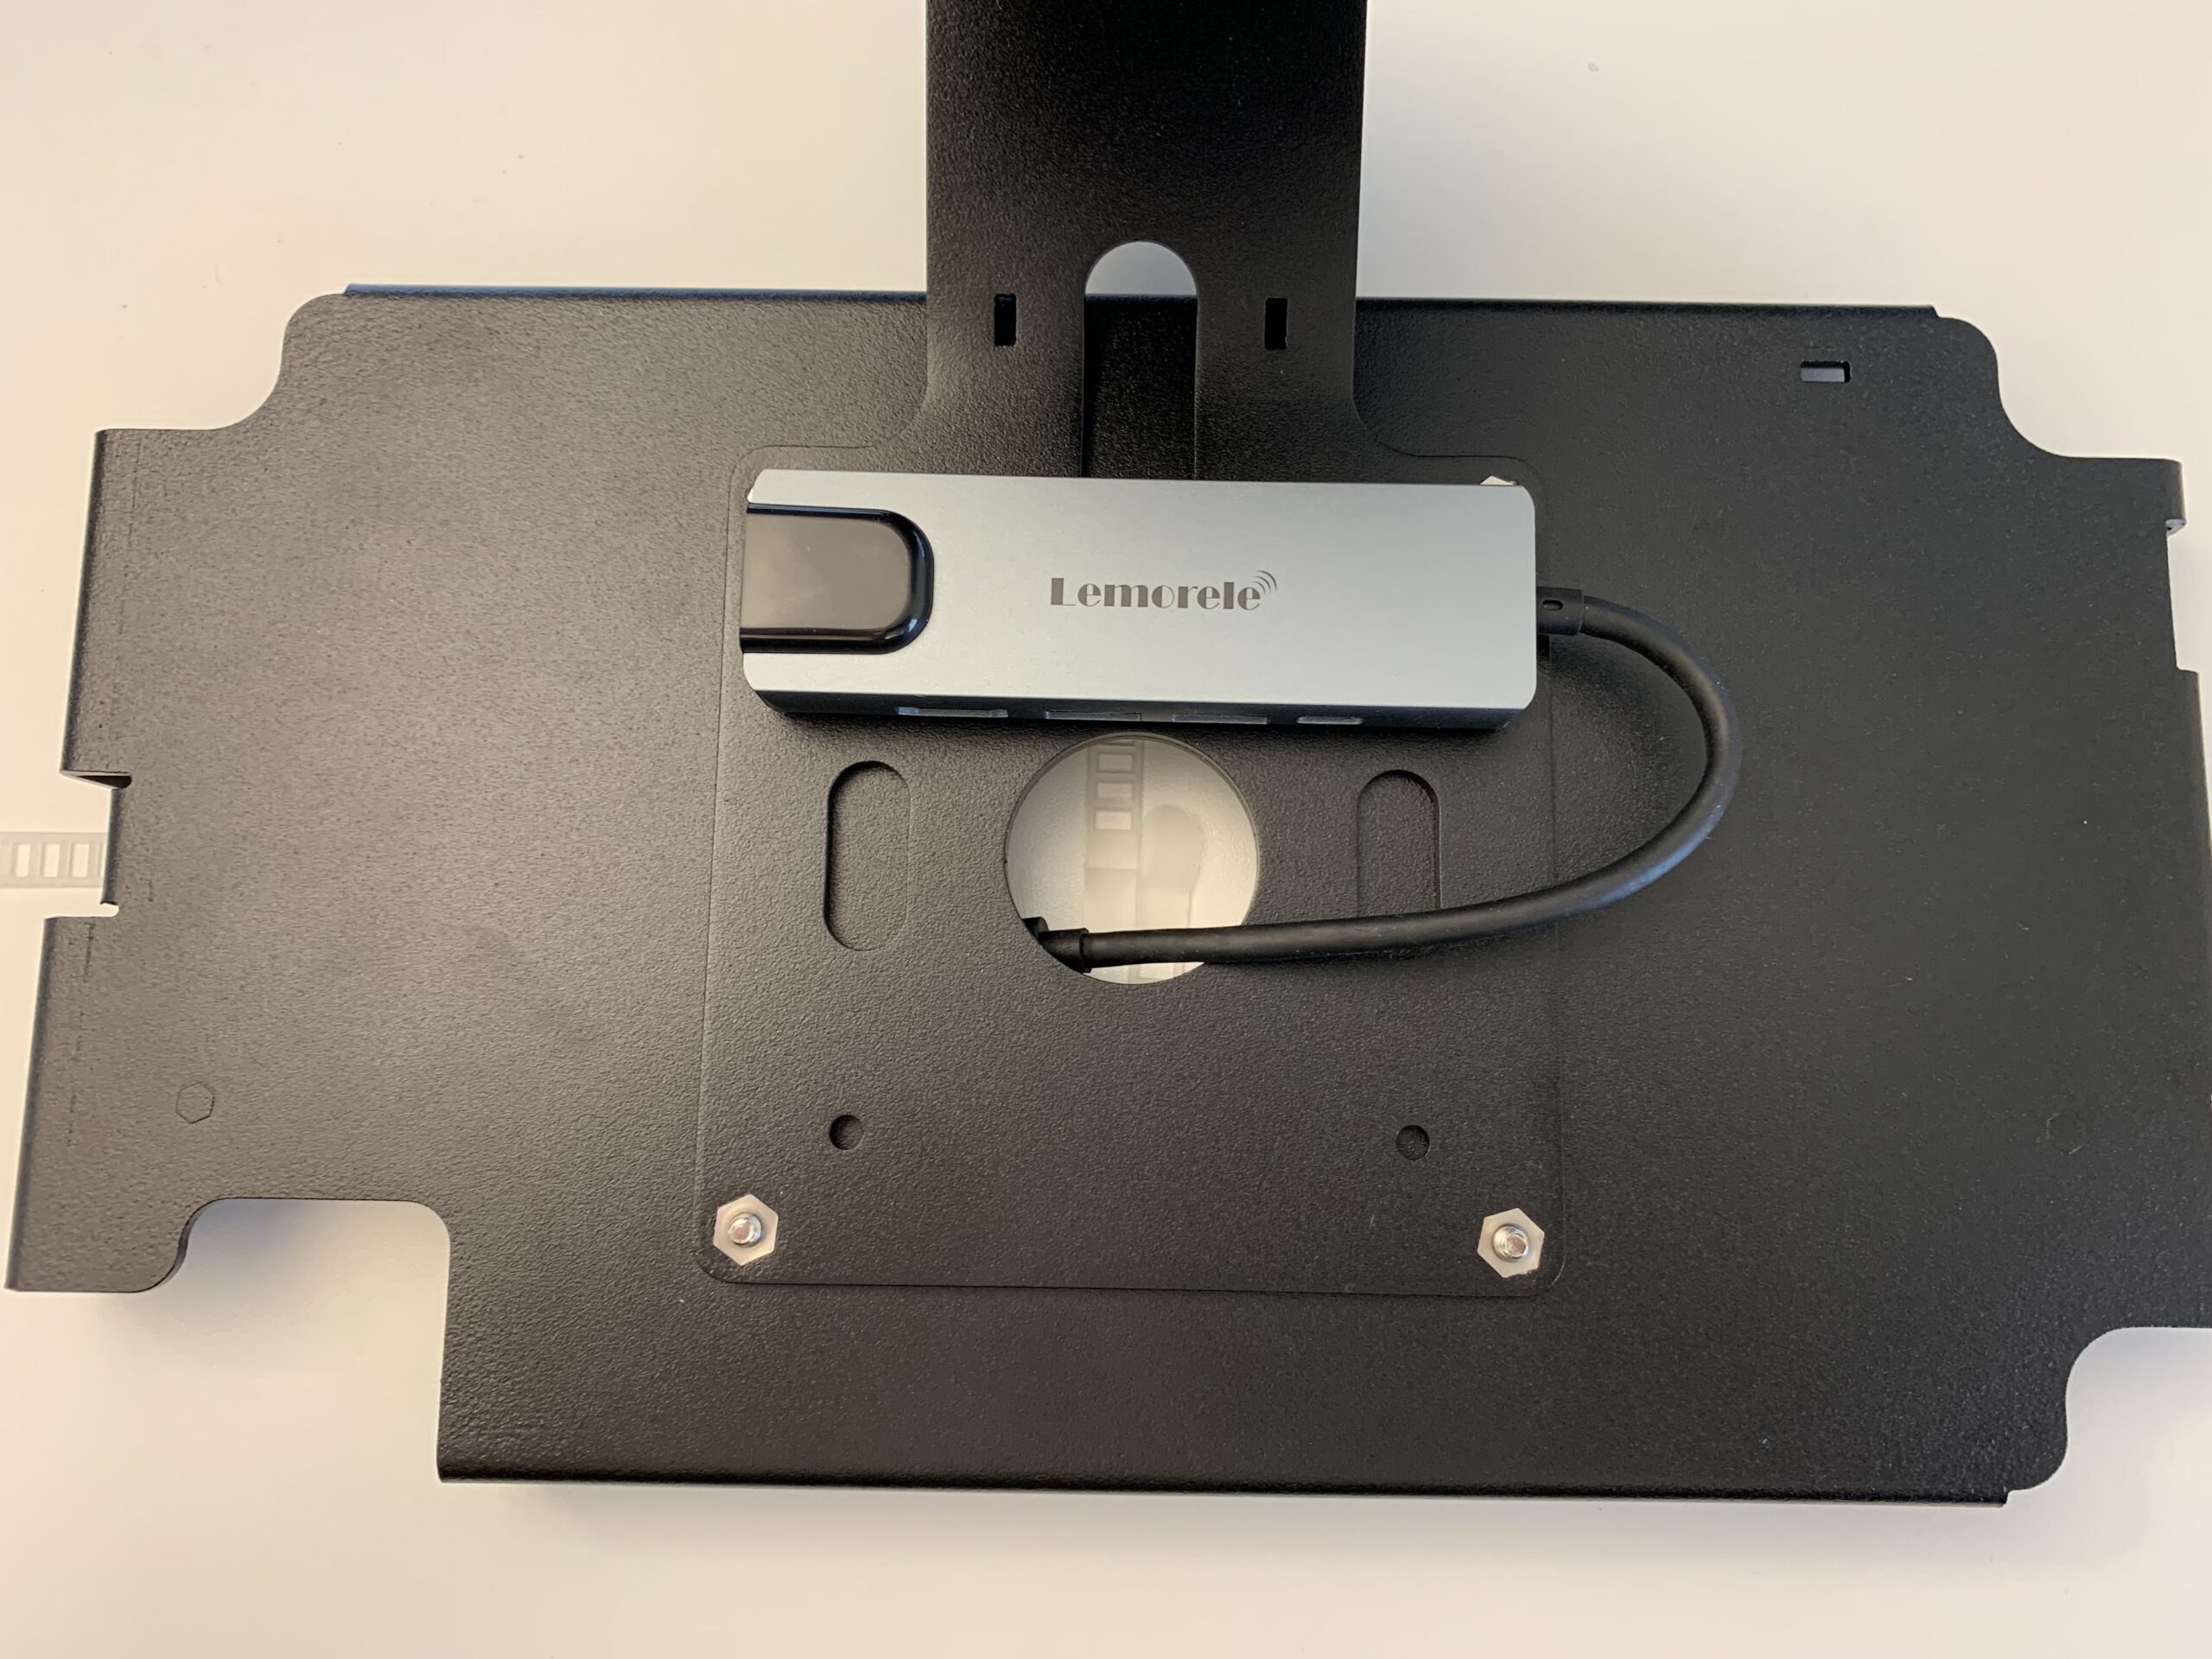
Fix the tablet holder to the stand with the four supplied screws.
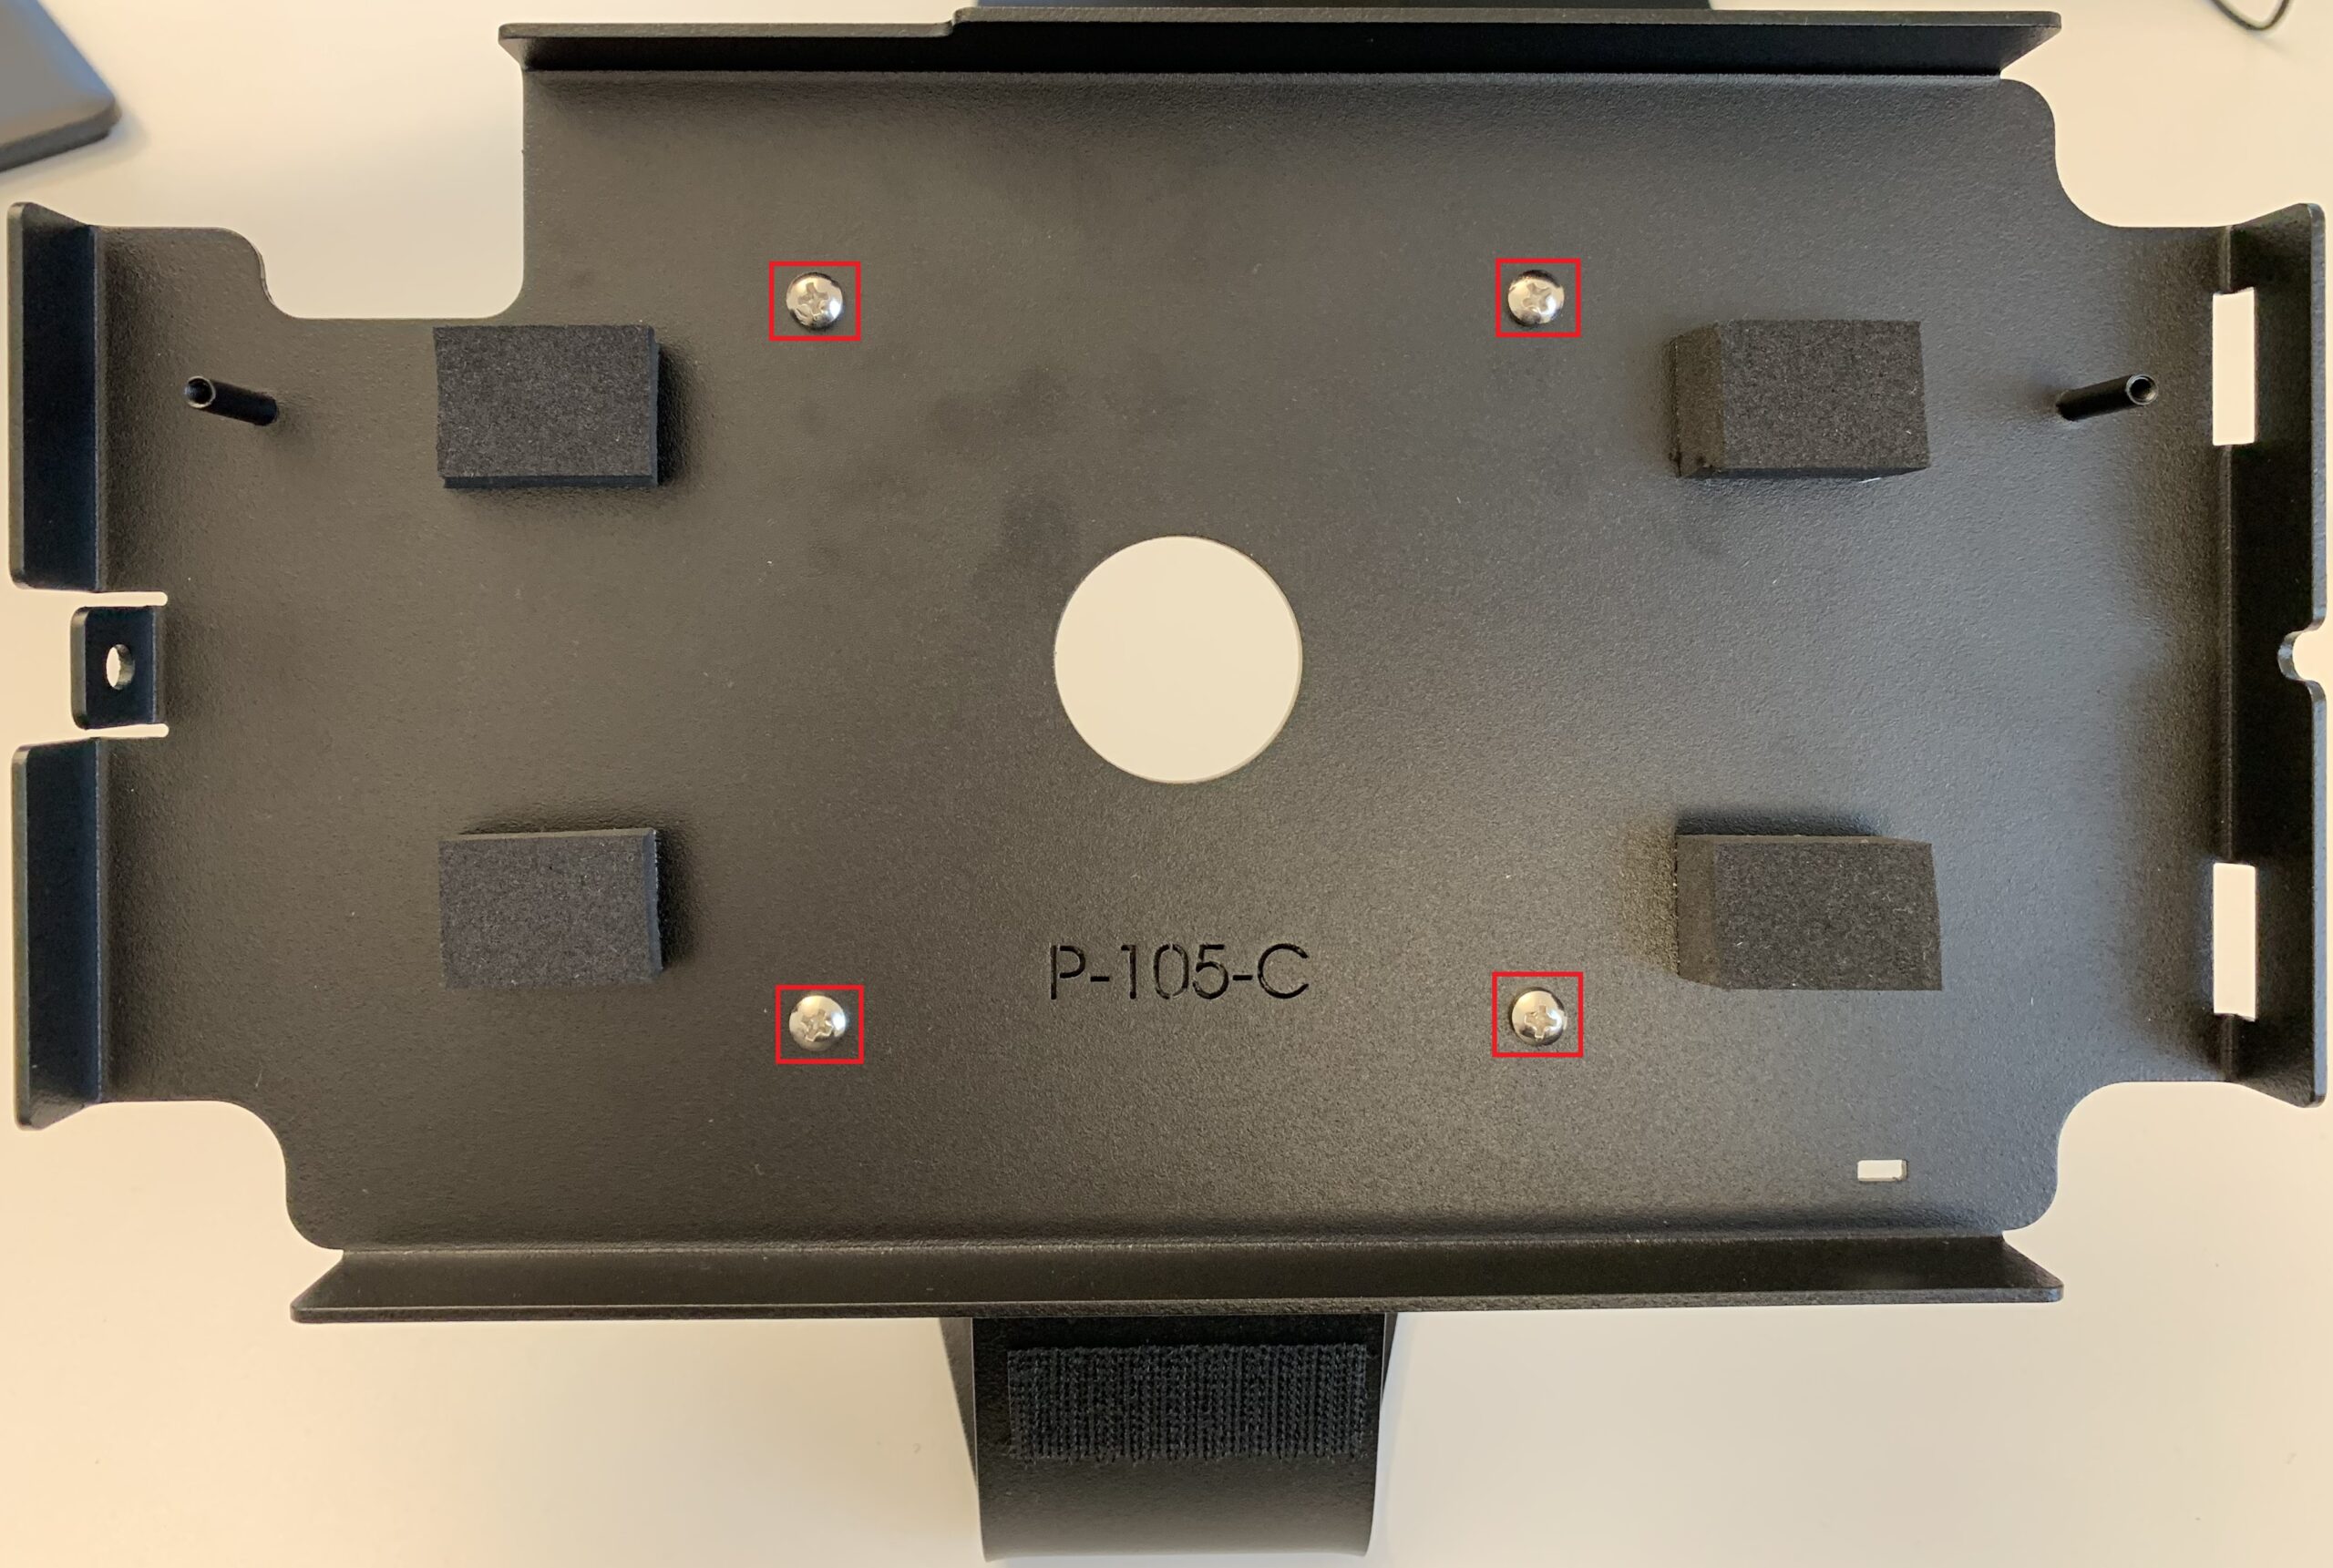
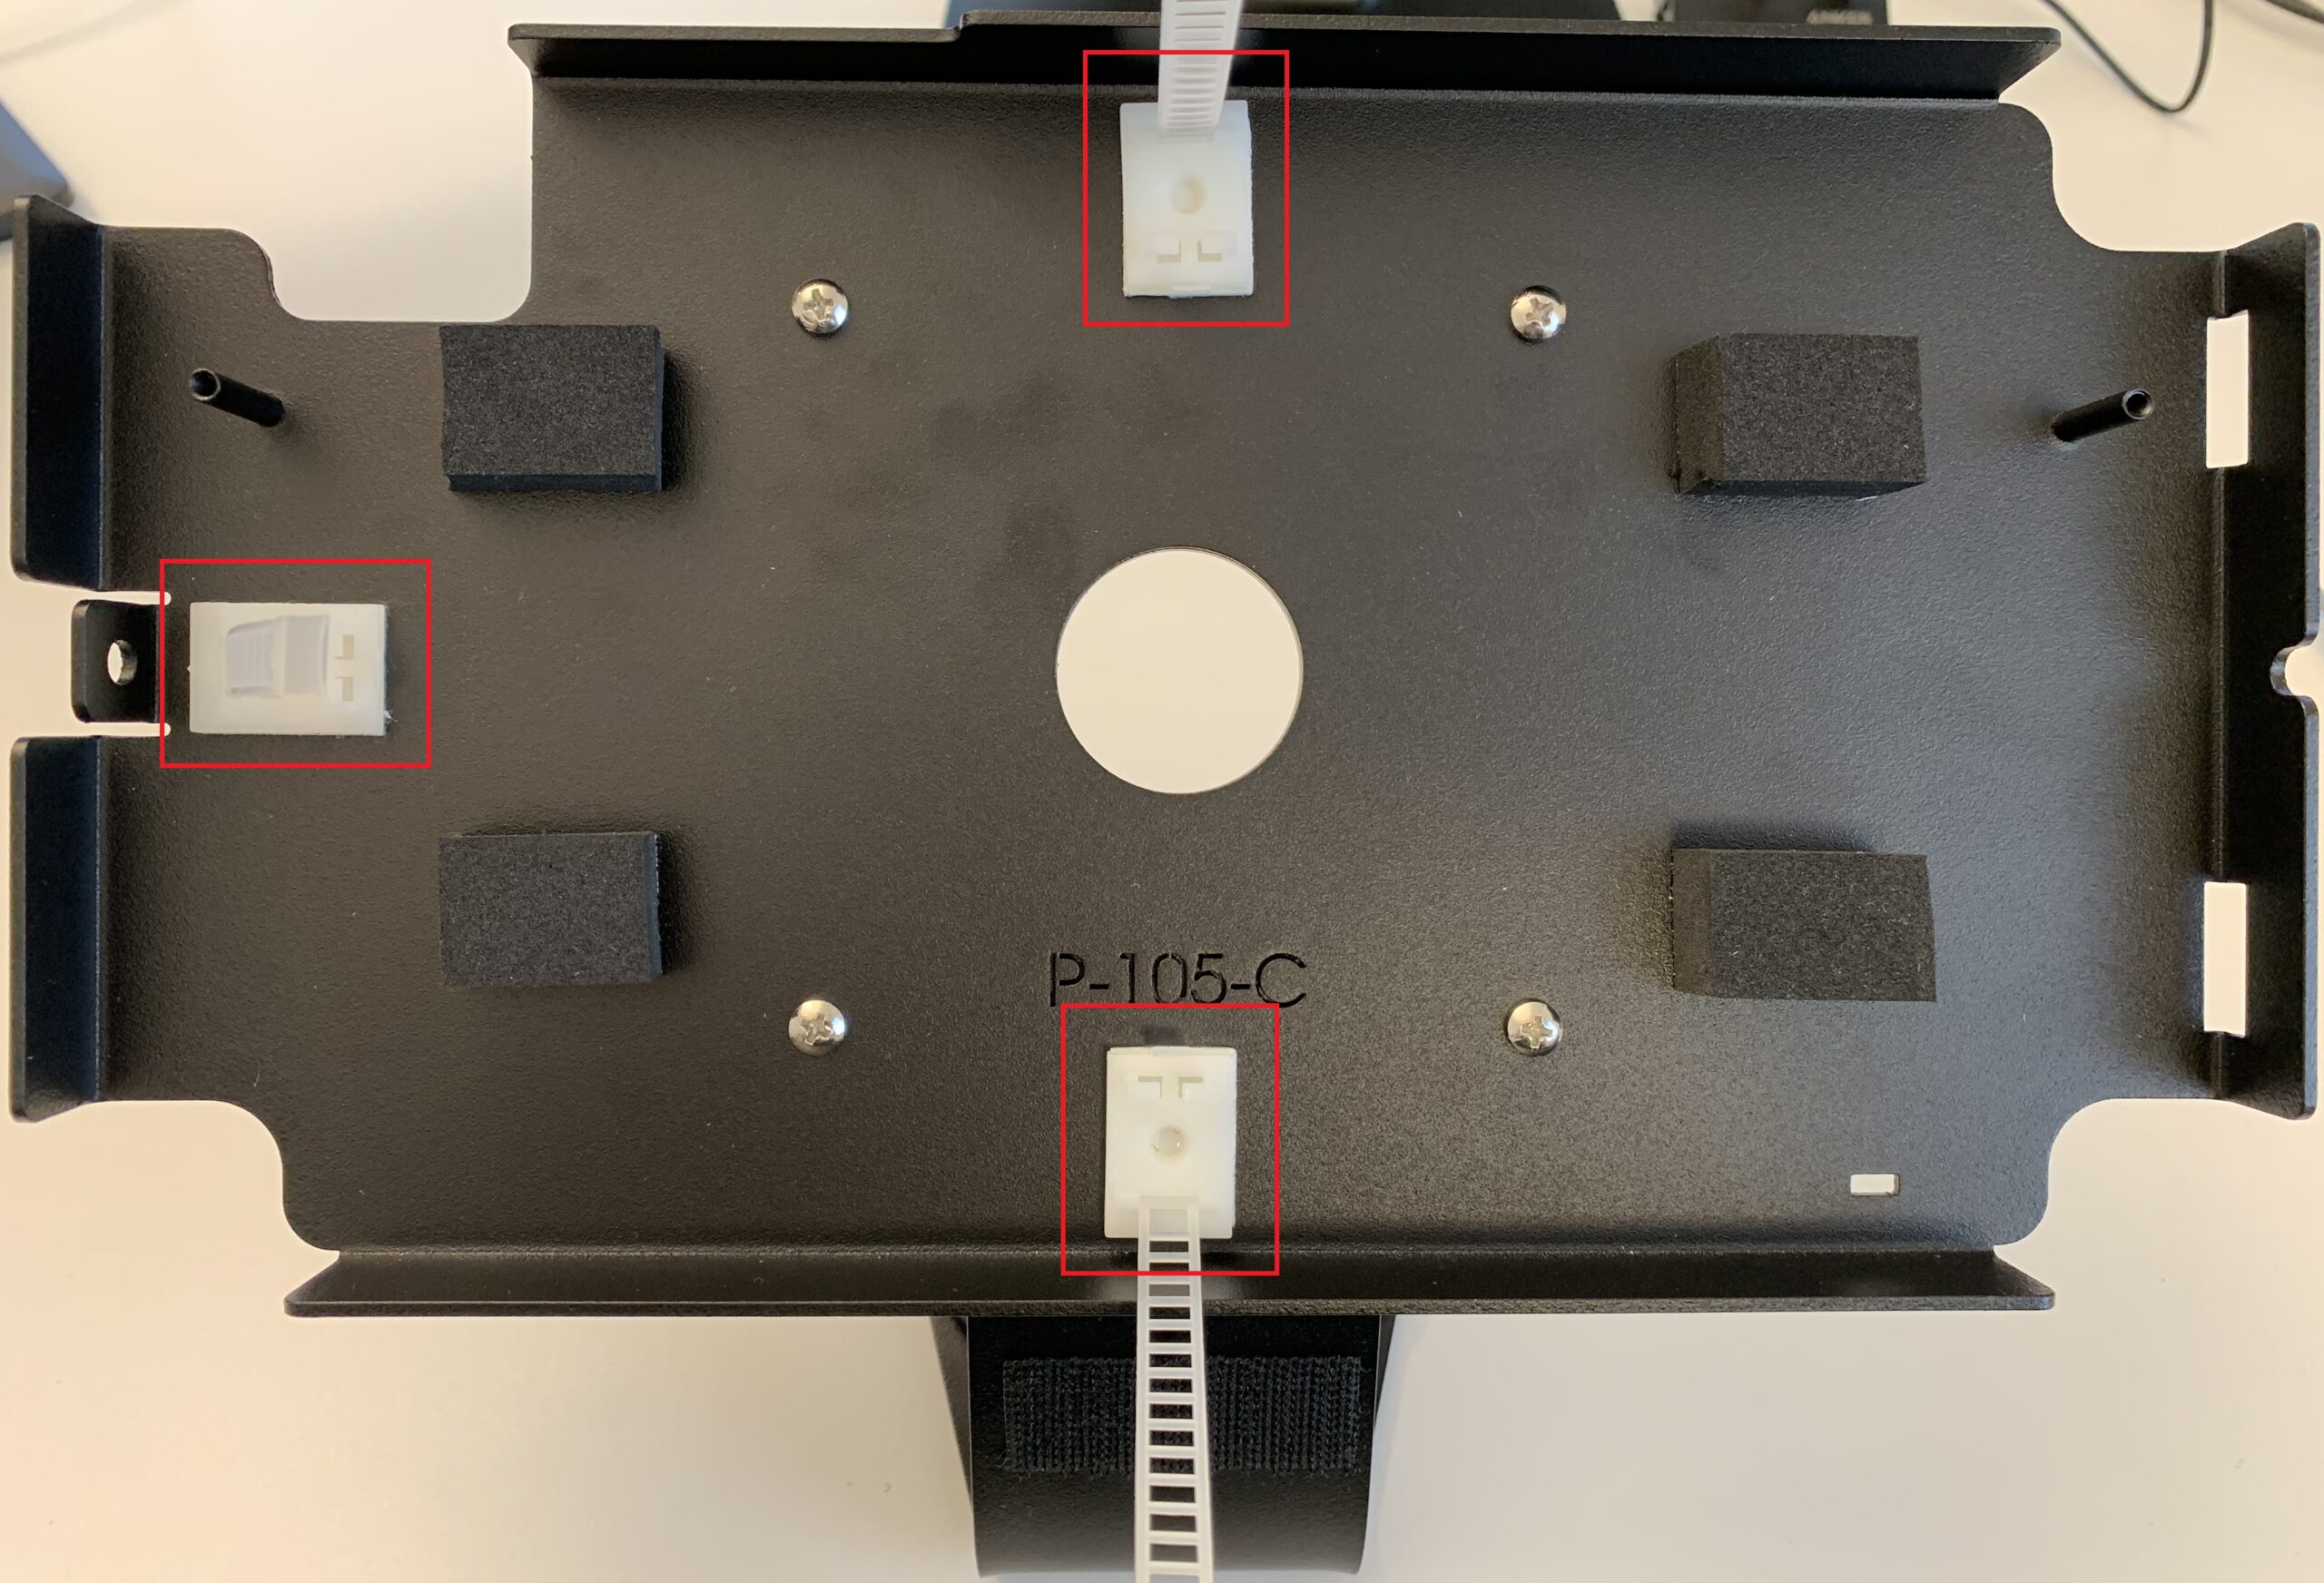
Stick the cable ties on at the following points as shown in the picture.
Stick the matching piece of hook-and-loop tape onto the RFID reader and the USB-C dongle.
Attach the USB-C dongle under the enclosure. Route the cable through the central hole.
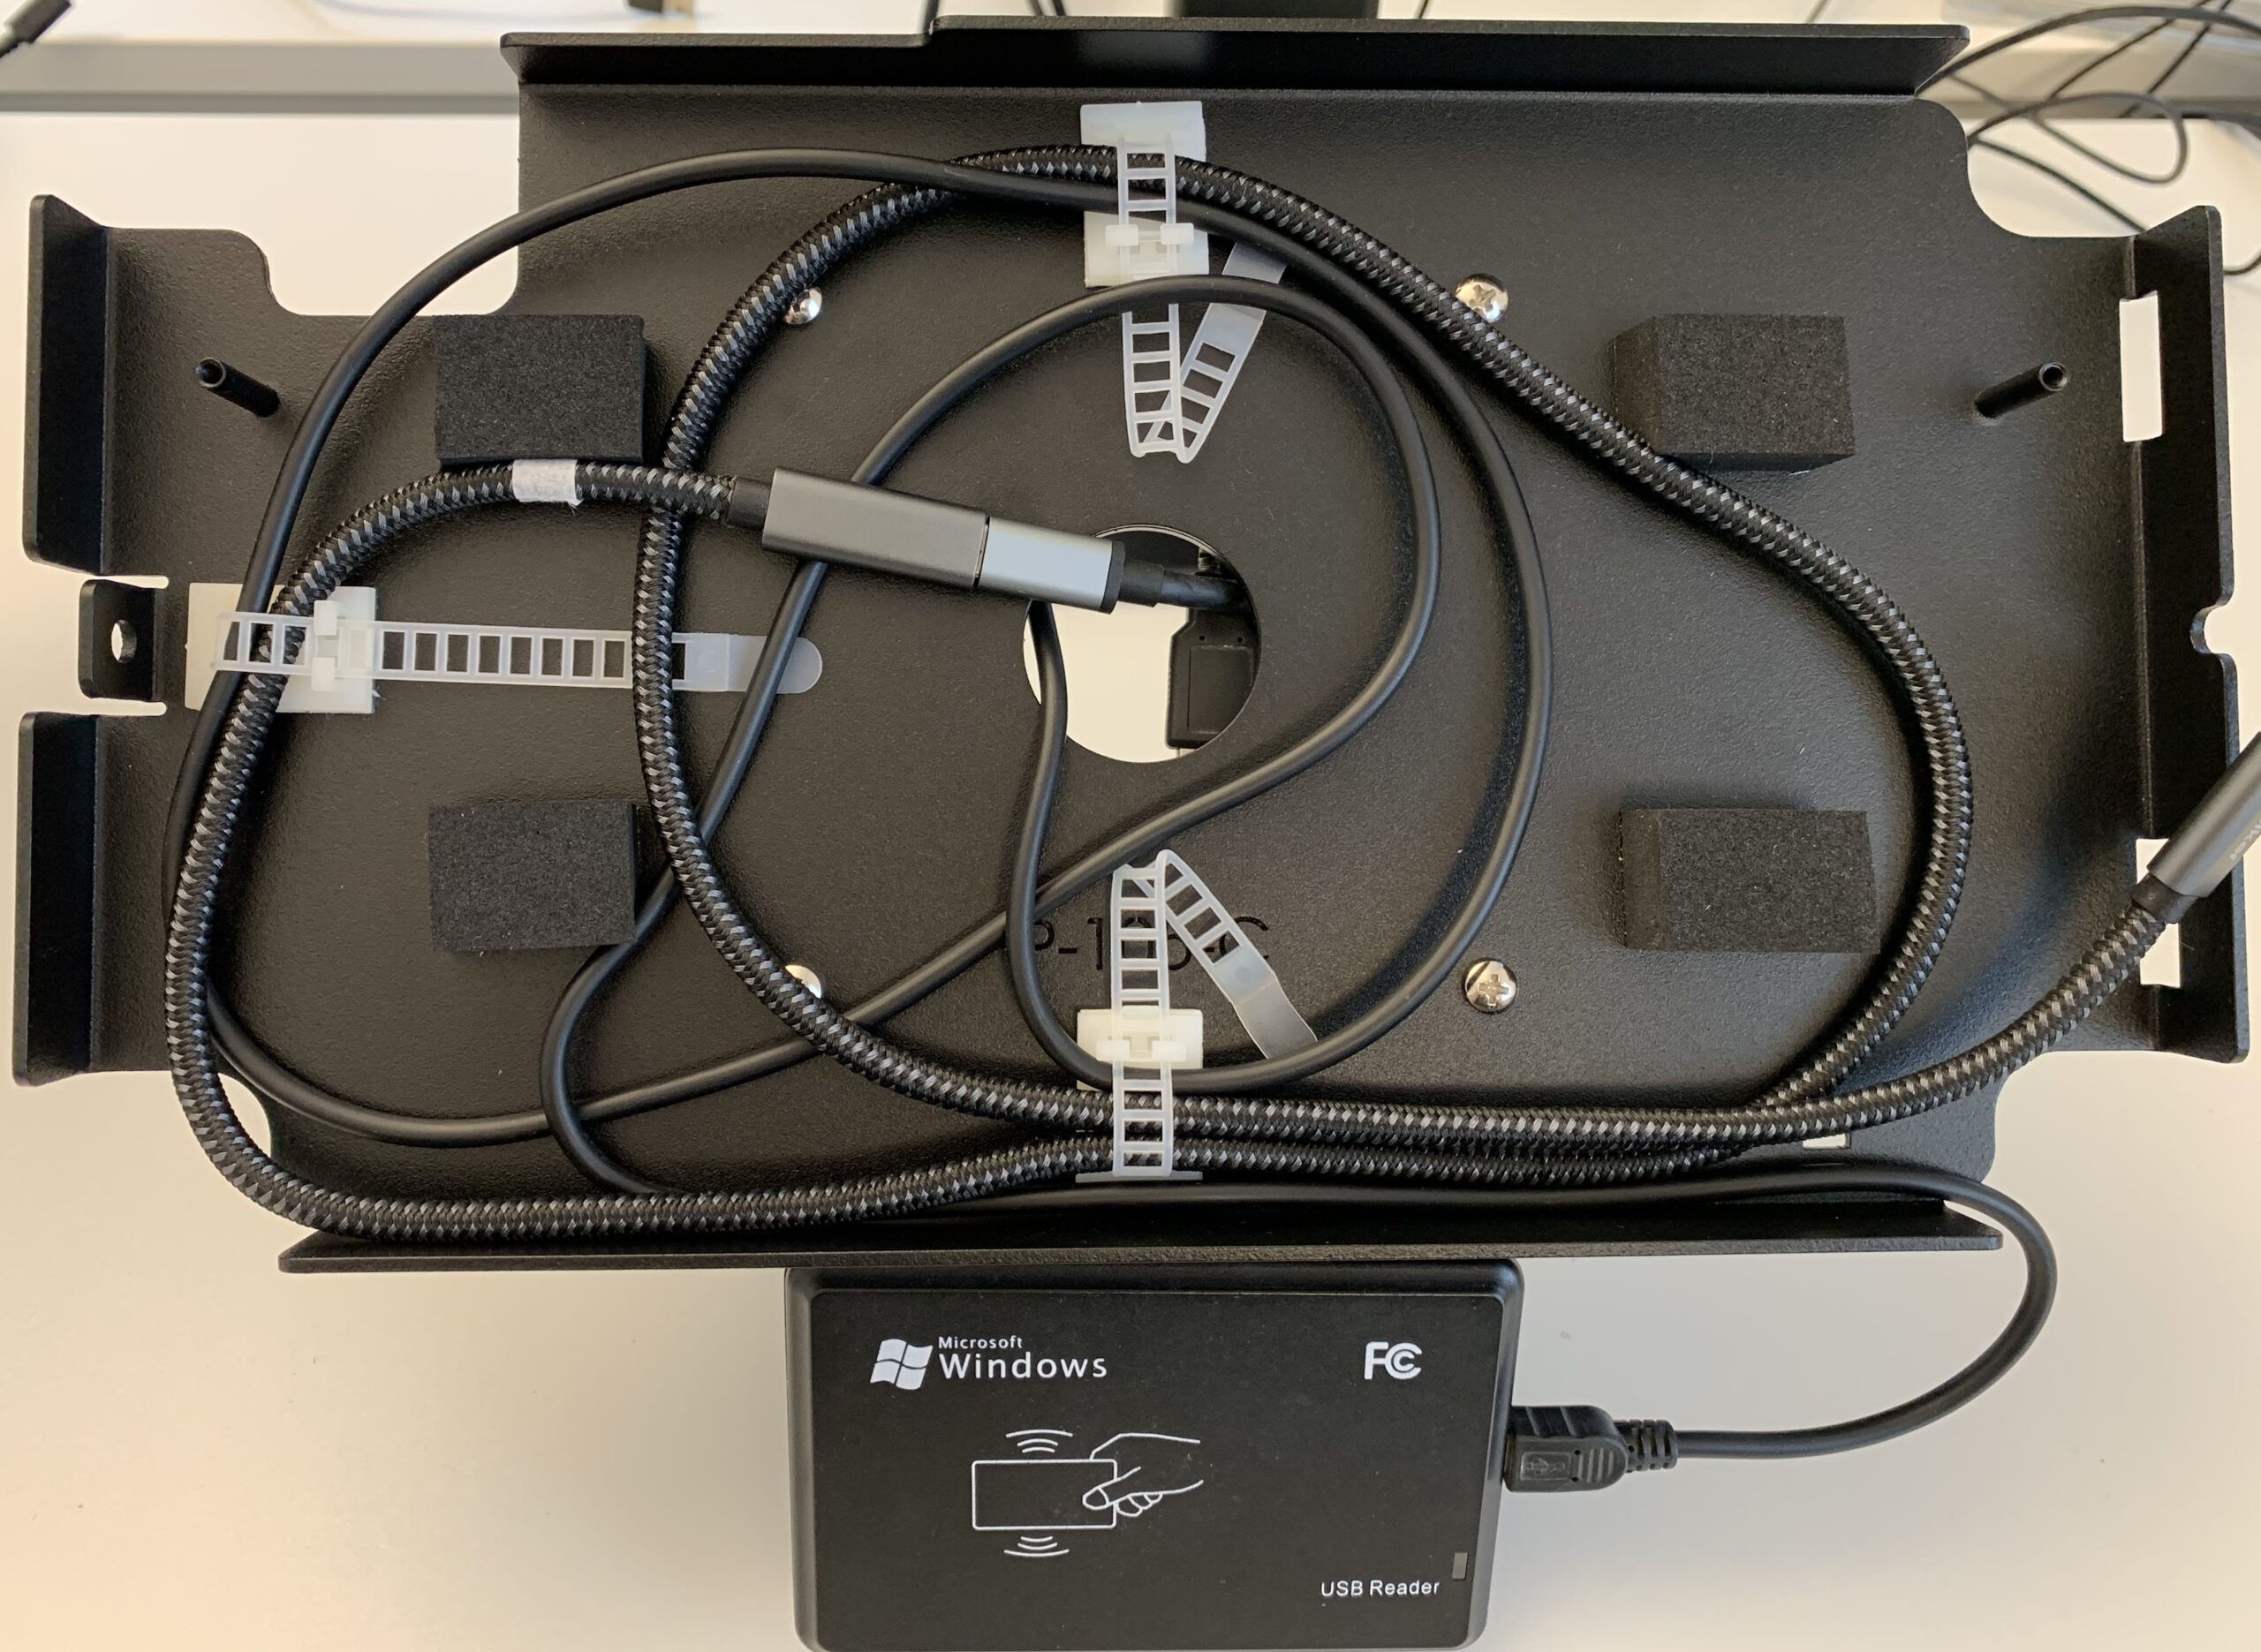
Connect the USB-C right-angle cable to the USB-C dongle and route the cable so that the angled plug is on the right-hand side.

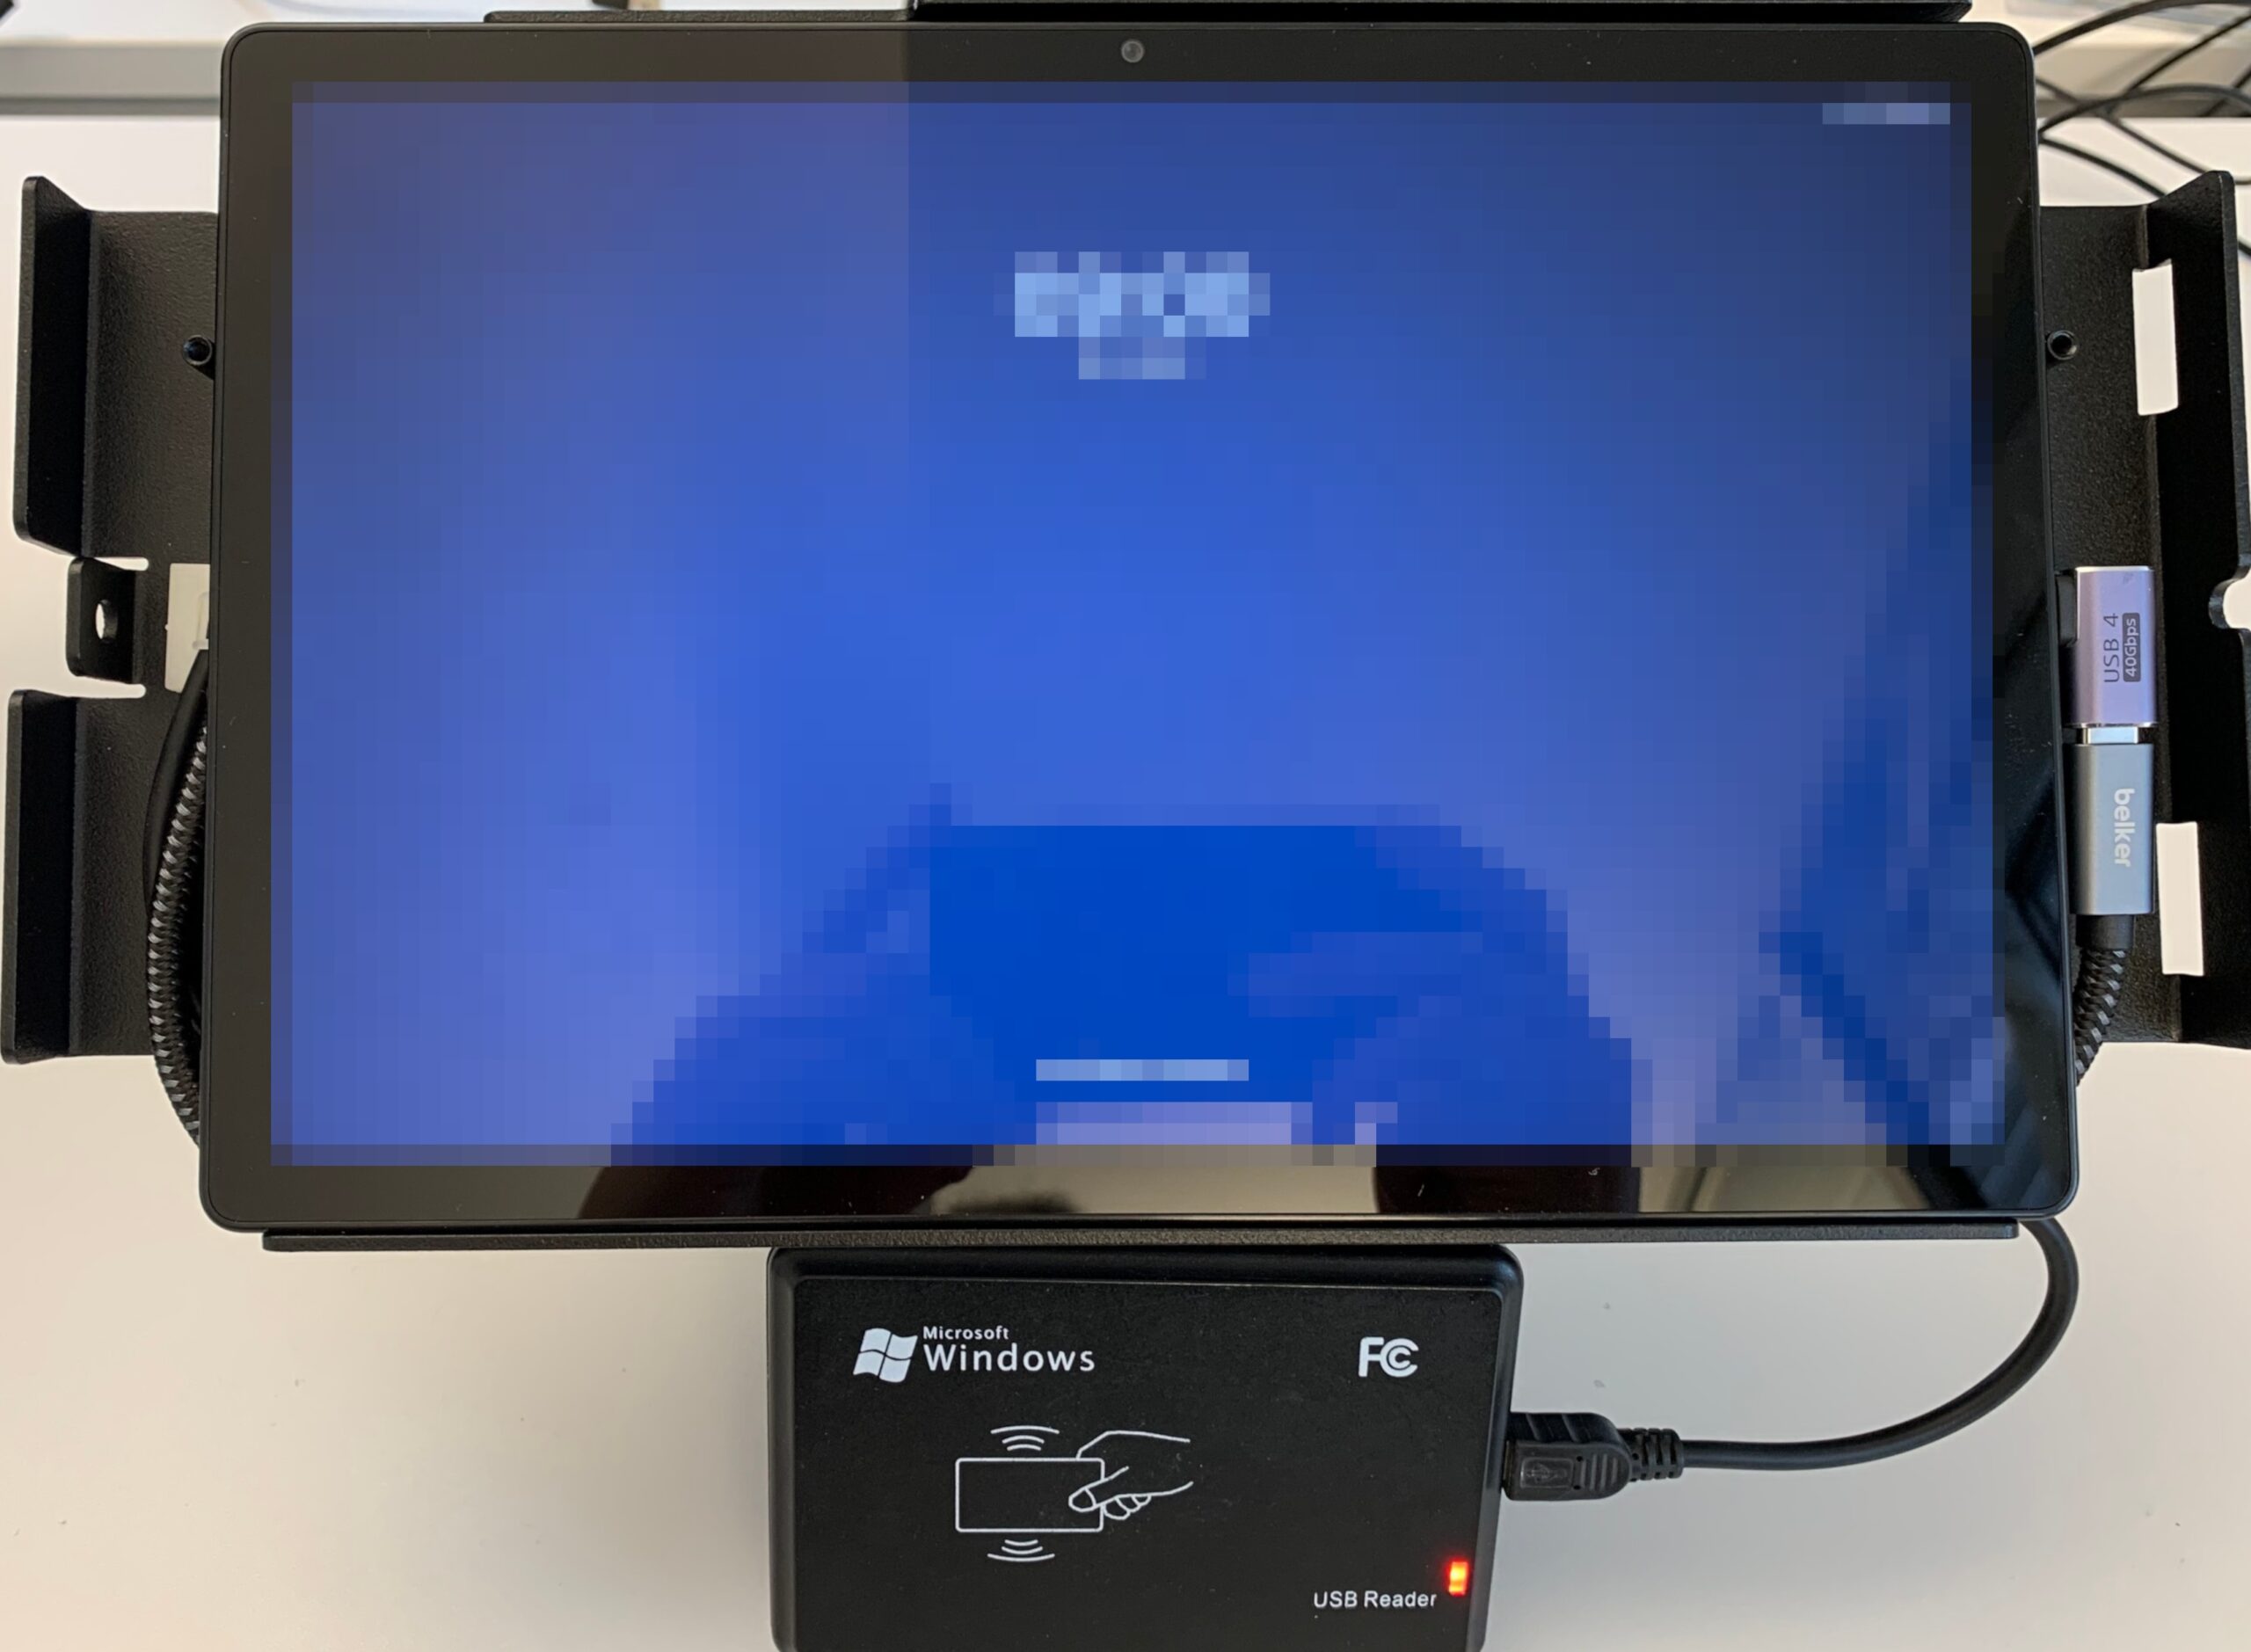
Route the cable for the RFID reader. The USB-A plug is fed through the middle of the hole and the connecting cable for the RFID reader is pulled out of the frame at the bottom right. Then fix the RFID reader to the stand.
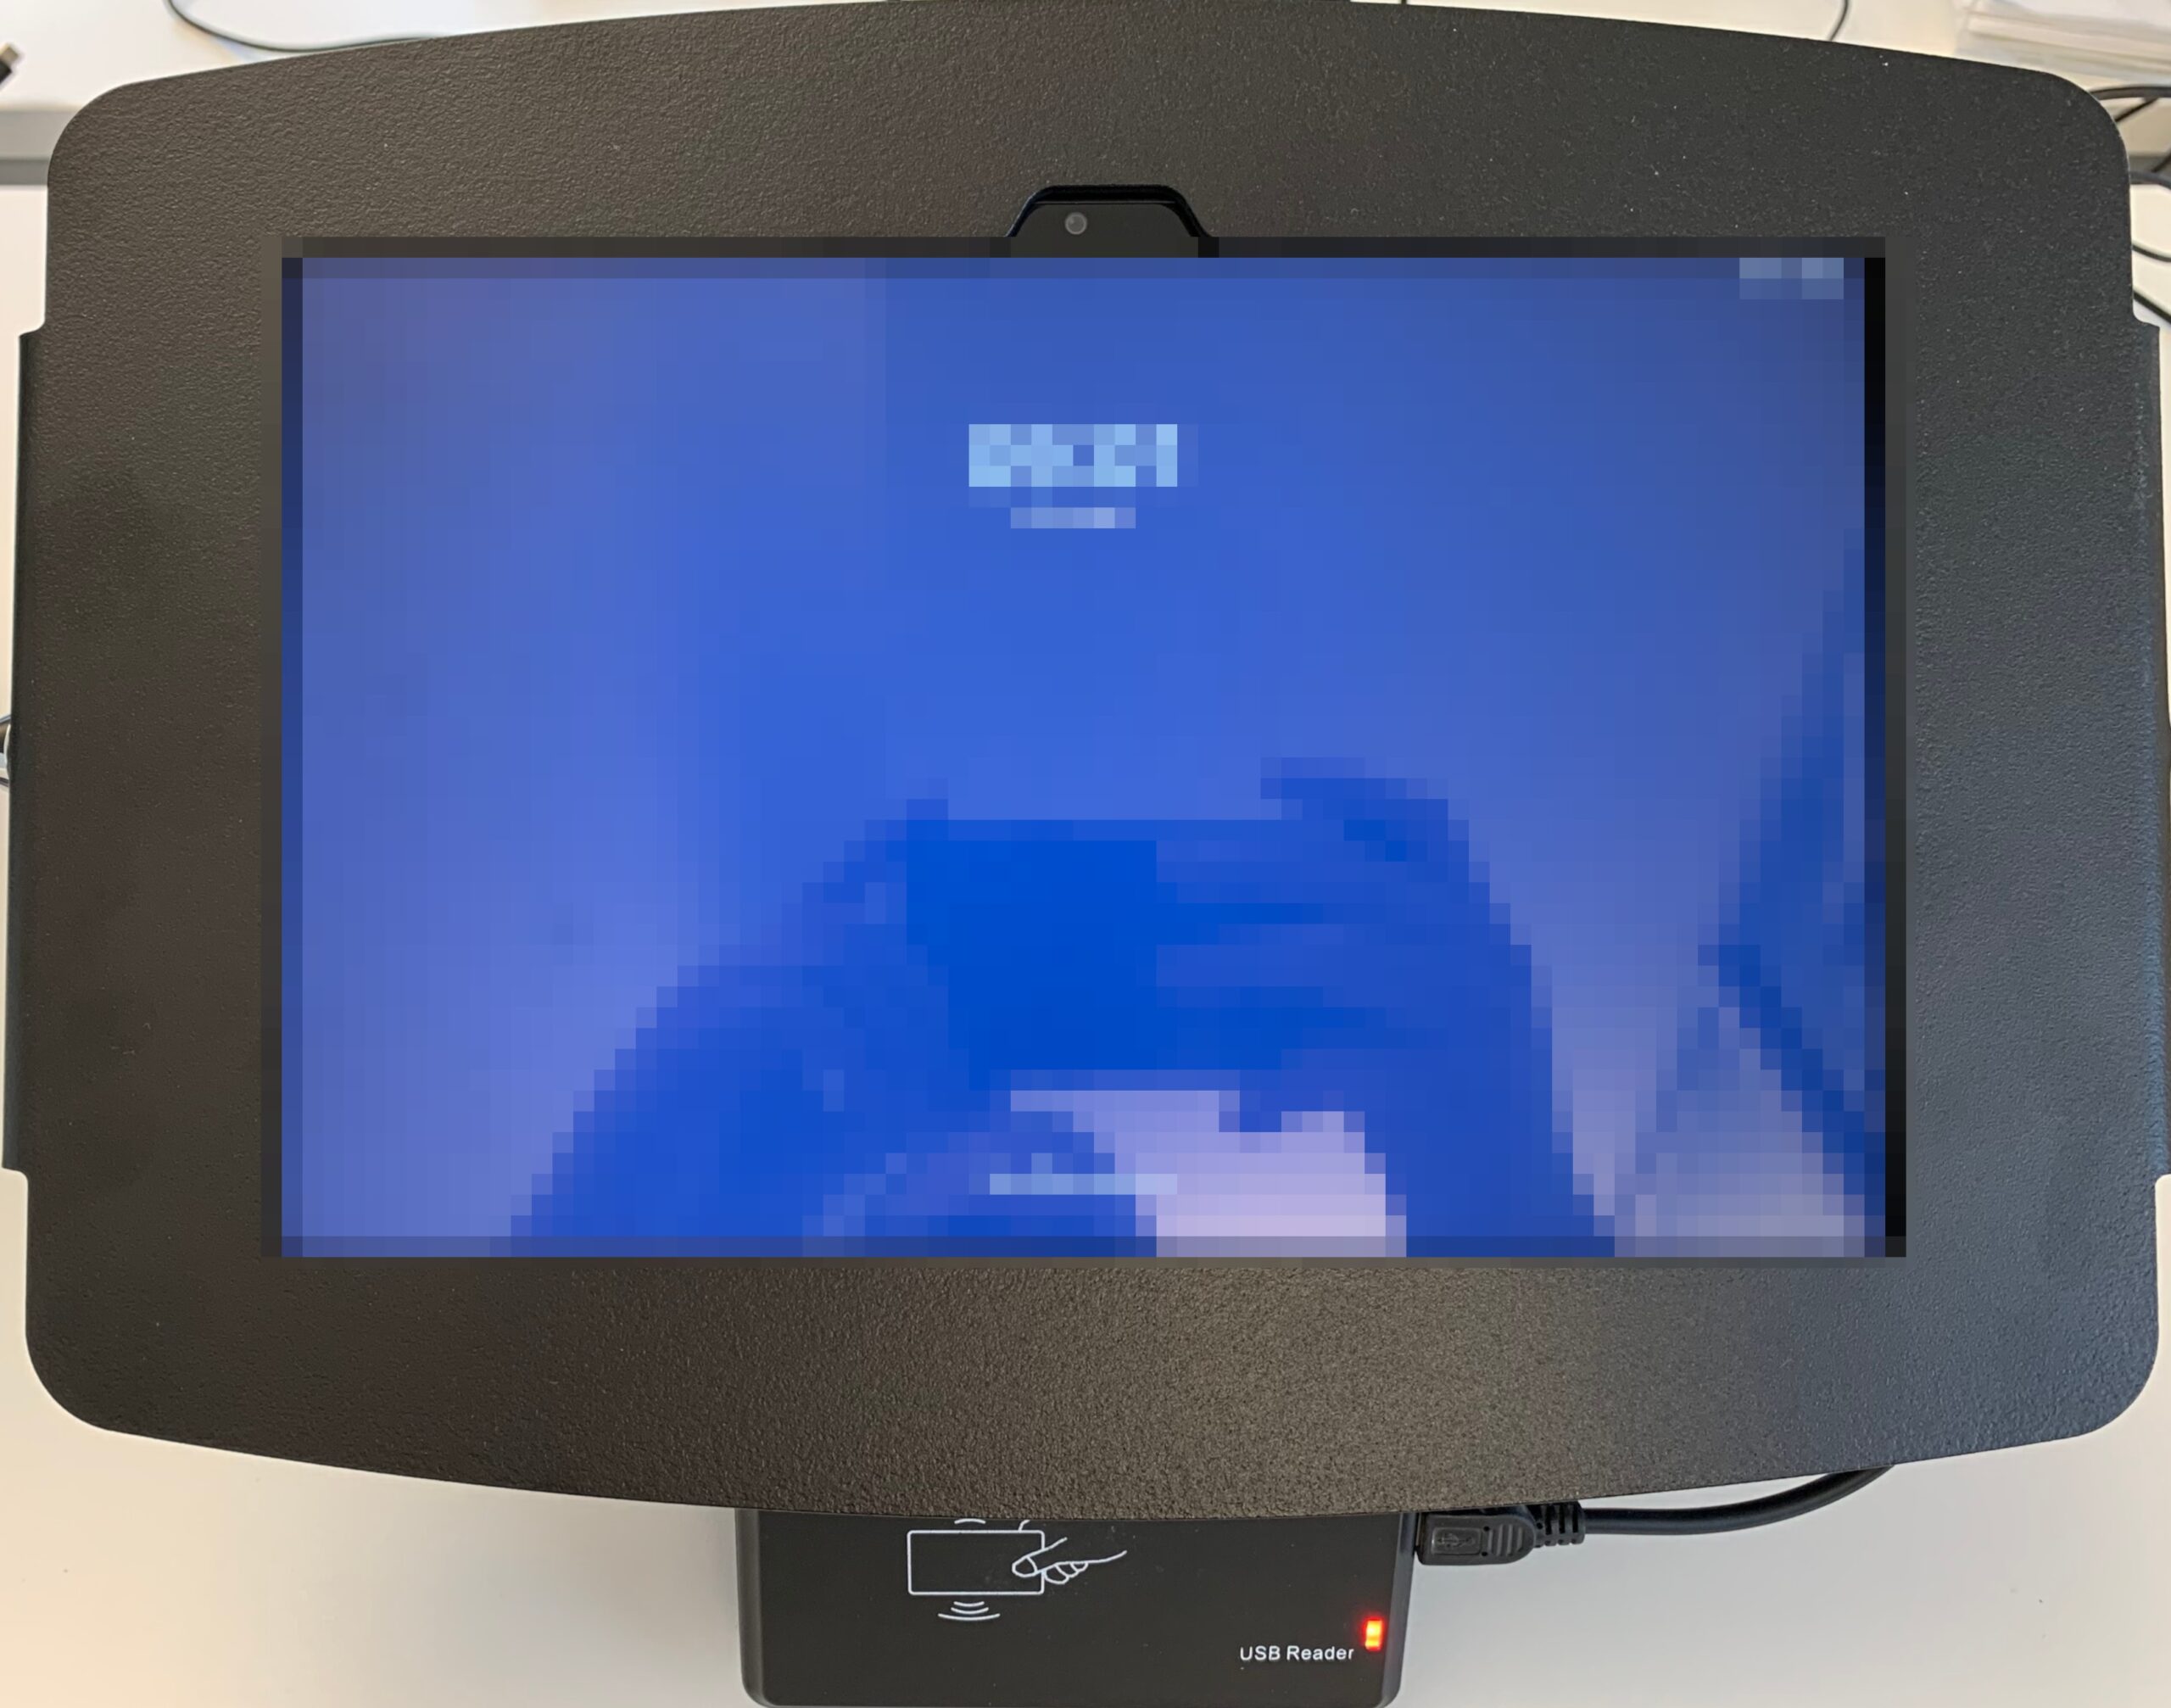
Connect the tablet with the USB-C plug and place it in the holder.
The enclosure lid is hooked in with two hooks and locked on the other side with a lock. You can reopen the lid at any time using the supplied key.
Connect the USB-A and the power supply to the USB-C dongle.
Setting up the tablet
Open the Google Play Store and select the app Fully Kiosk Browser & Lockdown to install it.
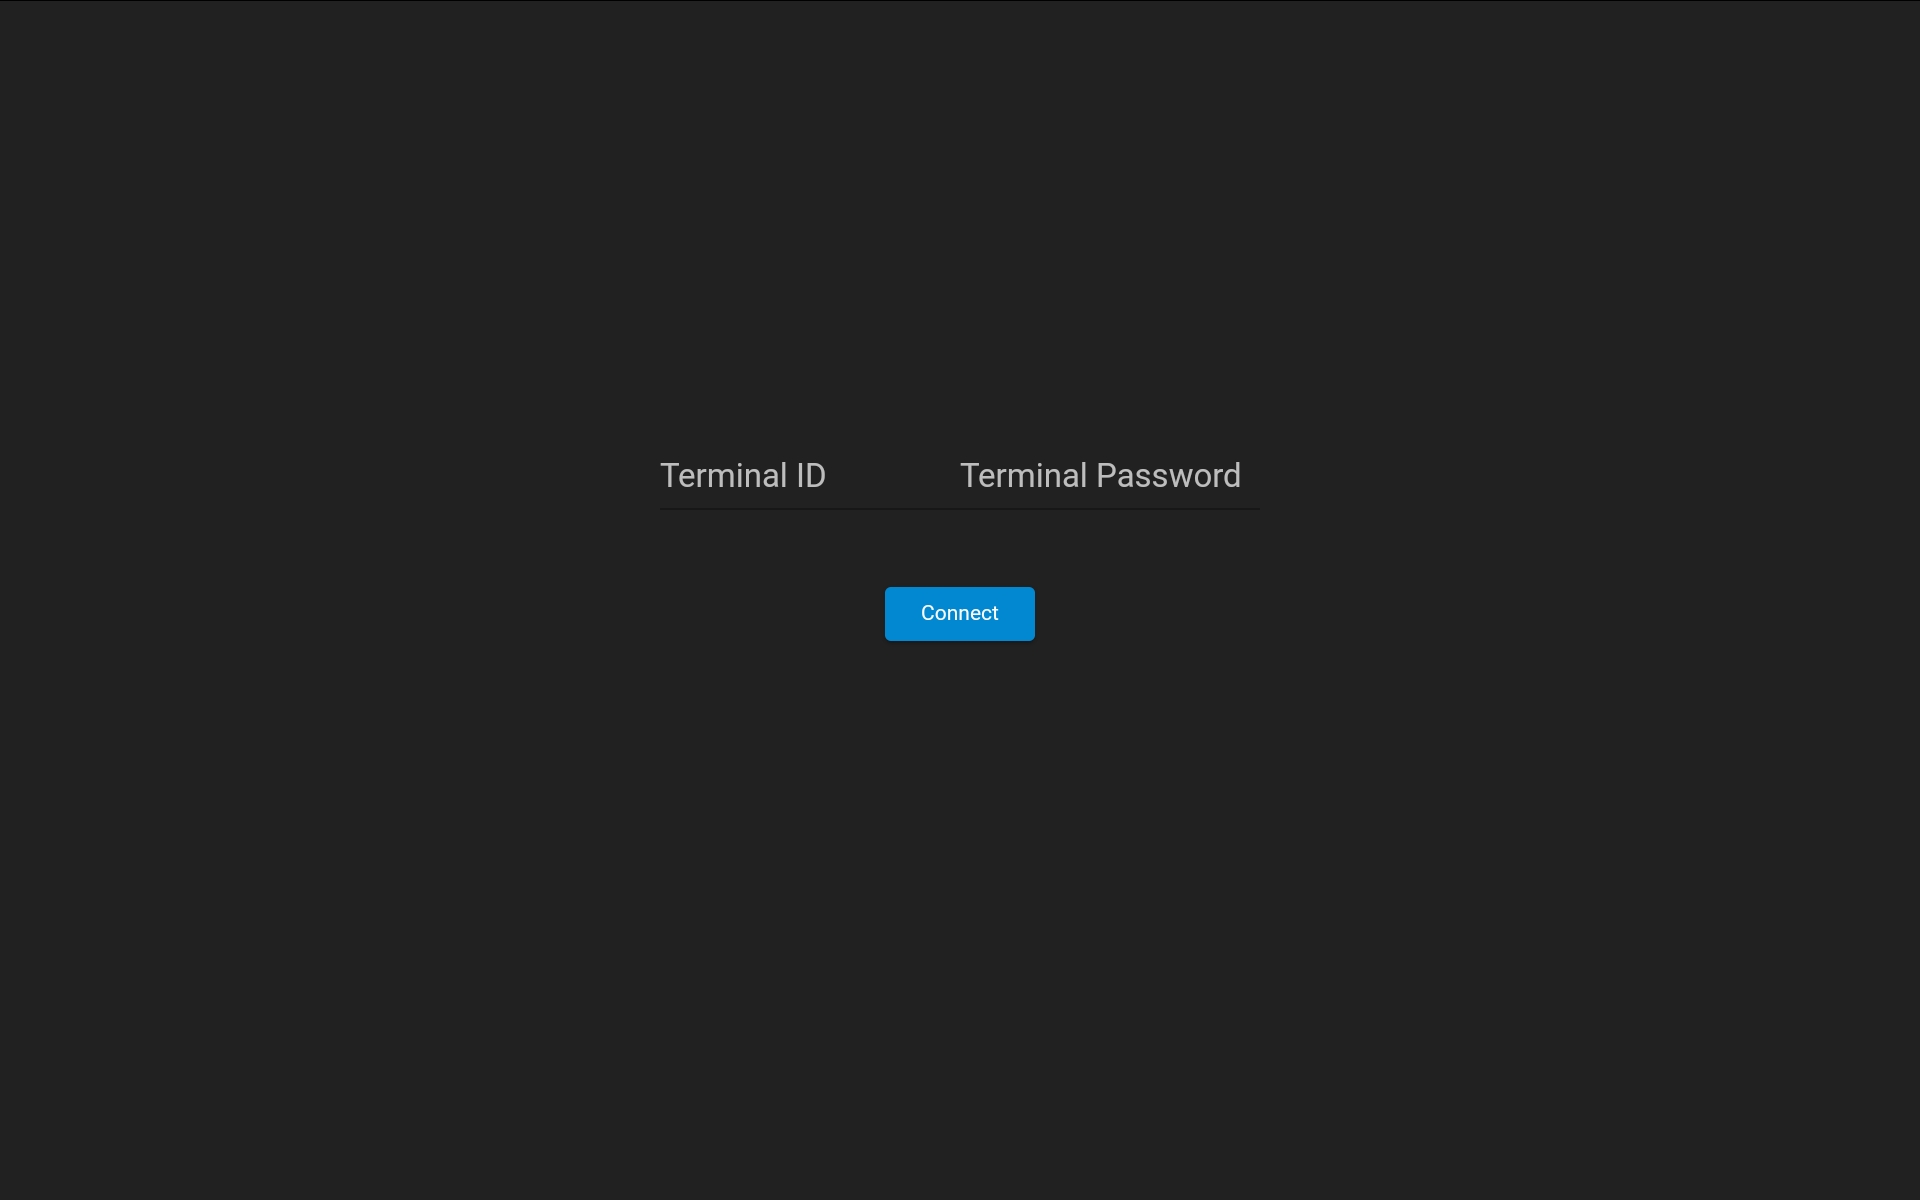
Open the app, enter the terminal URL in the start URL and tap START USING FULLY.

Enter the login details for the terminal.
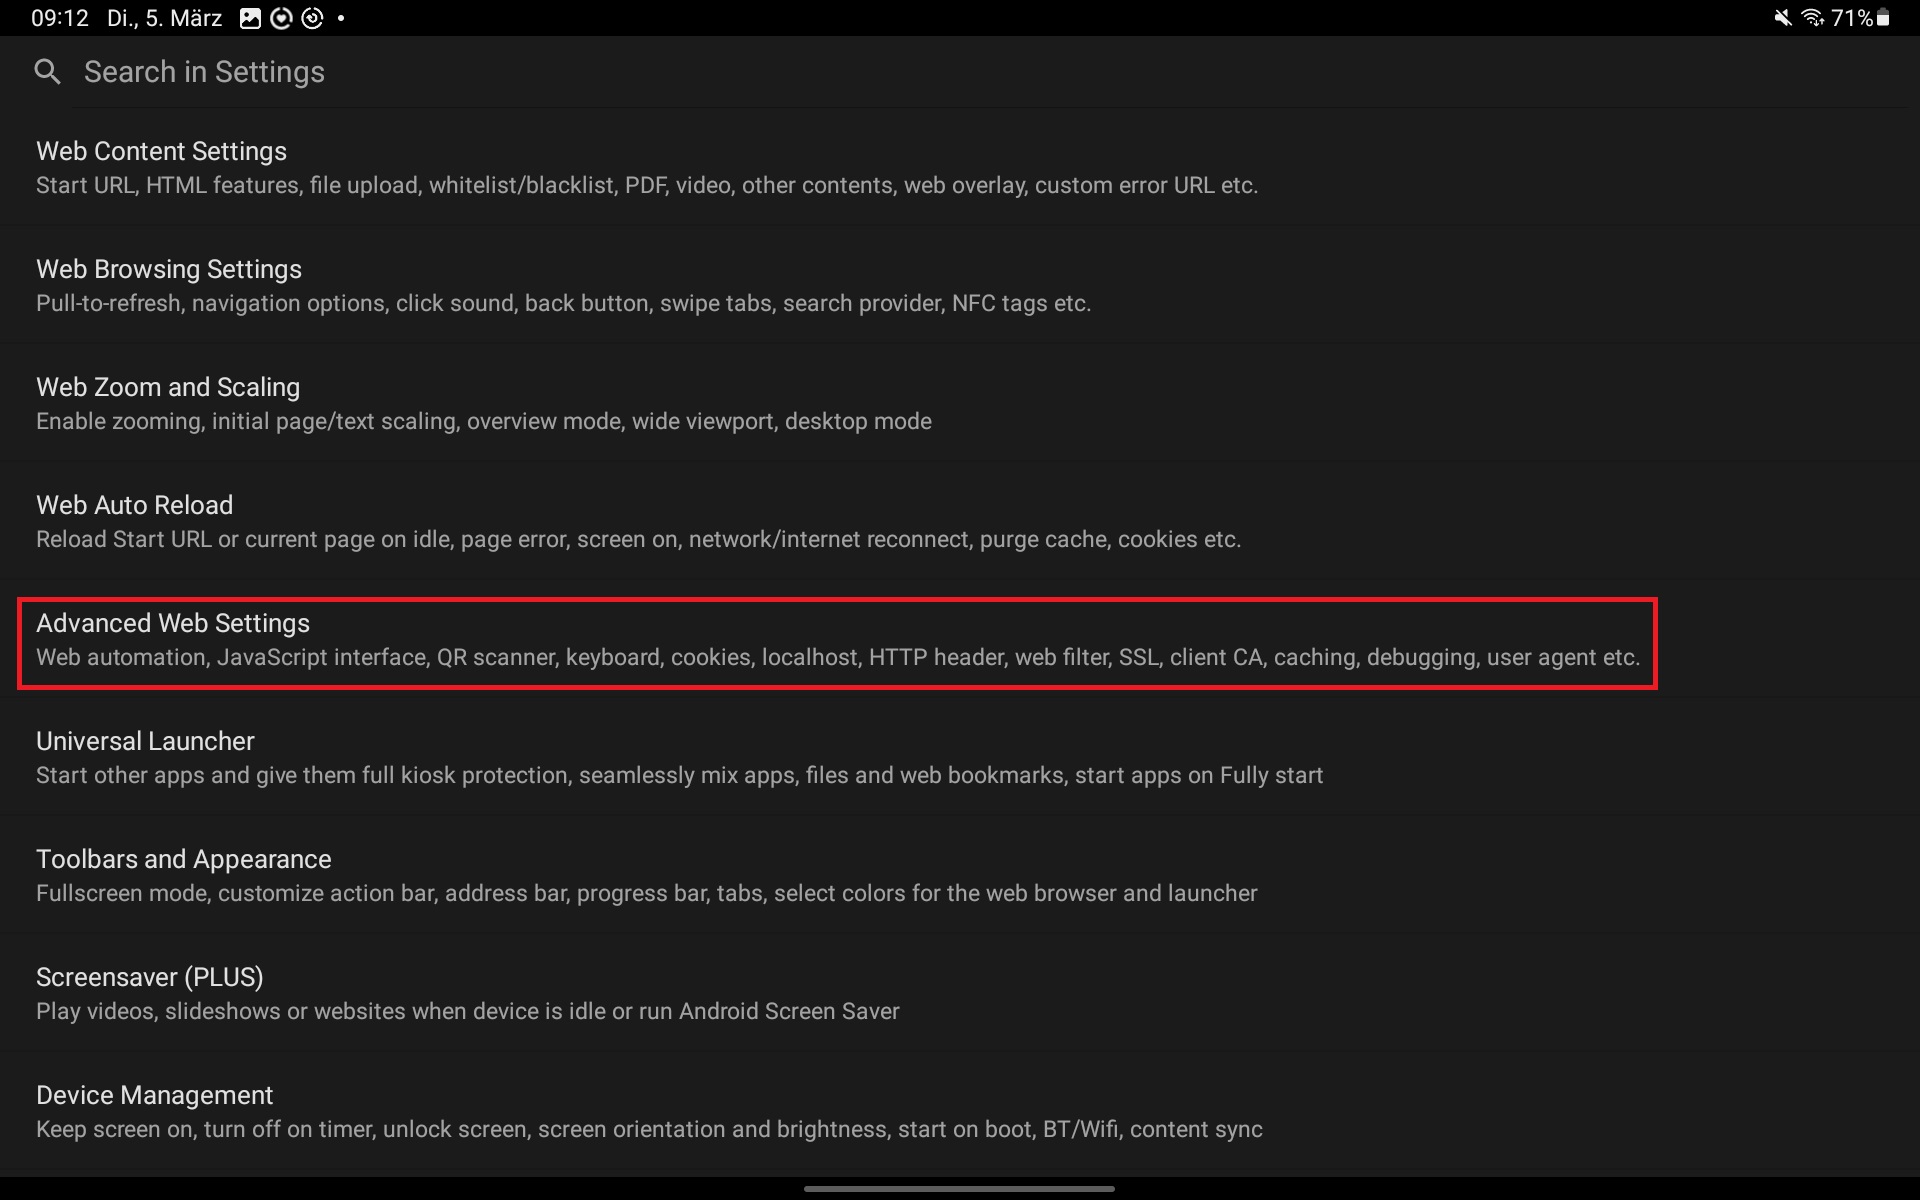
After logging in, swipe from left to right. Go to the »Settings« button. Click the »Settings« button and then »Advanced Web Settings«.
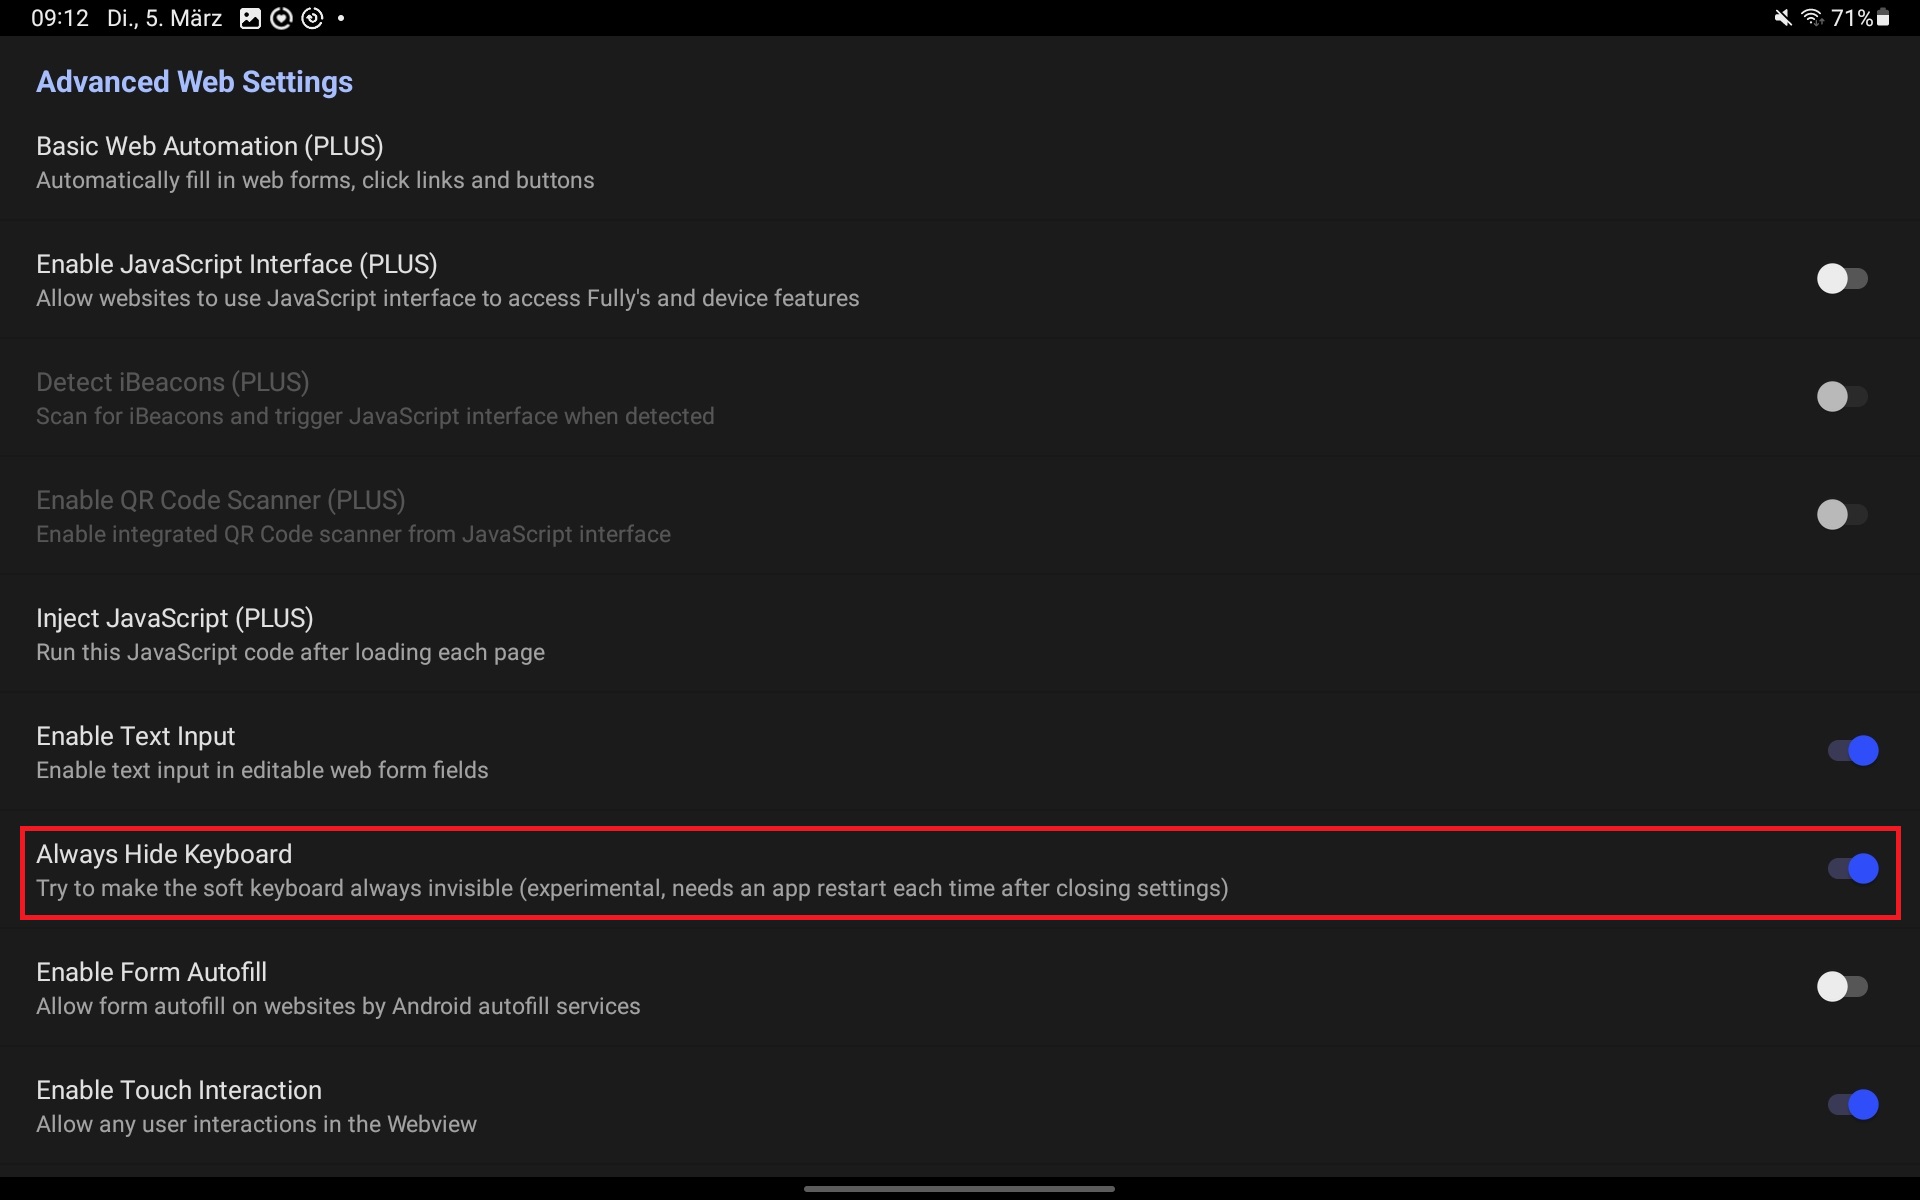
Enable the »Always Hide Keyboard« function so that the keyboard does not open in kiosk mode.
The terminal is now fully set up. By swiping from left to right several times, you exit the settings.
Notes
- You can make further settings if you wish. The app offers a wide range of customisation options.
- The prices listed in the parts list are as of 5 March 2024 and may have changed since.
- Before you put the terminal into operation, a time-tracking terminal with its associated terminal URL must be set up in teamspace – see Set up a time-tracking terminal.
Related topics
- Set up a time-tracking terminal Configuration Configuration
- Configuration – introduction Configuration Introduction