
With single sign-on (SSO), your users sign in to teamspace via their Microsoft account (Azure AD). In this guide you will learn how to configure SSO in teamspace and link the Azure AD accounts with the teamspace accounts.
1. Open the configuration
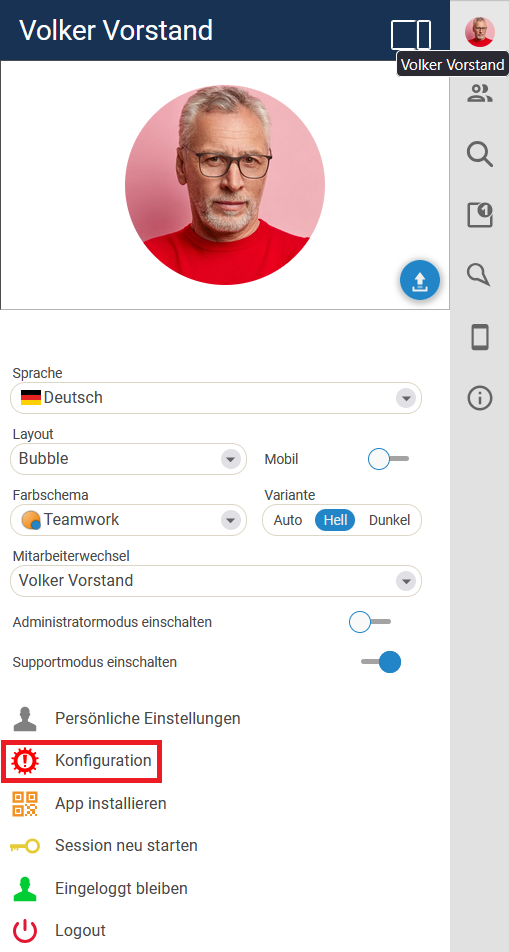
Click your user profile picture in the top right. A side menu opens. There, go to Configuration.
2. Open the interfaces
Click General and then Interfaces.

3. Grant access to Microsoft Graph
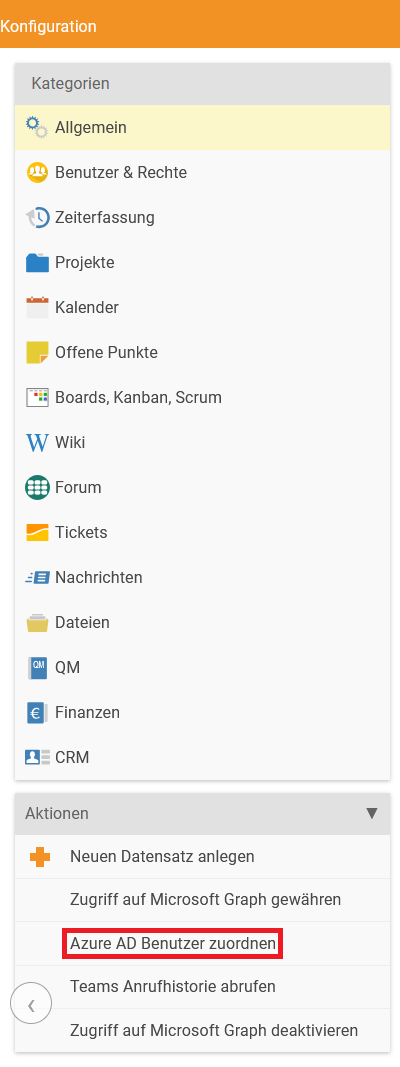
On the left in the menu you will find the Actions category. There, choose Grant access to Microsoft Graph.
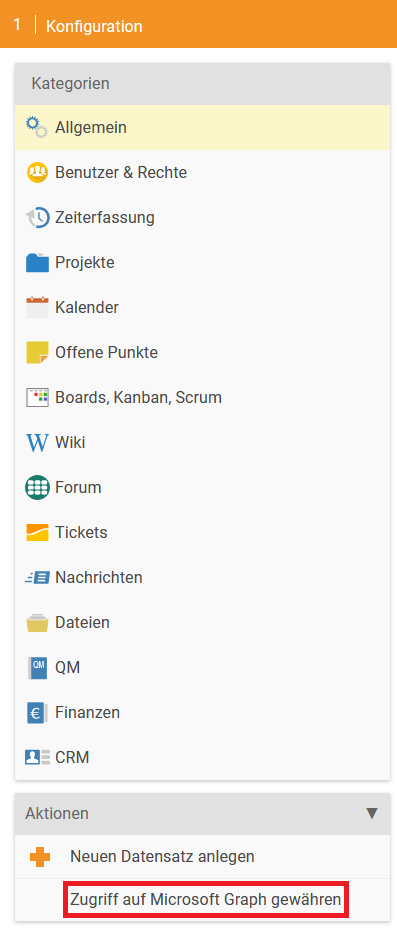
After clicking the Grant access to Microsoft Graph button, a further browser tab or a new window opens. With this you allow access from teamspace to your Microsoft Graph. This is used to be able to link the Azure AD users.
An administration account is required to grant the access.
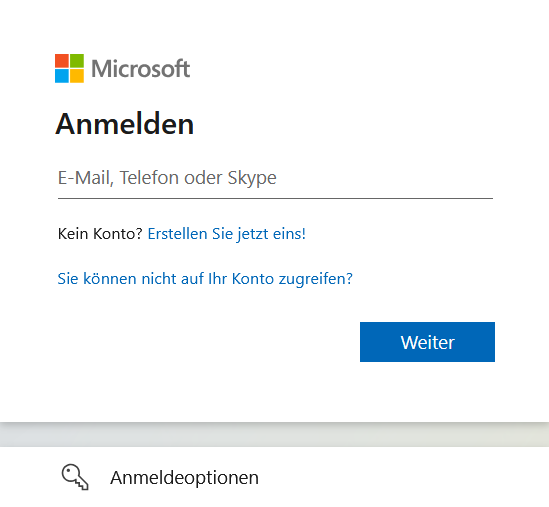
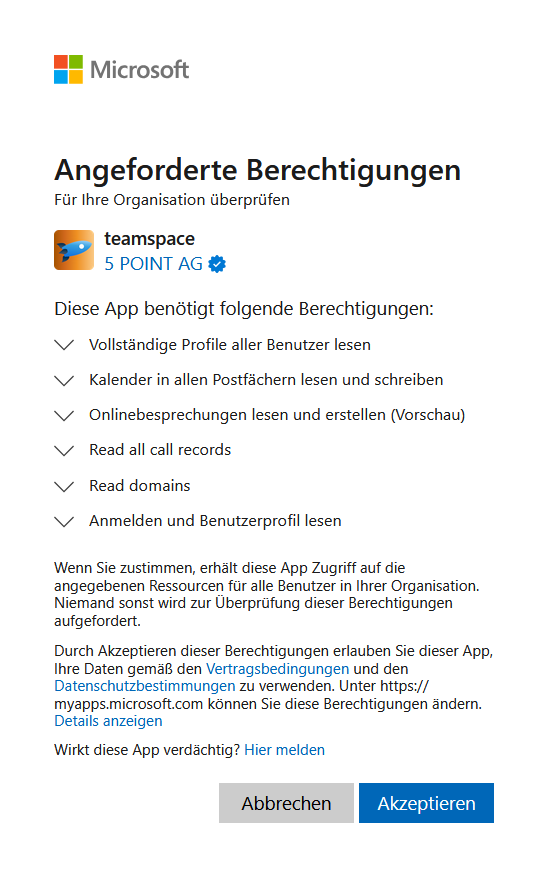
After the Microsoft sign-in, you receive an overview of the required permissions. To confirm these, click Accept. You are then redirected back to teamspace.
4. Assign Azure AD users
Now go back into the Configuration and to Interfaces. In the left-hand category under Actions you will find the Assign Azure AD users menu item. Click it – a dialog window then opens.
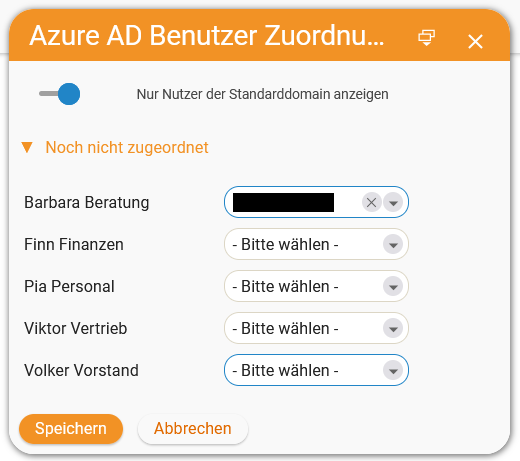
In this dialog you assign the Azure AD user to the appropriate teamspace user in the respective drop-down menu. In this guide, an AD user was assigned to the user Barbara Beratung. Finally, click Save.
5. Enable SSO for the user
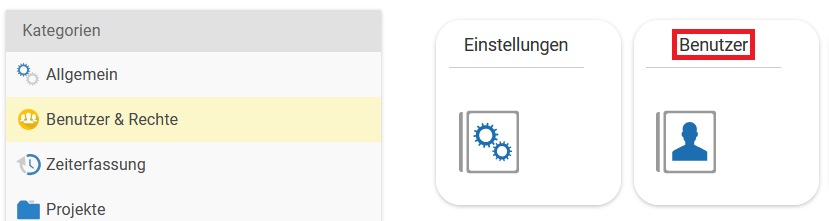
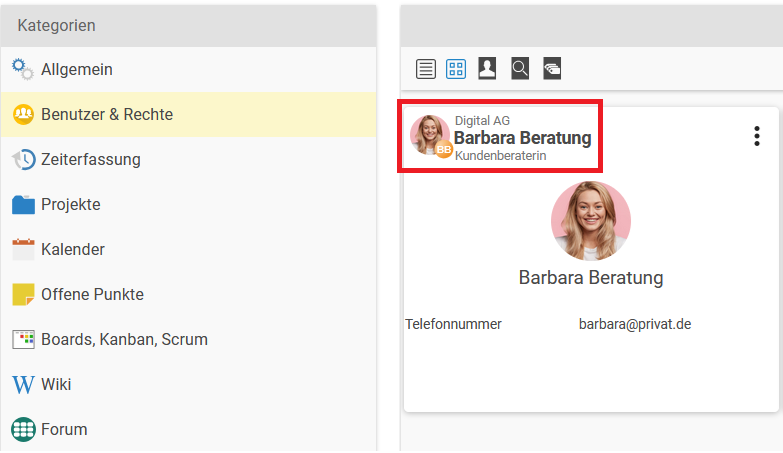
Go to Configuration → Users & rights → Users. Select the respective user (Barbara Beratung in this guide) to open the user configuration.
In the user settings you will find the User account tab in the upper menu. Open this item. Here you will find the Single sign-on option with three possible settings.
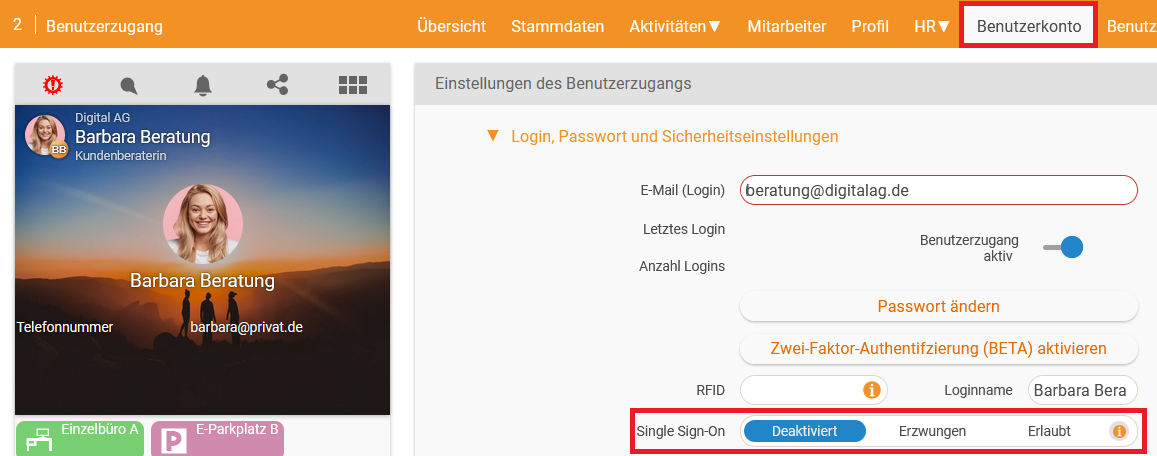
The three values mean:
- Disabled: SSO login is disabled.
- Enforced: SSO login is enforced and essential in order to sign in to teamspace.
- Allowed: Both SSO login and the teamspace login are allowed.
6. Signing in to teamspace with SSO
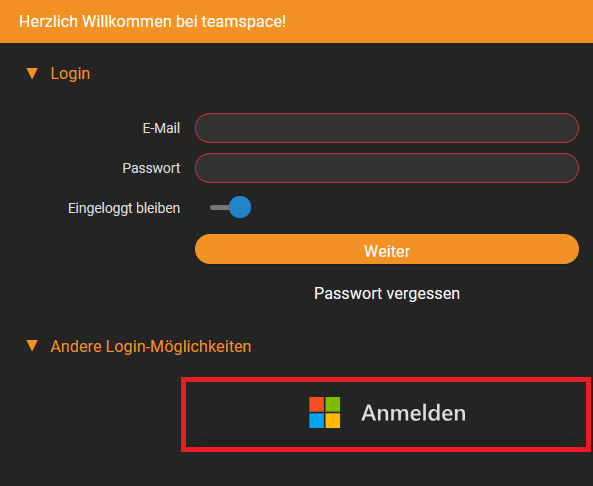
Open the login page of your teamspace. Two ways to sign in are now available there. Depending on the setting, you can use both or only one way to sign in.
To sign in with SSO, click the Sign in with Microsoft button. You are redirected to Microsoft and sign in there with your Microsoft credentials. You are then redirected to teamspace.
Notes
- A Microsoft administration account is required to grant access to Microsoft Graph.
- Access to Microsoft Graph is the prerequisite for being able to link the Azure AD users in teamspace.
- The SSO setting is defined per user in the “User account” tab (Disabled / Enforced / Allowed).
- With the Enforced setting, signing in is possible exclusively via SSO – the regular teamspace login is then no longer available for that user.
Common questions & needs
| You want to … | How to |
|---|---|
| Enable SSO in general | In the configuration, under “General → Interfaces → Actions”, use “Grant access to Microsoft Graph” (with an admin account and “Accept”). |
| Link Azure AD accounts with teamspace users | Via “Actions → Assign Azure AD users”, in the dialog select the AD user from the drop-down for each user and save. |
| Allow SSO for a user but keep the normal login | In the user, under “User account”, set the “Single sign-on” option to Allowed. |
| Allow signing in only via SSO | Set the “Single sign-on” option to Enforced. |
| Disable SSO for a user | Set the “Single sign-on” option to Disabled. |
| Sign in with SSO | On the login page, use the “Sign in with Microsoft” button. |
Related topics
- Your own Microsoft app registration Configuration Configuration
- Connect mail accounts Configuration Configuration