
Contacts are the people you really talk to – usually employees of an organisation, sometimes a private individual, sometimes a faceless point of contact such as an accounts department. The contact holds the data that belongs to an individual person: phone numbers, emails, personal address, date of birth. The contact inherits the company address from its organisation as long as it does not carry one of its own.
List and filter
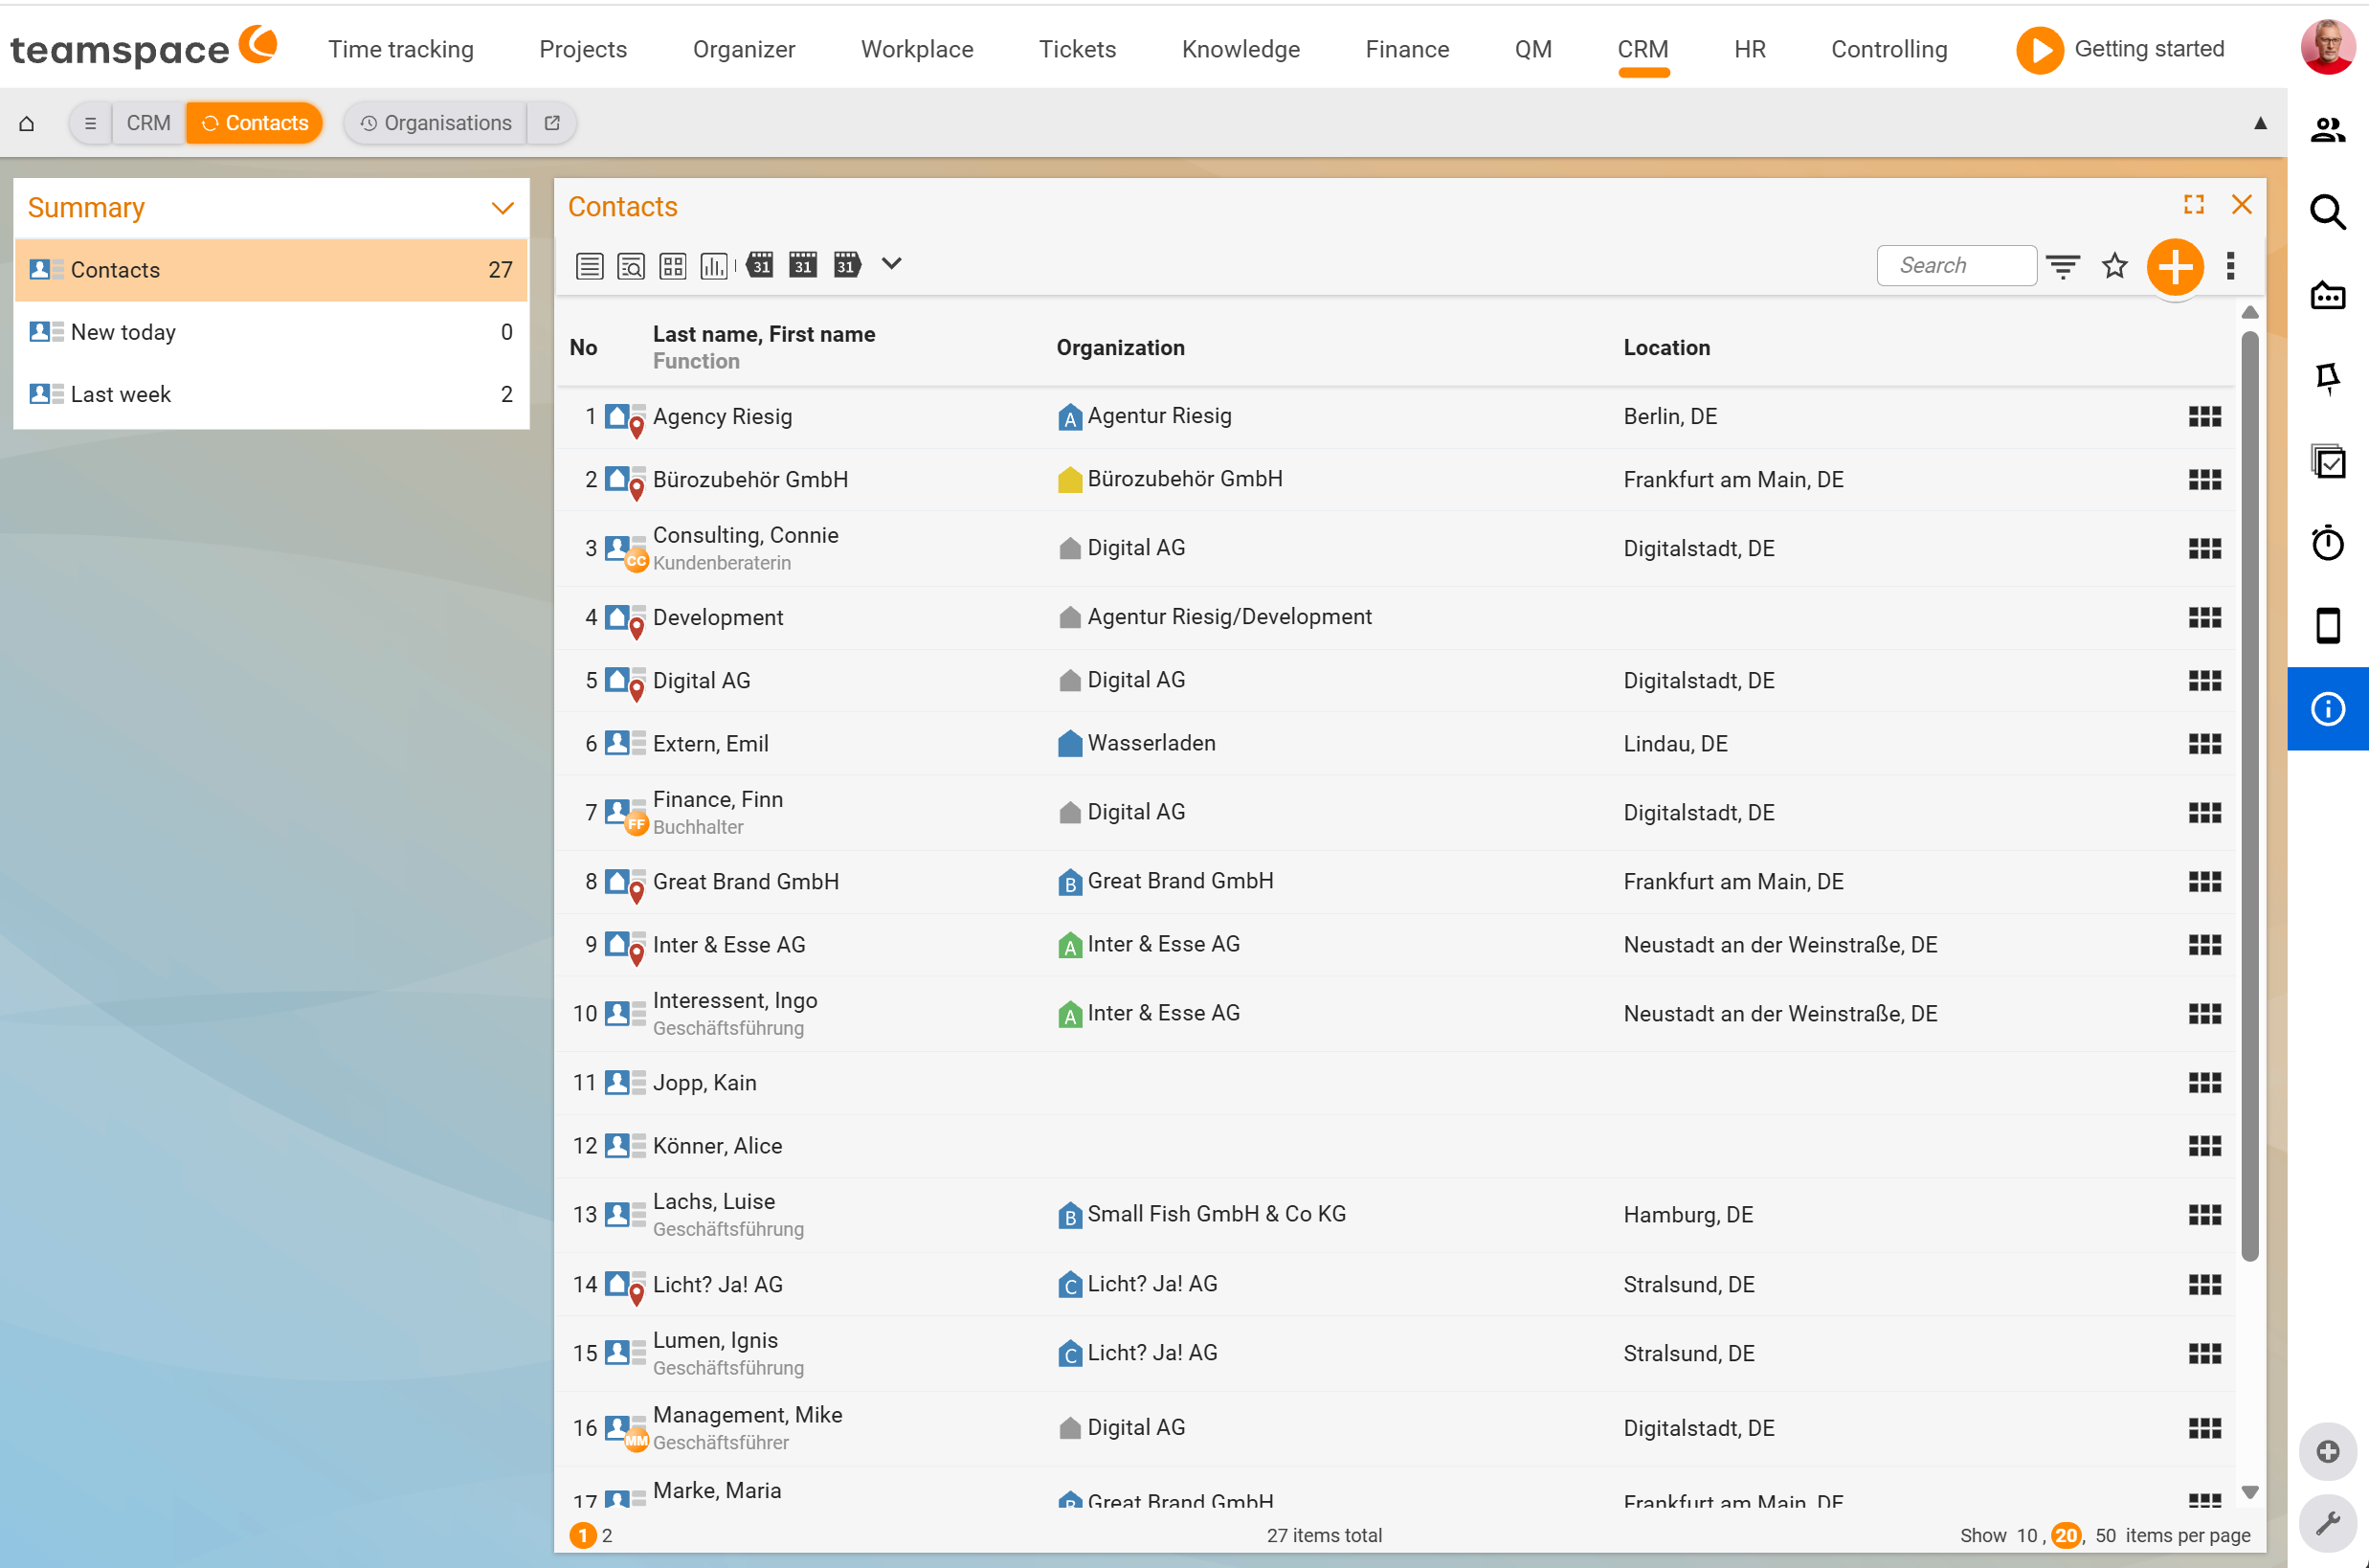
In the Contacts list tab you see all people for whom your permissions allow access. Each row shows No., Surname, First name, Position, Organisation and Town. Via the business card at the start of the row you see the date of the last activity and the next follow-up – good for spotting contacts that have gone stale. Via the multiple selection you pull marked contacts directly into a new campaign or generate address labels (see Create and send campaigns).
1. Create a new contact
Via the plus button in the list tab or via the New contact action in an organisation you create a contact. Only the Name (surname) is mandatory – first name, organisation and position are added on top of that.
If you enter an organisation in the creation dialog that does not yet exist, you can create it alongside: teamspace reports that it cannot find the company, you create it in a short step with an address and then return to the contact dialog. The contact inherits the address you give the organisation automatically.
ℹ Info: If the
Relationship to the organisationof the freshly created organisation is onAutomatic, it only becomes a prospect, customer or supplier once a matching document or project arises. Until then it stays a pure organisation.
2. The detail manager of the contact
A click on a row opens the detail manager. The tabs (order in the UI):
Overview– a quick look at the most recently updated elements plus the assigned organisation.Master data– the data that belongs to the contact.Activities– all activities with this contact.Alarms– planned reminders on the contact.Files– a separate filing area.External access– when you want to give the contact simplified access to the system.
In the Overview, the timeline shows all relevant activities with the contact (calls, emails, quotes, appointments) chronologically. On the right, the Recently edited elements box gathers them by type: Sales opportunities (n), Activities (n), Times (n), Appointments (n), Tickets (n), Documents (n), Files (n). A click opens the list; the plus button next to it creates a new element.
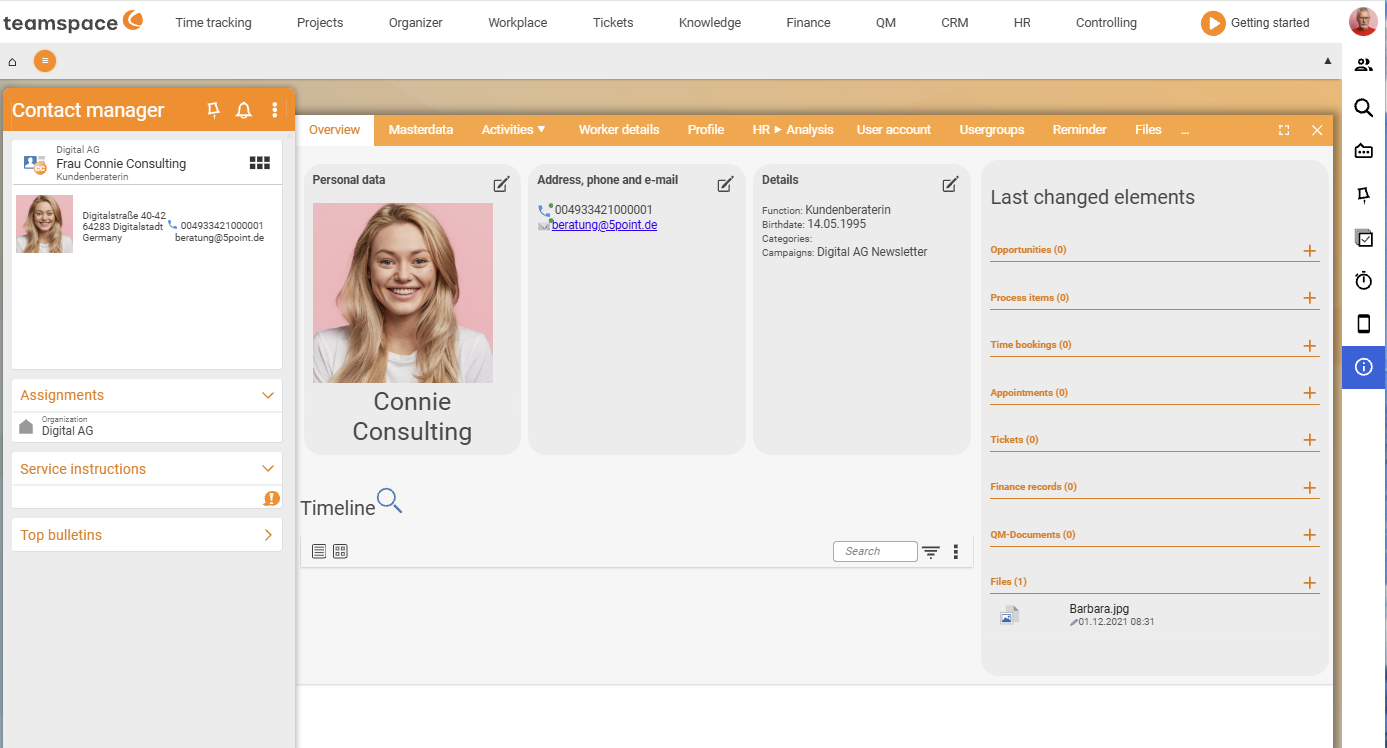
3. Maintain master data
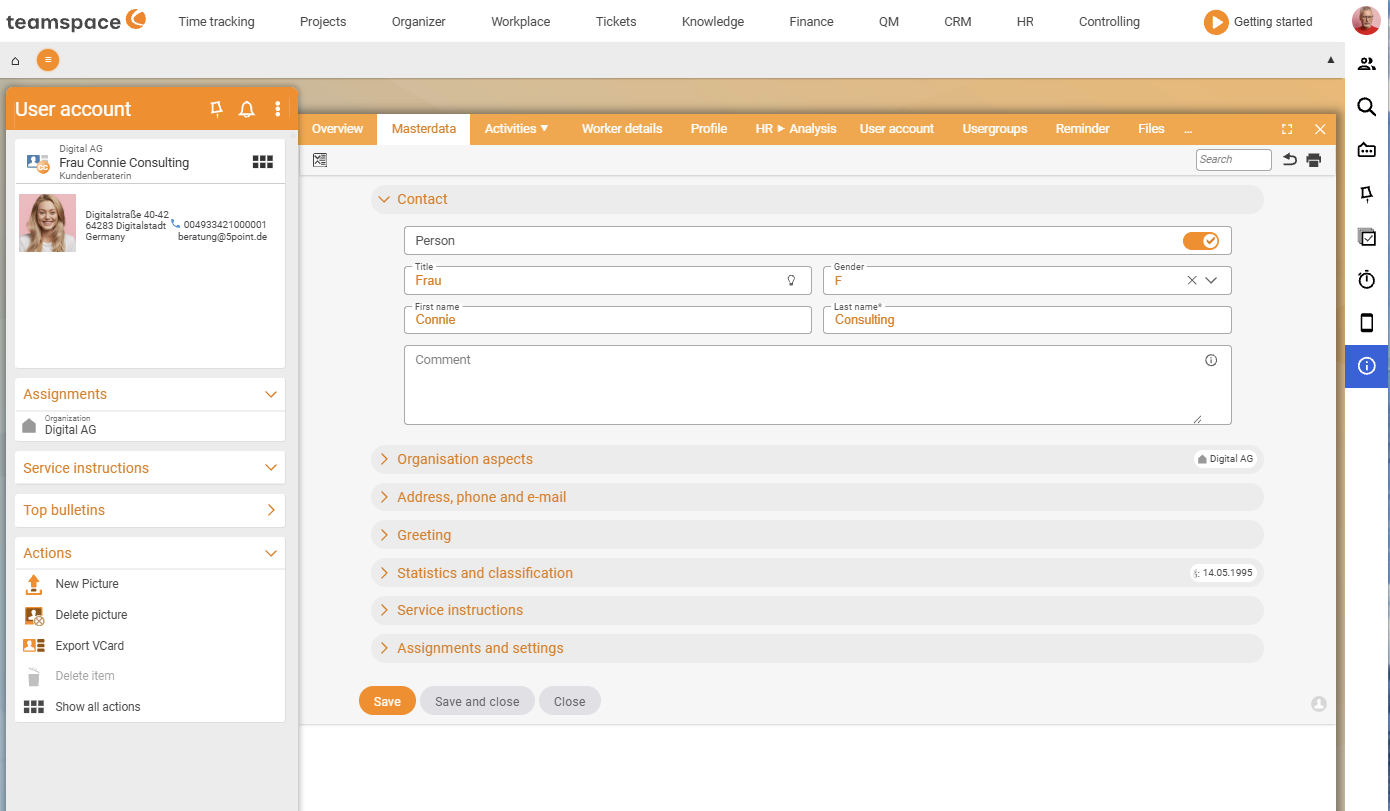
Person: salutation, first name,Name*(mandatory), gender, language, birthday. Here you also switch whether the contact is a person, an accounts department or a delivery address – the dialog adapts. For a person you have gender and salutation; for a department these fields are omitted.Organisation aspects: which organisation the contact is attached to, plus its position there. If the contact carries its own address, it overrides the inherited company address.Address, phone and email: any number of phone numbers, emails and addresses. Per category you mark one as preferred – that one lands on the business card and is used when sending. Social media profiles are underOther.Salutation: the form of address for letters and emails – set freely per contact (“Dear Nils”, “Hi …”) or taken from the tenant template (formal, informal, personal). This way you do not have to change the salutation by hand every time.Statistics and classifications: rating, status, date fields.Service note: a note that travels with the contact – like the service note on the organisation, but per person.Assignments and settings: campaigns, assistant/superiors,Key account managerat contact level, further role fields.
If you need fields that teamspace does not provide, you enable additional standard fields or create custom fields in the CRM configuration – see Set up the CRM.
4. Main contact and address inheritance
An organisation always has a main contact – marked in the organisation’s contact list with a small dot before the row. It represents the seat of the organisation: its preferred address is the company address, its email the default email address. Via the dot symbol before the row you can reassign the main contact at any time – for example when the previous person leaves the company.
As long as a contact carries no address of its own, it adopts that of the organisation; a note in the master data shows that the address is inherited. If you enter one of its own, it overrides the inherited one. This makes a change of employer easy: assign the new organisation, the company address switches over, and all previous activities stay with the contact.
5. Activities and files
In the Activities tab you see what happened with the contact – activities, times, appointments, tickets, emails, documents, sales opportunities. This keeps the whole team on the same footing, no matter who created the activity. Each contact also has its own filing area (drag & drop into the Files tab).
6. Dynamic links
Dynamic links are individual links per contact that point to an external system – such as an employee’s personal SharePoint folder. You create the general part once, the individual part is filled per contact; the link becomes visible below and to the left of the business card. This is configured in the CRM configuration under Configuration → CRM → Contacts → Dynamic links – the Name field for the general part, below it the individual link part with placeholders from the lightbulb symbol.
7. External access
In the External access tab you grant a contact simplified access to teamspace: the system generates access credentials and sends them to the stored email. The contact then sees only tickets, project activities and files assigned to it. In the configuration you define whether it sees only its own elements or also those of other contacts of the same organisation – this is how you build a lightweight customer portal without maintaining a second system.
Actions on the contact
In the Actions section of the left sidebar are quick actions – new activity, new appointment, new email, create ticket. The full set is opened by Show all actions.
⚠ Important: If you force the relationship to the organisation to
Prospect, it stays that way even when the contact has long since received an invoice.Automaticis almost always the more robust setting.
Common questions & needs
| You want to … | How to do it |
|---|---|
| Create a contact together with a new company | Enter the not-yet-existing organisation in the contact dialog and create it alongside; the contact inherits the company address automatically. |
| Store a different private address | In the Address, phone and email area, enter an address of its own – it overrides the inherited company address. |
| Set a personal letter salutation | In the Salutation area, enter freely (e.g. “Dear Nils”) or use the tenant template (formal/informal/personal). |
| Change the firm’s main contact | In the organisation’s contact list, set the new main contact via the dot symbol before the row. |
| Give a customer a lightweight portal | In the External access tab, grant access; set the visibility in the configuration. |
| Jump from the contact straight into an external system | Set up dynamic links in the CRM configuration (Configuration → CRM → Contacts → Dynamic links). |