
A board does not only collect free-form notes. You can place any elements from the system – tickets, work packages, quotes, CRM contacts – directly on the board and keep working with them using the board logic. A board card then refers to the linked element; changes stay in sync everywhere.
Option A: individual elements via drag & drop
For individual items, drag & drop is the fastest way:
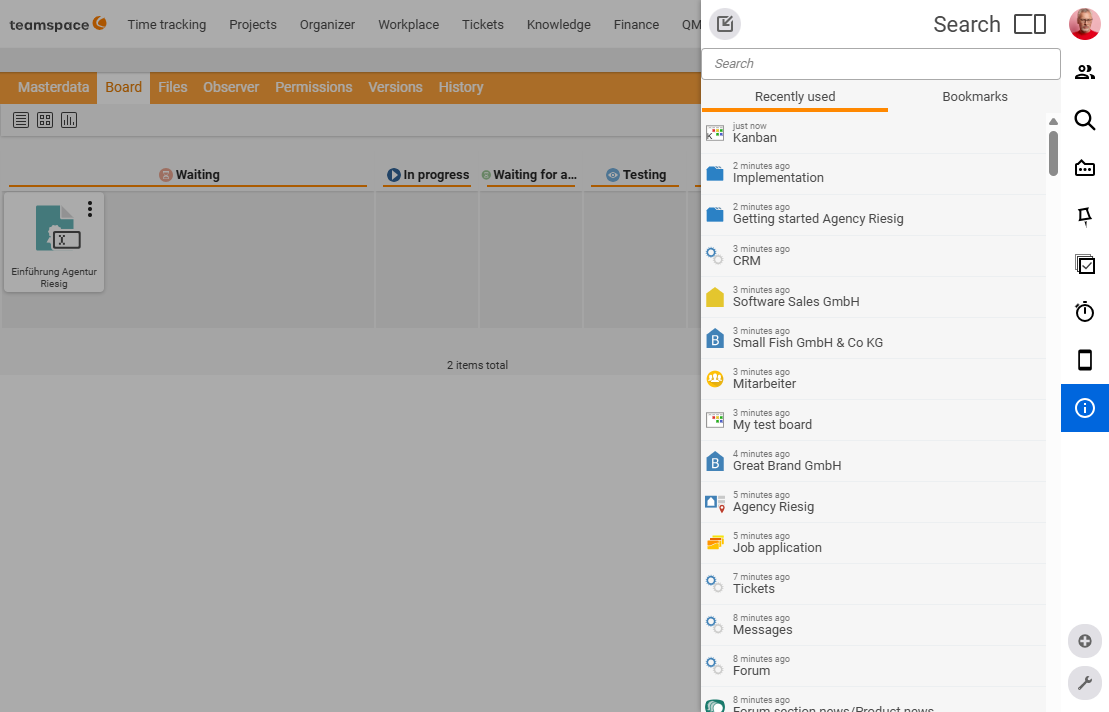
- Open the “Recently used” overview via the sidebar (or search for the element directly).
- Drag the desired element (e.g. a ticket, a work package or a note) from there onto the board via drag & drop.
- When the workflow status changes, simply drag the card to the next column.
Option B: fill open tasks automatically
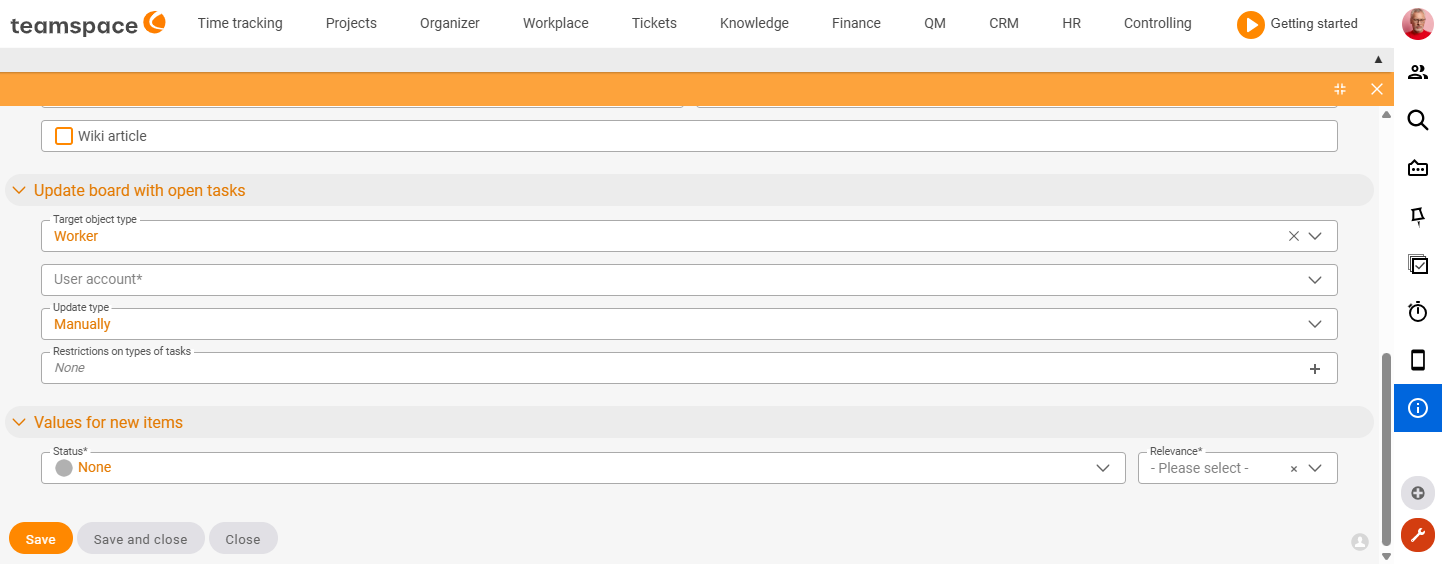
If a board is to be filled continuously with open tasks, use the “Update pin board with open tasks” section in the master data:
- Choose the target object type: open tasks of a project, a project directory or an employee.
- Specify a user account – so that only tasks this user is also allowed to see appear. (For “employee”, this concerns that employee’s tasks specifically.)
- Set the update mode:
- Automatic – new open tasks land on the board immediately.
- Manual – you update via a green action on the board whenever you want.
- Set relevance and status for the transfer: at which priority and in which status (e.g. “Open”) the tasks appear on the board.
Option C: directly from the element
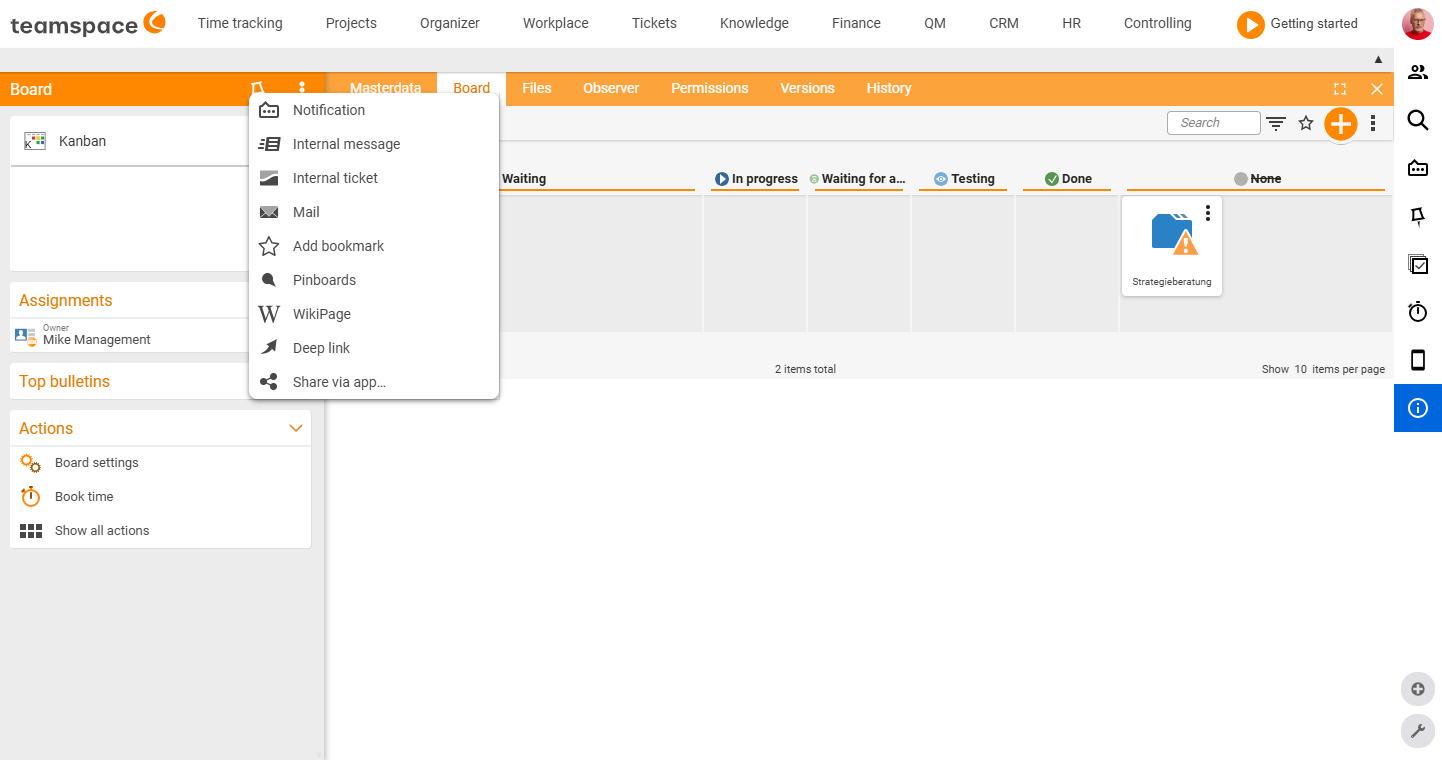
If you have already opened an element (ticket, work package, contact, etc.), you can place it onto a pin board directly from the detail manager – without opening the board first:
- Open the three-dots menu (⋮) at the top right of the detail manager.
- Select “Pin boards”.
- Choose the desired pin board – all boards you have permission for are available. The element is linked to the item as a card.
Using the pin icon at the top, you can instead quickly place the element onto your personal pin board.
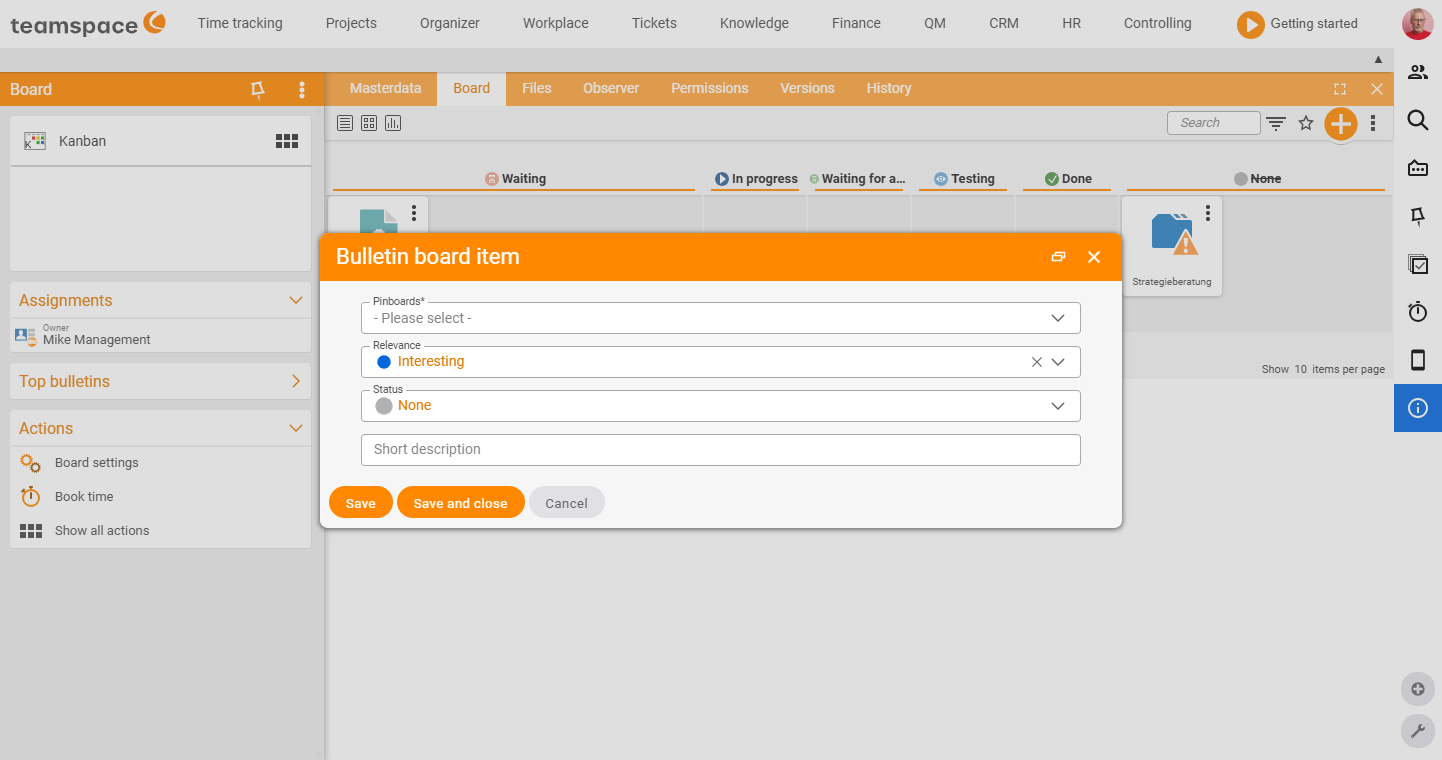
Option D: create a new link from the board
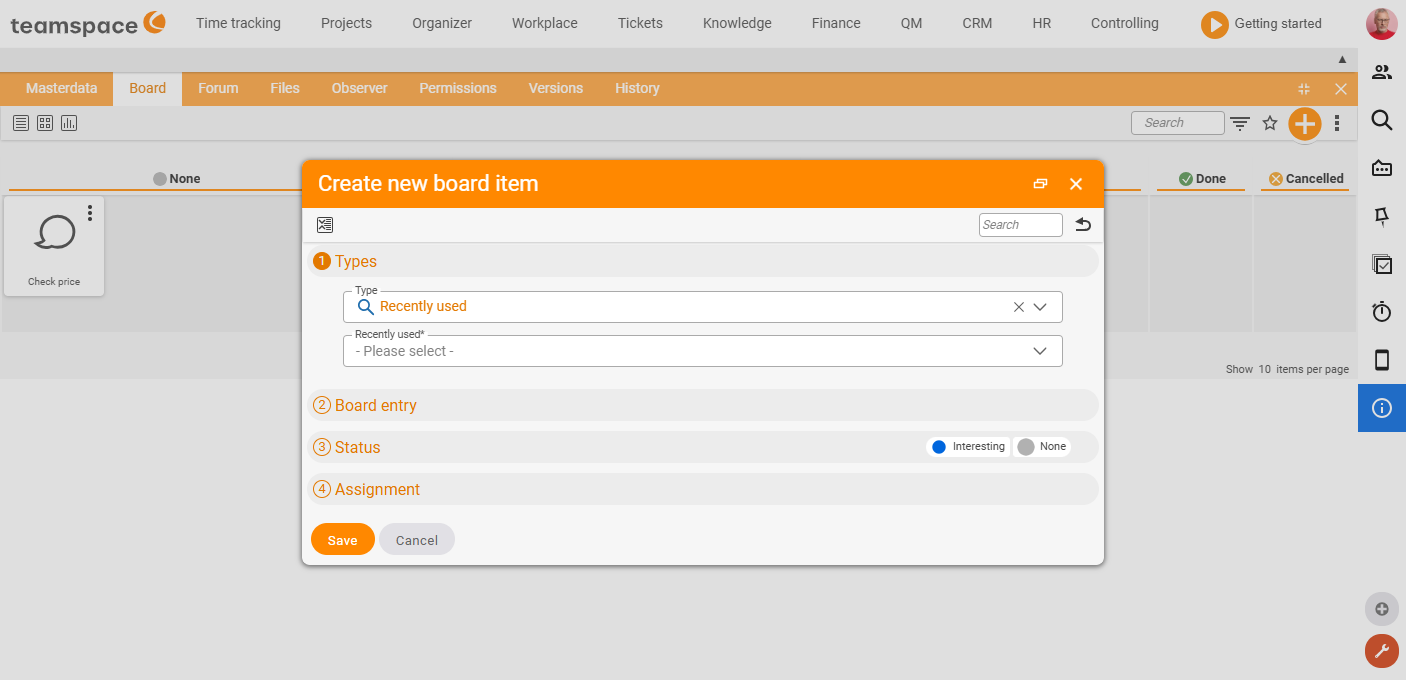
You can also start the link from the board itself – using the plus you create a new card and connect it directly to an existing element:
- On the board, click the plus.
- Choose the type of the element (e.g. ticket, work package, contact). You get a selection box in which you choose the specific element to link.
- Alternatively, choose “Recently used” as the type – the selection box then shows your most recently used elements directly for quick selection.
Typical use cases
- Support tickets – collect internal tickets or customer requests on a Kanban board and drag them from column to column depending on progress. See Ticketing.
- Sales actions – drag the contacts of a campaign onto the board and move them depending on whether you have already followed up. See CRM.
- Project tasks – transfer the work packages of a project (automatically if desired) and work through them in an agile way with Kanban or Scrum. See Project management.
Notes
- Which statuses, columns and card info are shown is set in the board settings.
- For your small personal to-dos, the personal pin board is the right place.