
You synchronise Outlook through the dedicated teamSync client for Windows. Synchronisation via Outlook is only possible on Windows.
1. Install teamSync
Download teamSync from the download page – matching your Outlook variant (64-bit is the standard; 32-bit only for older systems). To see which variant you have, check Outlook under Office Account → About Outlook. Double-click the downloaded file to start the installation.
2. The interface
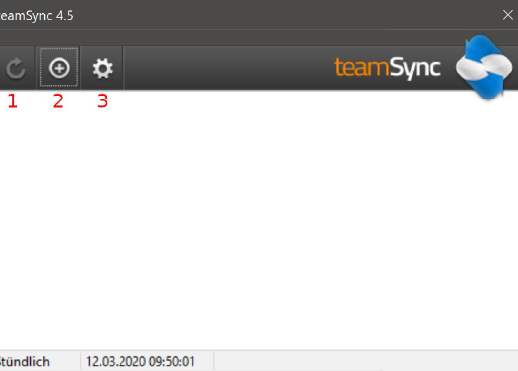
On first launch you see the main window with an initially empty connection overview. Three buttons are available:
- Start manual synchronisation – active as soon as a connection has been created.
- Create new connection.
- General settings for teamSync.
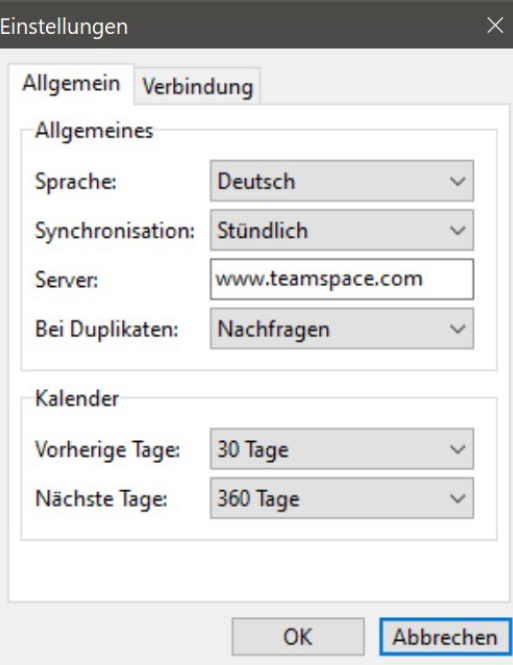
General settings
Here you define:
- the language,
- whether synchronisation runs manually or automatically at intervals,
- the period for which appointments are synchronised (appointments far in the past or future are left out to keep the data volume small),
- if needed, a proxy server or an unsecured connection (e.g. for a self-hosted server).
3. Set up a connection
A connection defines which data is synchronised with which Outlook calendar or address book. Each connection always synchronises only one kind of data – that is, either appointments, tasks or contacts. For several data types you create several connections accordingly.
When you create a new connection, you first choose the product. Choose Custom Server here.

Credentials
Enter the connection details from your sync profile. Use the details labelled teamSync (connect to Custom Server). Then click Next.
Connection type
Choose whether you want to synchronise calendar, address book or tasks. Each data type needs its own connection.
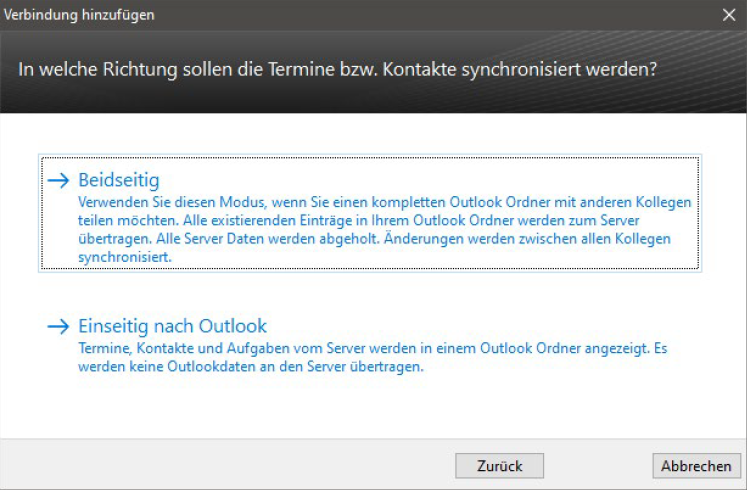
Direction of synchronisation
teamSync can synchronise one-way or two-way. Only with two-way synchronisation are changes and new appointments that you create in Outlook transferred to the server. Choose one-way synchronisation when you want to make sure that no data is changed through Outlook.
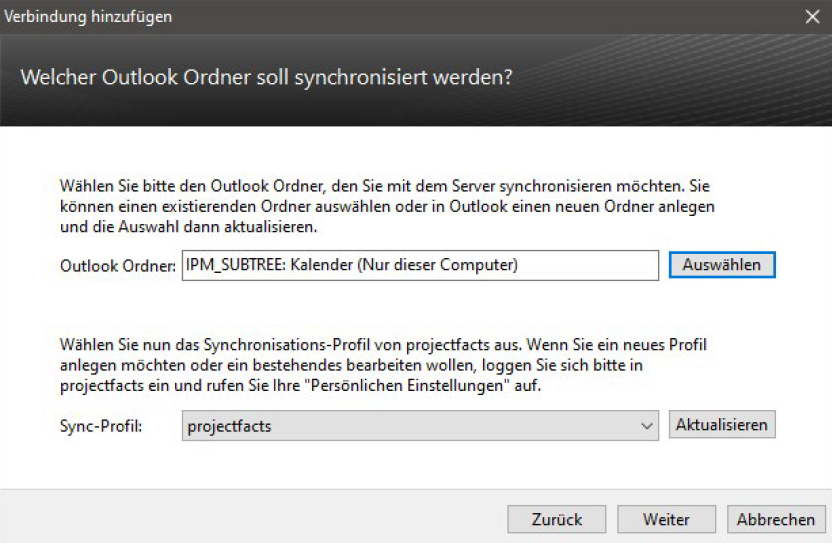
Choosing the Outlook folder
Set which folder (calendar or address book) you connect to the server. Since you work with several calendars in Outlook and can overlay them, we recommend a dedicated calendar for synchronisation – especially if you also have appointments you don’t want to synchronise (such as private ones).
When you synchronise with projectfacts, also choose a suitable synchronisation profile here. It determines which data comes from the server and how data created in Outlook is imported into projectfacts.
Labelling
If you don’t use a separate calendar, you can have synchronised entries specially labelled:
- as a marker appended to the subject in square brackets, or
- via categories.
Before transfer to the server, the labels are removed again.
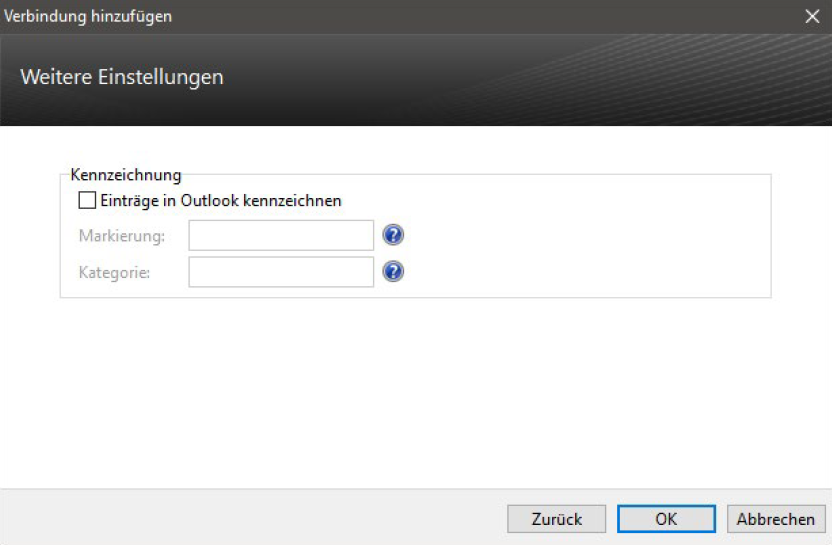
Note: Labelling with a category cannot be changed afterwards once the connection has been created.
4. Edit and remove connections
To edit an existing connection, right-click it:
- Edit connection – runs through the same steps as when creating it.
- Remove connection – teamSync asks how to handle the linked entries:
- Keep data – the connection is deleted, all data is retained.
- Delete data (recommended) – the connection and all entries in the linked Outlook folder are removed.
Why “Delete data”? If you keep the data and create the connection again later, all existing appointments would be duplicated.