


An MCP configuration is an access to teamspace in its own right: with its own address, its own set of tools and its own release. You create as many of them as you have use cases – a general access for everyone, an HR access for the HR department, a sales access for the sales team.
This article covers the first step: creating the access itself. Which tools go into it is covered in Select and tailor tools.
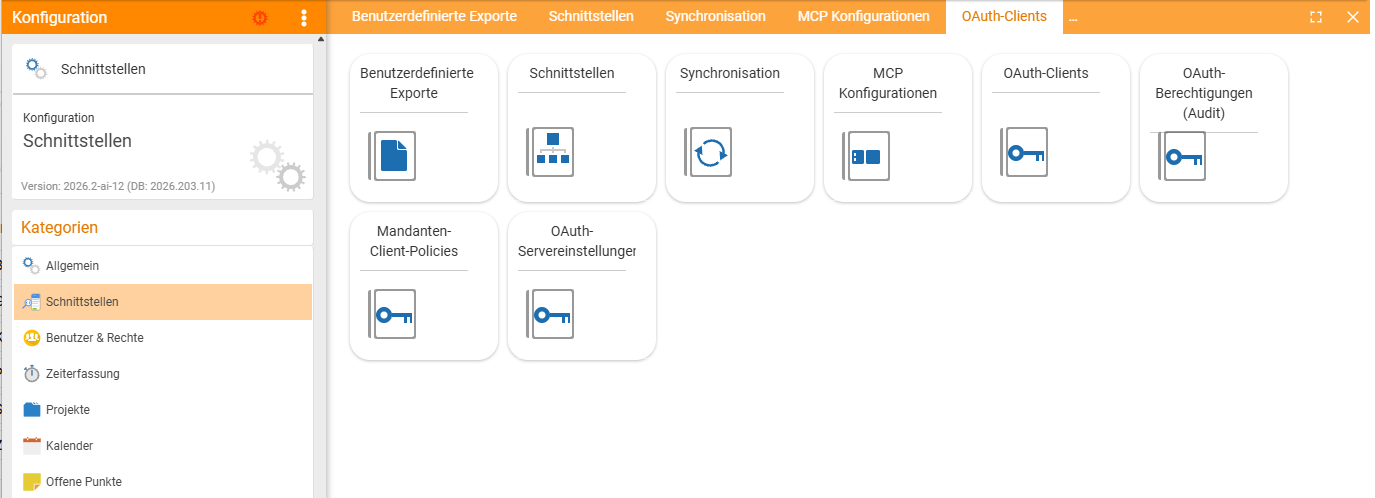
Where the MCP configurations live
Configuration → Interfaces → MCP configurationsThe Interfaces category gathers everything that connects teamspace to the outside world – alongside the MCP configurations, the OAuth tiles that play a part in MCP also live here.
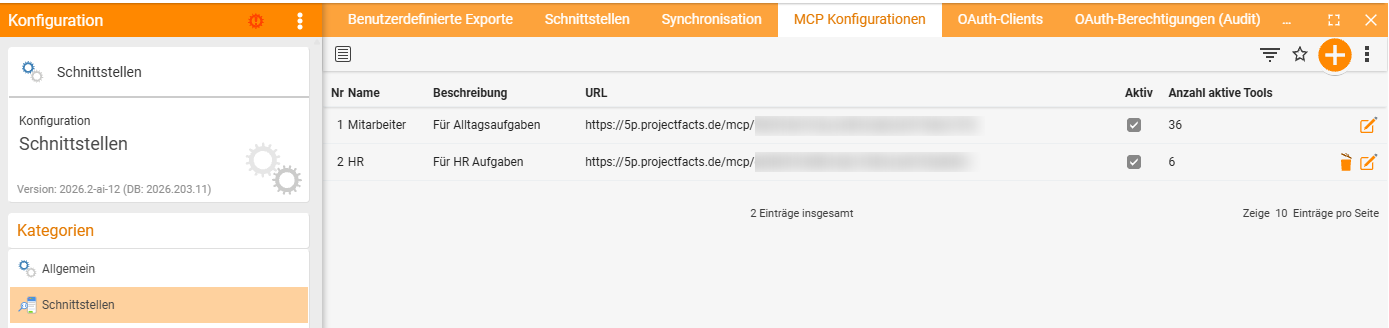
The list shows all existing accesses with name, description, address, the Active flag and the Number of active tools – the last column is the most useful one in day-to-day work, because it tells you at a glance whether an access has stayed lean.
Creating an access
-
Open
Configuration → Interfaces → MCP configurations. -
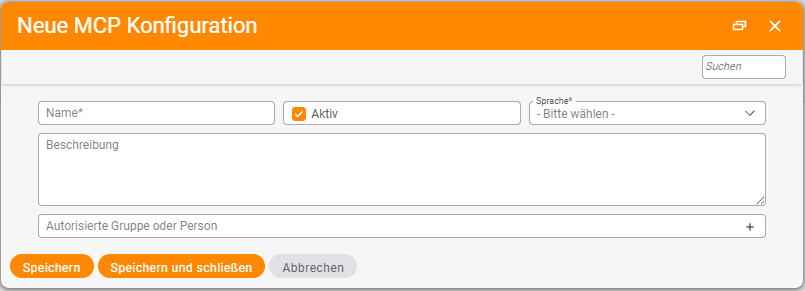
Click the plus at the top right. The New MCP configuration dialog appears.
-
Fill in the fields:
Field Required Meaning Name yes Appears to the user on the OAuth consent screen. Choose something meaningful like “Employee” or “Sales” – not “MCP2”. Active – Controls whether the access responds. Set by default; removing it is the fastest kill switch. Language yes The language in which the tools are described. It applies to the whole access, not per user. Allowed operations – What the access permits: Read, Write, Delete. For a read-only access, leave only “Read”. You then set the operations for each tool individually on the Tools tab. Description – One sentence on what the access is for – e.g. “For everyday tasks”. Helps you tidy up later. Authorised group or person – Who may use the access. Add more via the plus. -
Save and close.
The access now exists – but without tools it can do nothing. Continue with Select and tailor tools.
Handing the address to your users
On saving, each configuration is given an address of its own following this pattern:
https://<your-tenant>/mcp/<identifier>The identifier is a long, random string and is different for every access. You’ll find the finished address in the details panel of the configuration, in the Connect MCP client area – with a copy button and brief instructions for the client.
This address is all a user needs – they enter it in their client, log in via OAuth, done. Every user can see for themselves which accesses are enabled for them, in their personal settings under Devices → MCP configurations. See Connect teamspace to Claude.
The address is not a password. It may sit on the intranet or go out by email. Anyone without a release gets nowhere with it, and anyone with a release sees only what their permissions allow anyway – see Security and permissions with MCP.
Common problems
The user has the address but can’t get in. Their account is not released for this access. Add them or their group under Authorised group or person – the address alone is not enough.
The client connects but finds no tools. The access has no active tools yet. Open the Tools tab and switch some on – see Select and tailor tools. At the same time, check that the configuration’s Active flag is set.
Common questions & needs
| You want to … | How to |
|---|---|
| An access for all employees | Create a configuration, enter the employee group as the authorised group and leave only Read under Allowed operations. |
| Copy the address of an access | Open the configuration – in the details panel on the left, under Connect MCP client, you’ll find the server URL with a copy button. |
| An access for one department only | Under “Authorised group or person”, enter only that group. |
| Switch an access off quickly | Remove the Active flag. Takes effect immediately, including for already connected clients. |
| Know who has connected the access | Configuration → Interfaces → OAuth authorisations (audit). |
| An access for an English-speaking team | Create a separate configuration with Language = English. The language applies per access, not per user. |
| Check whether an access has grown too large | The Number of active tools column in the list, then the token estimate in the details panel of the access. |
| Release several groups | In the “Authorised group or person” field, add more via the plus. |
Notes
- Several lean accesses rather than one for everything. This is not a question of tidiness but of speed – the reasoning is in How MCP works in teamspace.
- The name is public. It appears on the OAuth consent screen that every user sees when connecting.
- The release does not replace permissions. It decides who may use the access – not what they get to see through it.
- Changes to the tools take effect immediately. Users don’t have to set up their connector again.
Related topics
- Select and tailor tools MCP & AI agents Configuration
- Security and permissions with MCP MCP & AI agents Concept
- Connect teamspace to Claude MCP & AI agents How-to
- Topic: Permissions Permissions