
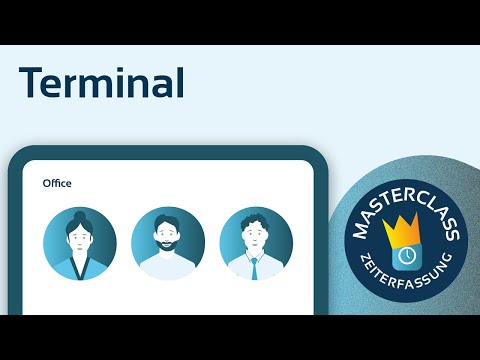
A time terminal is the digital time clock for the shared location: at a centrally placed device (e.g. by the entrance), employees clock in and out “in passing”. teamspace needs no special hardware for this – any device with a web browser will do, and the connection runs via an access authorisation.
1. Create the terminal in the interfaces
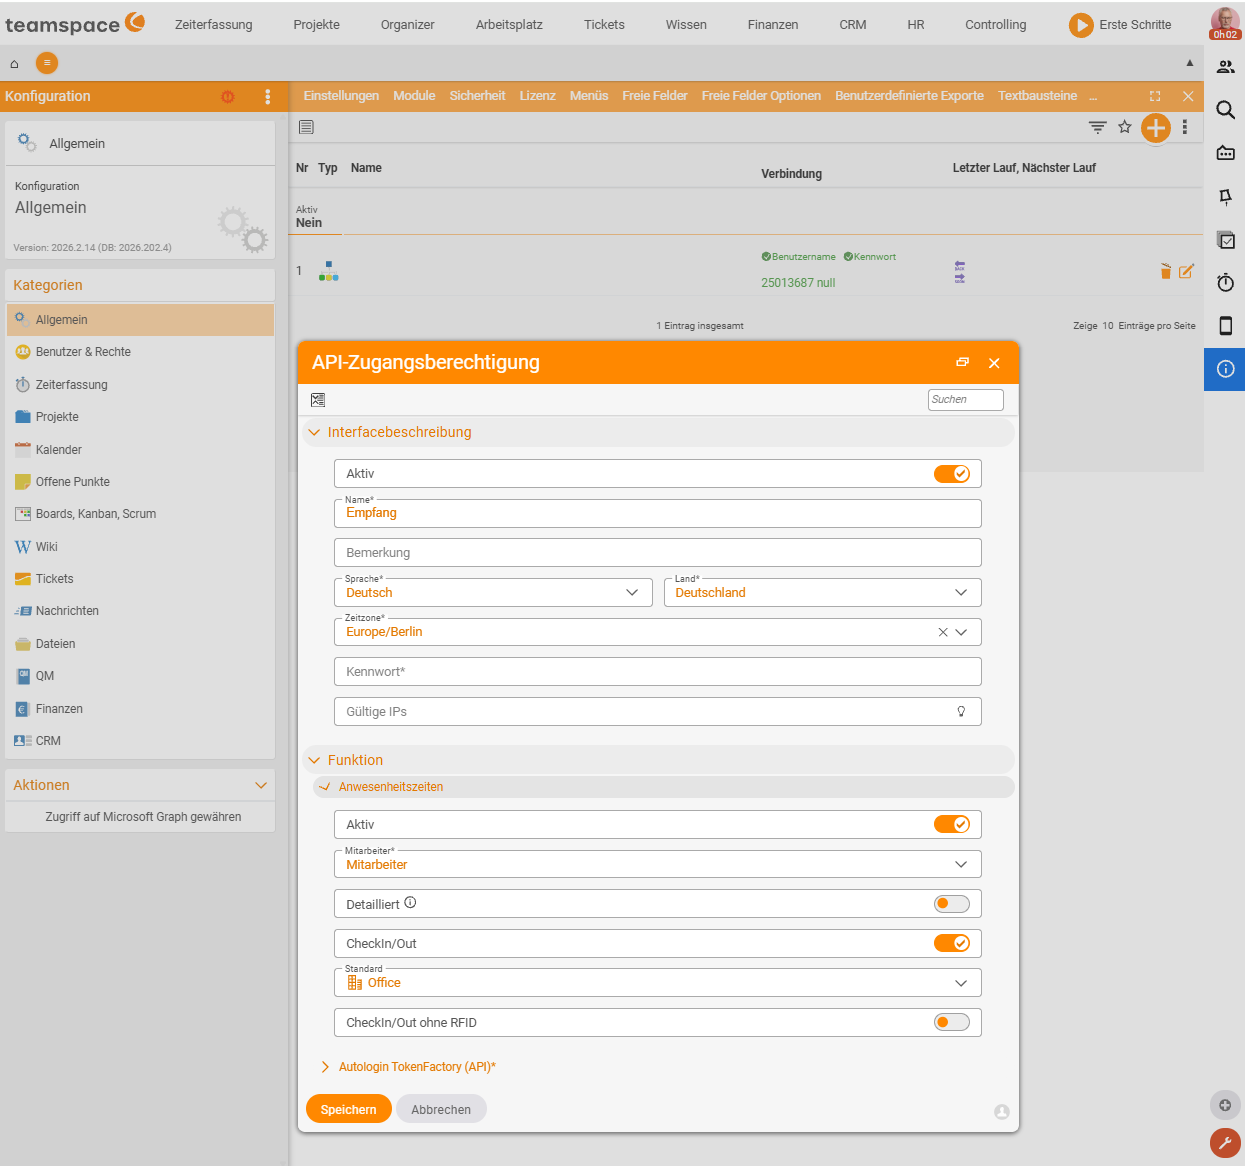
The terminal is set up in the configuration as an interface of its own.
Configuration › General › Interfaces- Create a new terminal via the plus sign.
- Choose the access authorisation the device uses to log in (it needs the rights for check-in/check-out).
- Set the preset attendance-time category (e.g.
Office). - Optional: restrict the employee group so that only certain people appear at the device.
Further switches control the behaviour of the terminal interface:
- Card chip only or, in addition, touchscreen (identification by RFID card or by tapping).
- Detailed – shows the exact times/balances rather than just in/out.
- Show employee photos and show absent employees on/off, plus the colour scheme.
2. Open the terminal interface
Open the terminal URL in the browser on the device – depending on the installation, as a server address with a port (e.g. http://127.0.0.1:8111 for a locally run terminal) or via the terminal app linked on the overview page at <your-server>/htdocs/apps/terminal. Clicking a blank spot on the terminal interface opens its configuration at any time.
3. Run it in kiosk mode
So that the terminal runs permanently and free of distractions, you start the browser in kiosk mode (full screen without a toolbar) and – for a fixed all-in-one PC, say – set up an autostart with a stored user/password for the kiosk login. On tablets, installing it as a web app (PWA) is also recommended.
4. Putting it into operation
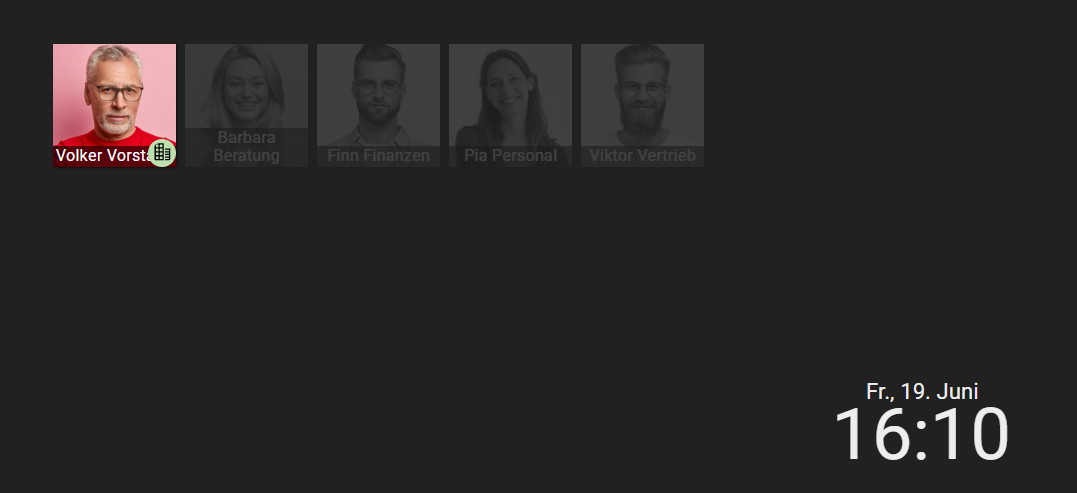
- Place the device centrally (entrance/kitchen).
- Employees identify themselves by RFID card or touchscreen selection; a confirmation dialog (e.g. “Do you want to check in?”) completes the clocking.
- The bookings appear immediately in the time tracking of each person.
Notes
- The terminal records attendance time – employees still book project times themselves (see Book project times).
- If clocking should only happen on site, combine the terminal with an IP restriction (see Check in and check out).
- Grant the access authorisation only the necessary check-in/check-out rights – no more.
Common questions & needs
| You want to … | How to |
|---|---|
| Create a new terminal | Under Configuration → General → Interfaces, set up a terminal via the plus sign. |
| Define how the device logs in | Assign an access authorisation with the rights for check-in/check-out. |
| Preset a clocking category | Set the terminal’s attendance-time category (e.g. Office). |
| Show only certain people at the device | Optionally restrict the employee group. |
| Identify by RFID card or touchscreen | Allow it via the Card chip only or, in addition, touchscreen switches. |
| Show exact times/balances at the terminal | Enable the Detailed switch. |
| Run the terminal permanently and distraction-free | Start the browser in kiosk mode (full screen) and, if needed, set up an autostart with a kiosk login. |
| Allow clocking only on site | Combine the terminal with an IP restriction (see Check in and check out). |
Related topics
- Check in and check out (with video) Time tracking How-to
- Install teamspace as an app (PWA) (with video) Time tracking How-to
- Working-time recording