

Attendance time works like a digital time clock: you check in when you start work and check out at the end of the day – in between you record your breaks. From these, teamspace builds attendance blocks accurate to the minute. You can do this in the browser, in the installed web app (PWA) or at a time terminal.
Check in and check out
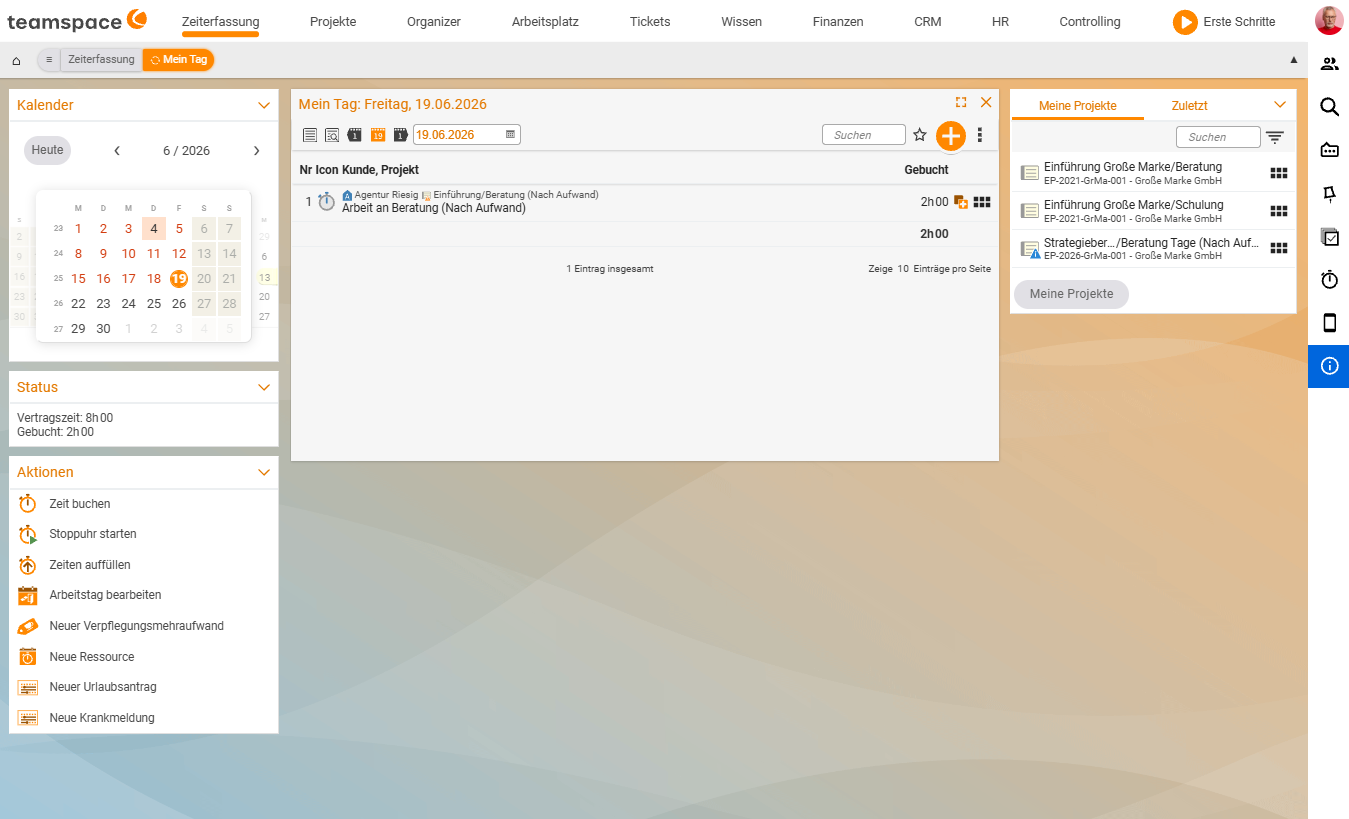
You will find the actions in the Time tracking → My day area (and, depending on the configuration, also in the status bar).
Time tracking › My day › Start work- Click Start work (check-in) at the start of your day. teamspace starts an attendance block at the current time.
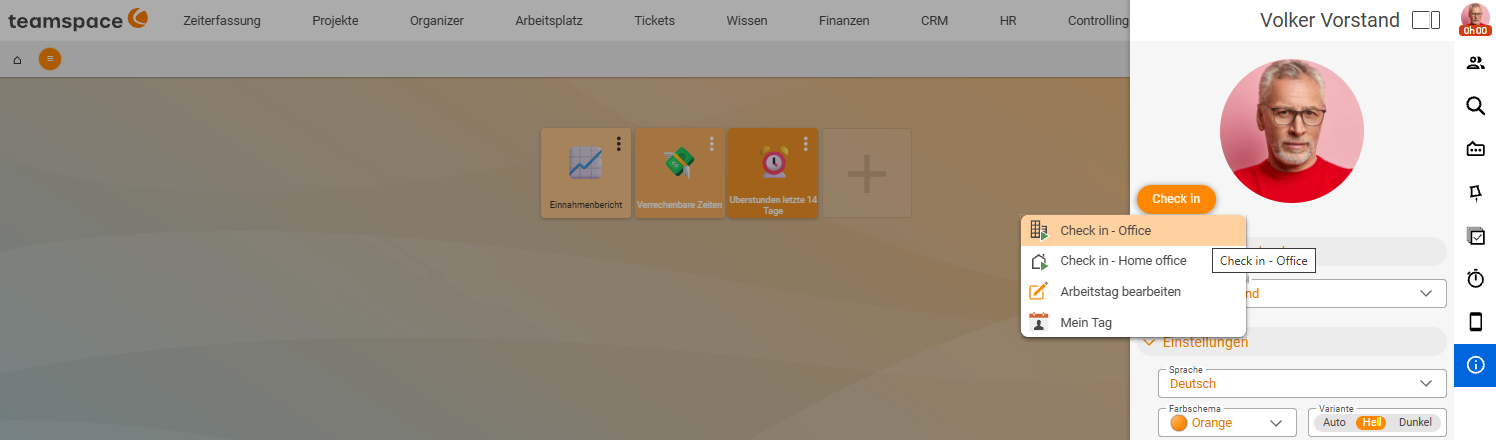
- If set up, choose a category for the work location, e.g.
Office,Home officeorExternal work. This makes it traceable later where the work was done. - At the end of the day, click End working day (check-out). The block is closed.
Recording a break
For your lunch break, simply check out briefly and back in afterwards:
- Click Break (i.e. check-out) when your break begins.
- Click Start work (check-in) again after the break.
Alternatively, your company can store automatic break rules (e.g. “deduct 30 minutes after 6 hours”). You then do not need to clock the break yourself – it is taken into account based on the rule. How this is set up is described in Configure time tracking.
Who is in right now?
Your status is also visible to colleagues: the clock icon (status bar) is green when you are checked in and red when you are checked out, with the duration of the current session running alongside it. The attendance mini view shows you who is currently checked in, and the sidebar shows the team’s expected arrival – useful for availability and cover.
Location-based check-in (IP restriction)
If clocking should only be allowed from the company network, your administrators set up an IP restriction. If your IP address lies outside the permitted range, check-in is blocked – this lets you enforce, for example, that “Office” time is actually clocked in the office. The configuration is done by your administrators.
Notes
- You correct forgotten clockings afterwards in the attendance blocks – as long as the day is not locked. See Editing attendance times.
- Check-in does not replace project time. If you want to allocate effort to individual projects, you also book project times.
- For clocking on the move, the app installation (PWA) is worthwhile.
Common questions & needs
| You want to … | How to |
|---|---|
| Record the start of work | In Time tracking → My day, click Start work (check-in). |
| Record the end of the day | Click End working day (check-out) – the attendance block is closed. |
| Note where you are working (office, home office) | When checking in, choose the category for the work location (e.g. Office, Home office, External work). |
| Clock a break | Click Break (check-out) when the break begins, then Start work (check-in) again afterwards. |
| Not have to clock breaks yourself | Use automatic break rules – set up in Configure time tracking. |
| See who is currently checked in | Use the attendance mini view; the clock icon in the status bar shows green (checked in) or red (checked out). |
| Allow clocking only from the company network | Your administrators set up an IP restriction; check-in is blocked outside the permitted range. |
| Correct a forgotten clocking | Adjust the attendance block afterwards, as long as the day is not locked – see Editing attendance times. |
| Allocate effort to individual projects | Also book project times – check-in does not replace project time. |
| Clock on the move | Install teamspace as an app (PWA). |
Related topics
- Understanding and editing attendance times (with video) Time tracking Concept
- Set up a time terminal Time tracking How-to
- Recording time by check-in