

A travel expense report sums up a business trip – period, addresses, meal allowances, documents. You bundle everything that belongs to the trip and release it for review once – not each element individually. In the end the reimbursement amount flows back via employee payroll. For billing a trip this is the standard route (individual documents also work without a bundle).
Create the trip – the create dialog
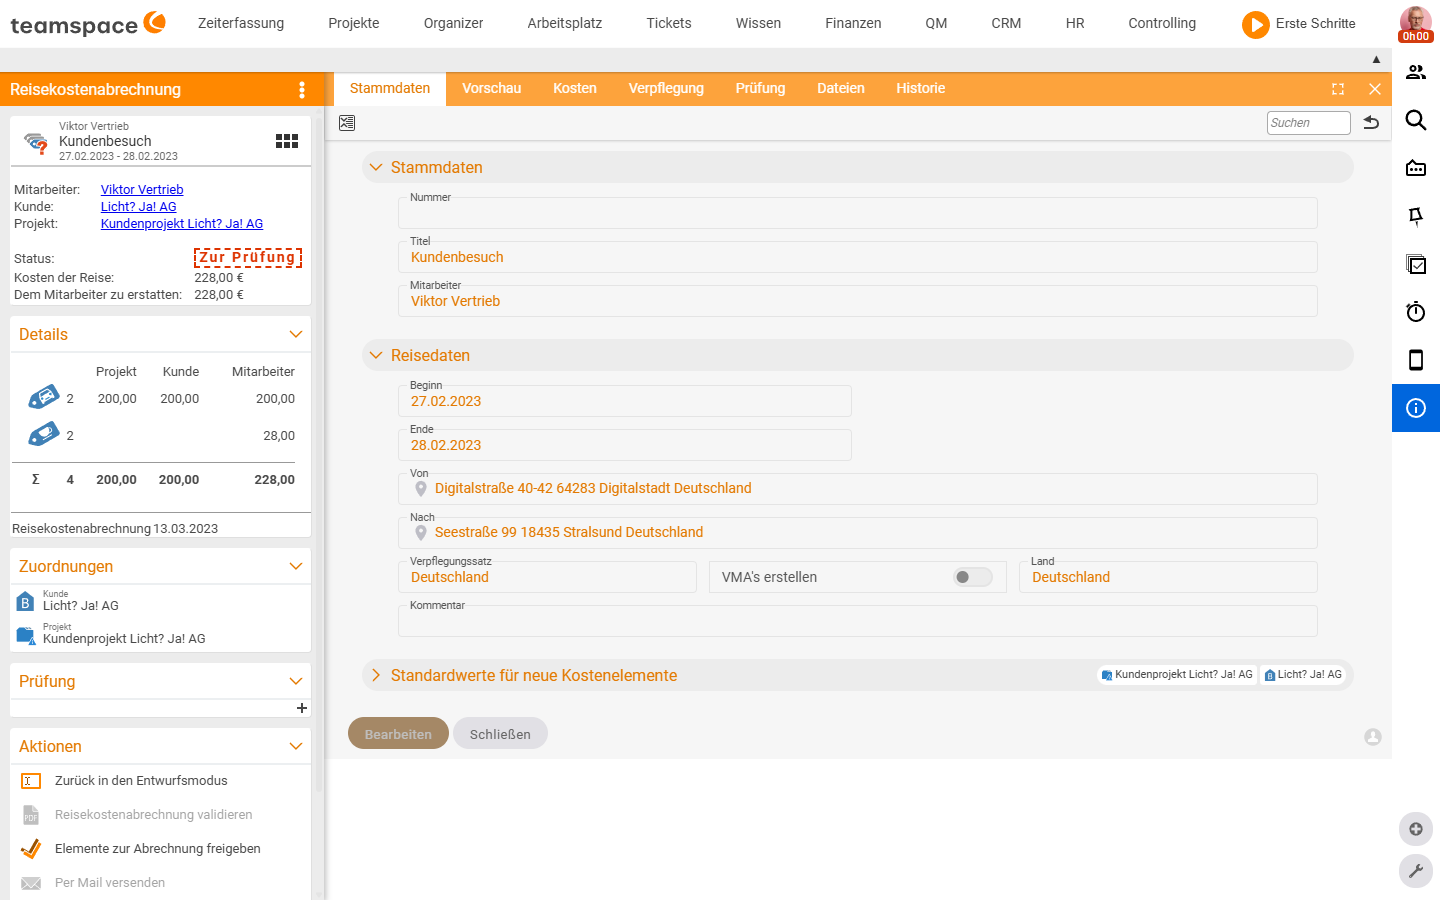
Open the Travel expense & month-end statements list under Finance, click the plus, choose New travel expense report. A dialog with mandatory fields opens.
- Title and period: e.g.
Customer visit,27 February 2023 – 28 February 2023. The meal allowances arise from the period. - Employee: who is travelling. When you create it yourself, you are listed.
- Trip data: start, end,
From(address),To(address),Meal allowance(e.g.Germanyor a foreign rate), country, comment. - Toggle
Create meal allowances: if on, teamspace automatically generates additional subsistence expenses for the days of the period. The day of arrival and the day of departure each get a half day (8 hours), full travel days a whole day (24 hours). If you want it differently – arrival as a full day – switch the toggle only after saving and adjust the individual days in theMealstab.
If you choose a project in the dialog, teamspace recognises the associated organisation and fills in project and customer automatically. In the Default values for new cost elements accordion you set the project and customer for all documents you newly record in the trip – every new document inherits them.
Beforehand – the travel expense request
If the trip hasn’t taken place yet, instead of a statement you create a travel expense request: estimated cost elements plus period plus destination, submitted for approval. After approval and the actual trip, the request turns into a travel expense report – the cost elements already created are carried over. In the inventory it sits under My travel requests.
ℹ The request is optional. You can also create a travel expense report directly without a request – the request suits companies in which trips have to be approved first.
The tabs of the travel expense report
The detail manager has seven tabs:
- Master data: the trip’s key data (described above).
- Preview: PDF preview with the blocks
Additional subsistence expenses,Travel costs,Documents,Total amount– the printout that serves as a cover letter. - Costs: all assigned cost items with the column groups
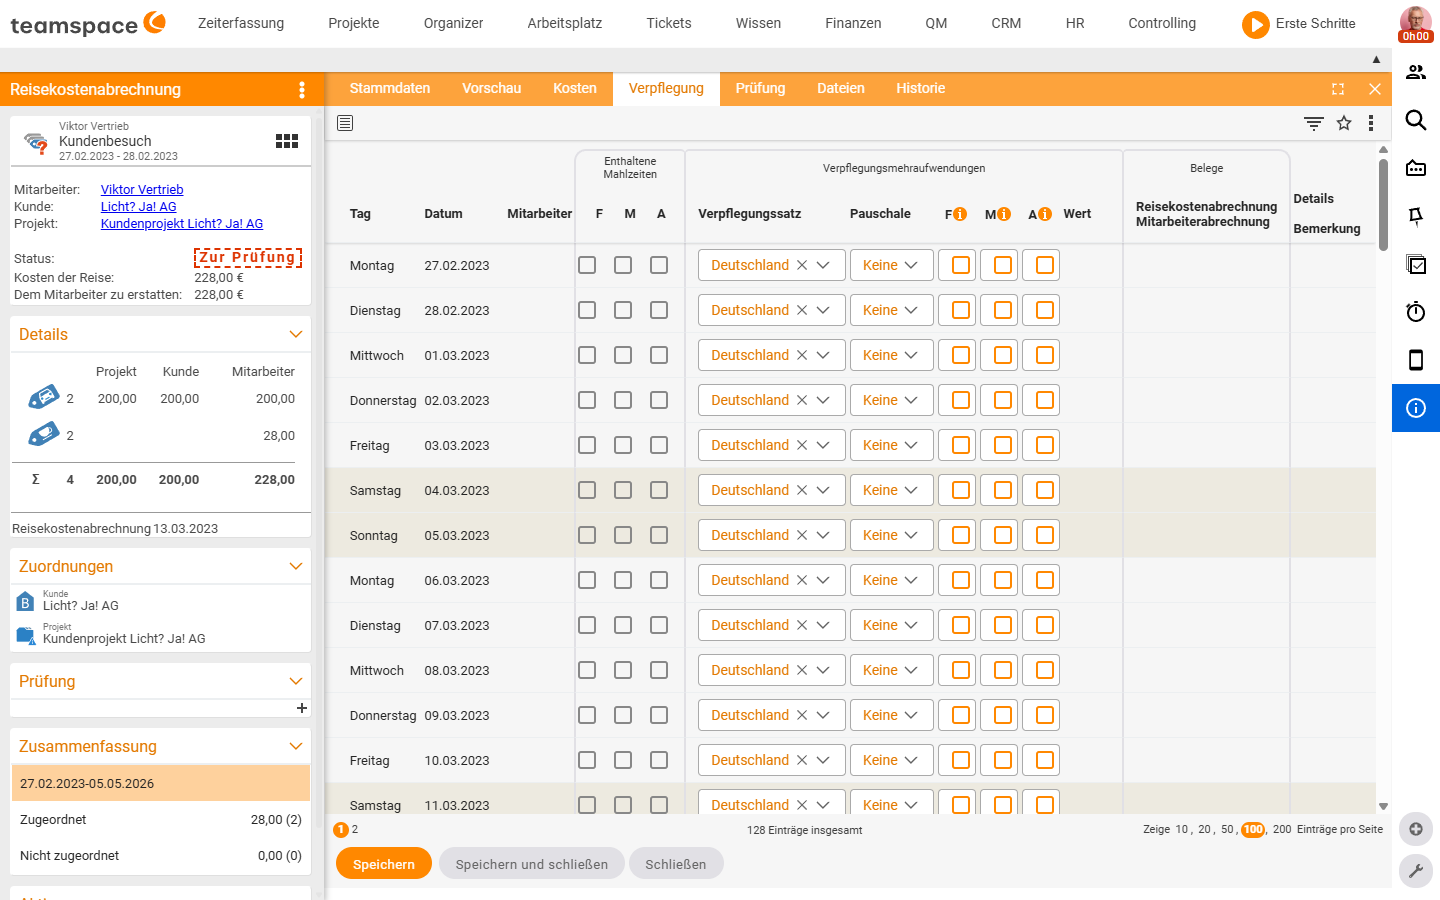
No,Scanned document,Date,Number / Expense type / Description,Costs,Project / Customer / Employee,Billing(sub-columnsInvoice,Travel expense report,Employee payroll),Documents,Status. Via the plus you add expenses, travel costs or meal allowances. - Meals: a day-by-day table with the columns
Day,Date,Employee,Meal allowance,Flat rate, the checkboxesBreakfast/Lunch/Dinner, status. For many flat rates this is quicker than the Costs tab. - Review: the review context.
- Files: the finished PDF and scanned documents.
- History: all status changes.
Put documents into the bundle
In the Costs tab you create documents that belong to the trip via the plus: Meal allowance, Travel costs, Expense receipt, Expense invoice, Material. Project and customer are pre-filled from the Default values – you only type the document number, date and amount. The document-type overview is in Cost types at a glance, creating them in Record expenses & material.
Review and release
A travel expense report runs through several statuses, visible in the card header and the sidebar:
- Draft: freshly created, fillable by the employee.
- For review: the employee has submitted the bundle
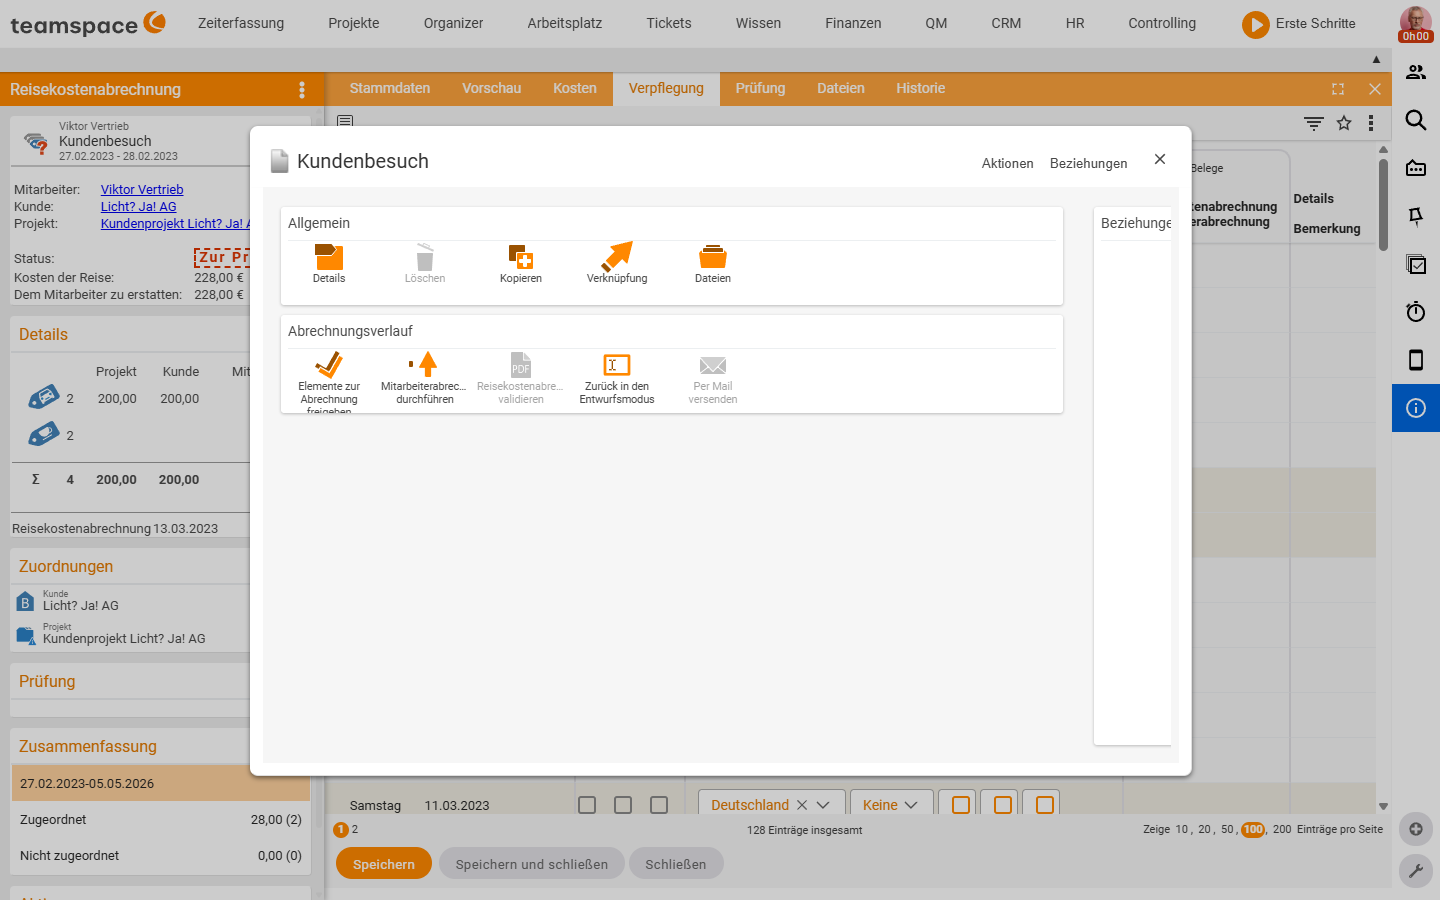
for review. The reviewer gets a notification and can go through it. - released/billed: the reviewer triggers
Release elements for billing– all included documents are switched to theFor billingstatus at once.
The way back is via Back to draft mode (useful when the reviewer prompts rework without rejecting).
In the For review status the actions sidebar typically shows: Back to draft mode, Validate travel expense report, Release elements for billing, Send by email (sends the PDF as a cover letter) and Run employee payroll.
Employee payroll – the money comes back
Reviewed cost elements to be reimbursed to the employee come together in employee payroll in the HR module. It collects all outstanding reimbursements per employee – from this trip, from other bundles, from loose documents. A click on the employee row opens a new statement with a title and an effective date; all items released before this date are picked up automatically.
Employee payroll runs through four statuses: Draft → Released → For review → Marked as posted. Additional subsistence expenses are split correctly for tax (tax-free vs. taxable) when your employer pays more than the flat rate.
⚠ If you delete a travel expense report before release, the included cost elements are free again. After release (
For billing) they have entered the billing run and would first have to be reset.
Billing against project and customer
As soon as a cost element is released, it is automatically assigned to the project (Costs tab in the project detail manager – the anchor for the contribution-margin calculation) and the billable amounts are assigned to the order. At the next invoicing run they go along as items. How the order item knows which price applies is in Recharge costs to customers.
Common questions & needs
| You want to … | How to |
|---|---|
| Not type meal allowances by hand | Leave the Create meal allowances toggle on – teamspace generates them from the period. |
| Count the day of arrival as a full day | Switch the toggle after saving and adjust the day in the Meals tab. |
| Not enter project/customer per document | Choose a project in the create dialog or set Default values. |
| Have the trip approved beforehand | Create a travel expense request instead of a statement. |
| Release all documents at once | As reviewer, Release elements for billing – switches the whole bundle. |
| Send the cover letter | Action Send by email – sends the PDF from the Preview tab. |
| Pay the employee the money | Action Run employee payroll → HR module. |