
You upload files via the Upload sidebar at the top left of the file manager. It has three tabs, in this order: Drag & Drop, Photo, WebDAV. The uploaded file always lands in the directory currently open – so navigate first to where the file should go.

Drag & Drop
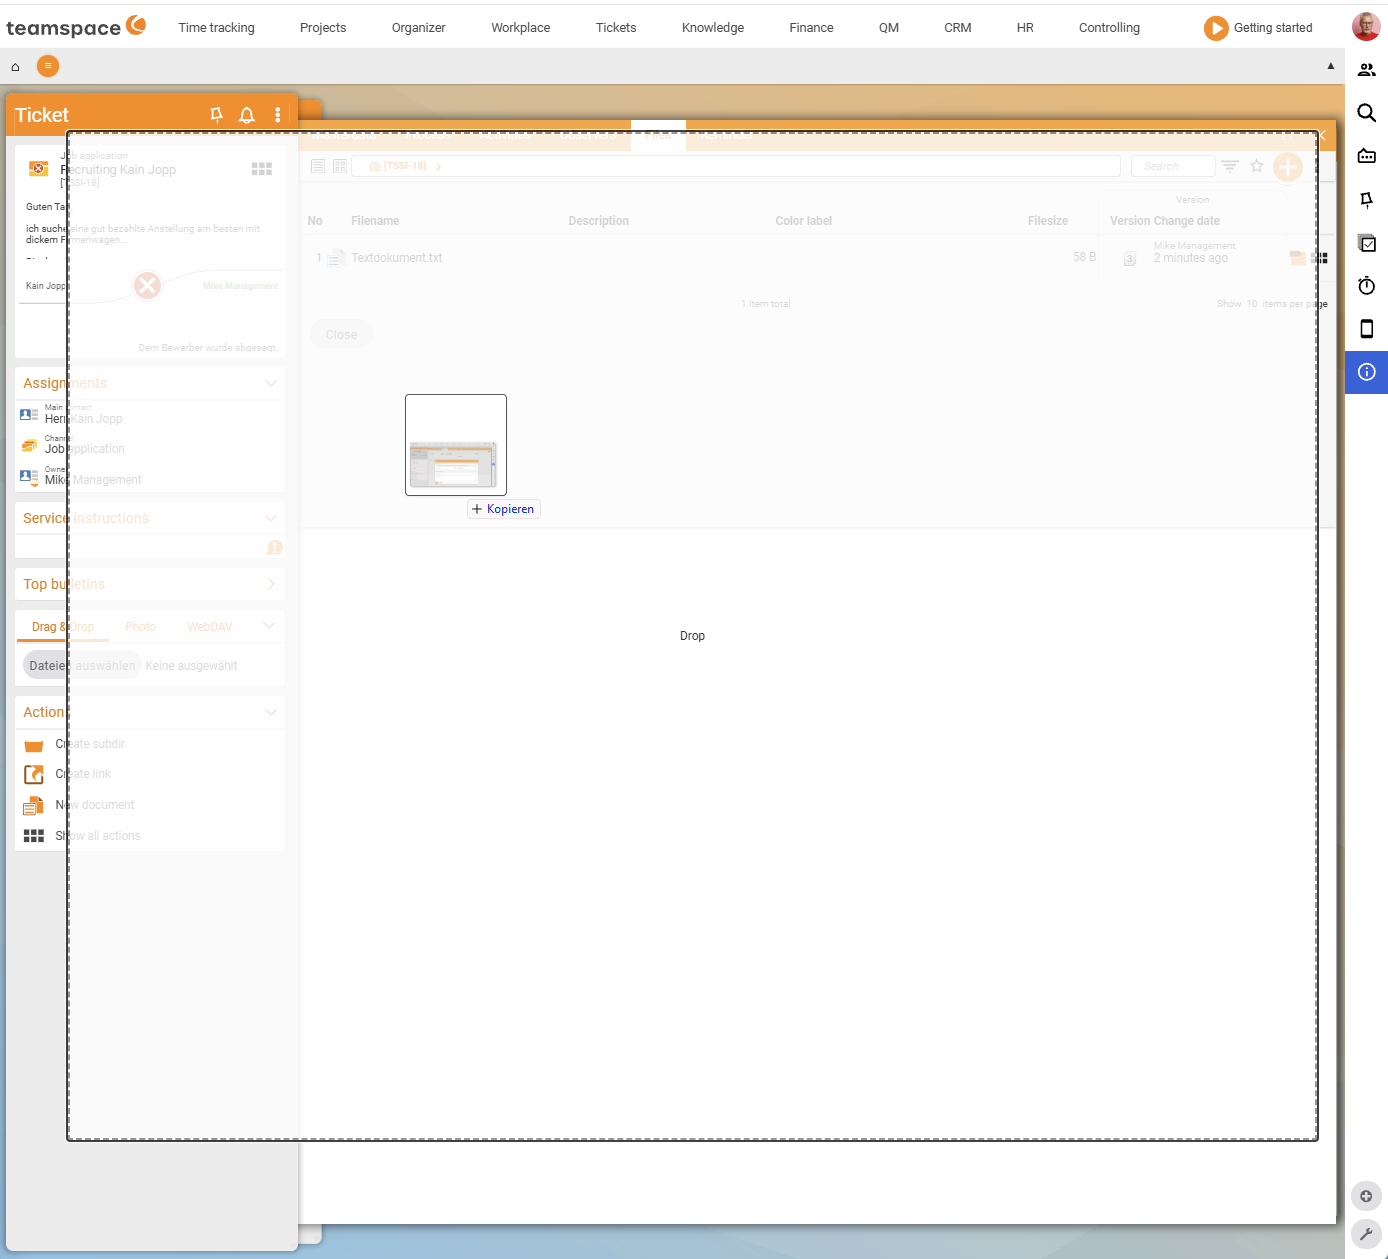
The default tab and the fastest way for one file or many:
- In File Explorer (Windows) or Finder (Mac), select the files.
- Drag them with the mouse straight into the file manager’s table.
- A progress bar shows the upload; the files then appear in the list.
The Drag & Drop tab also holds the classic file picker: a click into the drop zone (Select files) opens your operating system’s selection window – useful if drag & drop doesn’t work in your browser.
ℹ Info. Older help pages mention a separate
Browsetab. The current interface has no such tab – the classic picker sits in theDrag & Droptab as a click into the drop zone.
Photo
If your computer has a camera, you take a picture directly in the Photo tab and save it to the file area. teamspace shows three steps: 1. Preview, 2. Capture!, 3. Save.
- The first time, allow camera access in the browser.
- In the live image, click Capture! for the snapshot.
- Save to add the image to the current directory. You can repeat the capture as often as you like.
If your browser does not support the camera, the tab shows the notice Your browser is not supported.
WebDAV
The WebDAV tab shows the Server address: of the current directory – the address with which you connect the teamspace file directory as a drive in Explorer or Finder. This is the right way if you want to work permanently and with many files, as if on a network drive.
The full setup, including the device password, is described in its own article, Connect the file directory via WebDAV.
ℹ Info. If the WebDAV tab reads
No credentials stored!, you have not yet created a device password.
Uploading on an element
Uploading works the same way in every element file area – in the file tab of a project, order, ticket or contact you find the same Upload sidebar with the same three tabs. The file is then attached to the element and shares its permissions.
Common questions & needs
| You want to … | How to |
|---|---|
| Upload many files at once | Select several files and drag them together into the table via drag & drop. |
| Upload even though drag & drop doesn’t work | In the Drag & Drop tab, click into the drop zone (Select files) and use the OS picker. |
| Capture a paper document quickly | Photo tab → Capture → Save (camera required). |
| Work permanently as if on a drive | Connect the directory via WebDAV. |
| Update an existing file | Upload the same file with the same name again – a new version is created automatically. |
Related topics
- Connect the file directory via WebDAV (with video) File management How-to
- Manage versions (with video) File management How-to
- Working in the file manager File management How-to
- File management in teamspace