

Hardly anything in day-to-day office work happens without files – and in teamspace they are everywhere: you can create, upload, version and send them in every module. In File management you store documents, directories and links centrally – with versions, permissions and a file area of its own on every project, order, ticket or contact. Whatever you create as a document in teamspace ends up in the matching directory anyway; whatever arrives by email in the ticketing system is attached to the ticket. You drag your own files in with the mouse or connect your file directory as a drive via WebDAV.
Where your files live
There are three places, depending on where the file comes from:
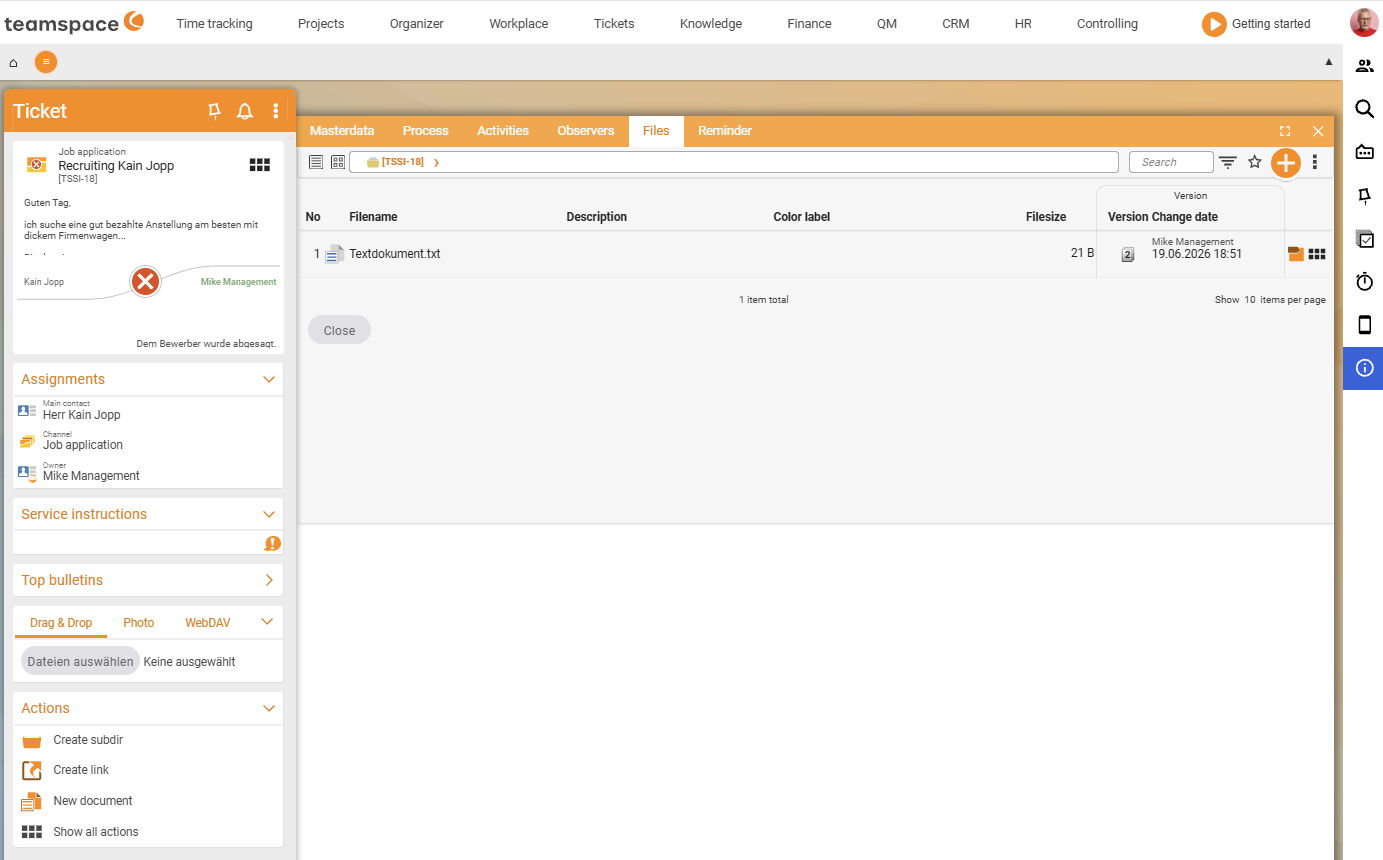
Private directory– your own storage space for drafts and notes that no one else should see. Every user has one.File manager– the shared main directory with all the files you are allowed to see. Who sees what is governed by the permissions on each directory and file.- Element file area – almost every main object in teamspace has its own file directory: project, order, invoice, ticket, contact, activity. The file is attached to the element, travels with it and follows its permissions. Anyone who cannot see the project cannot see the project files either.
You reach both via the main menu:
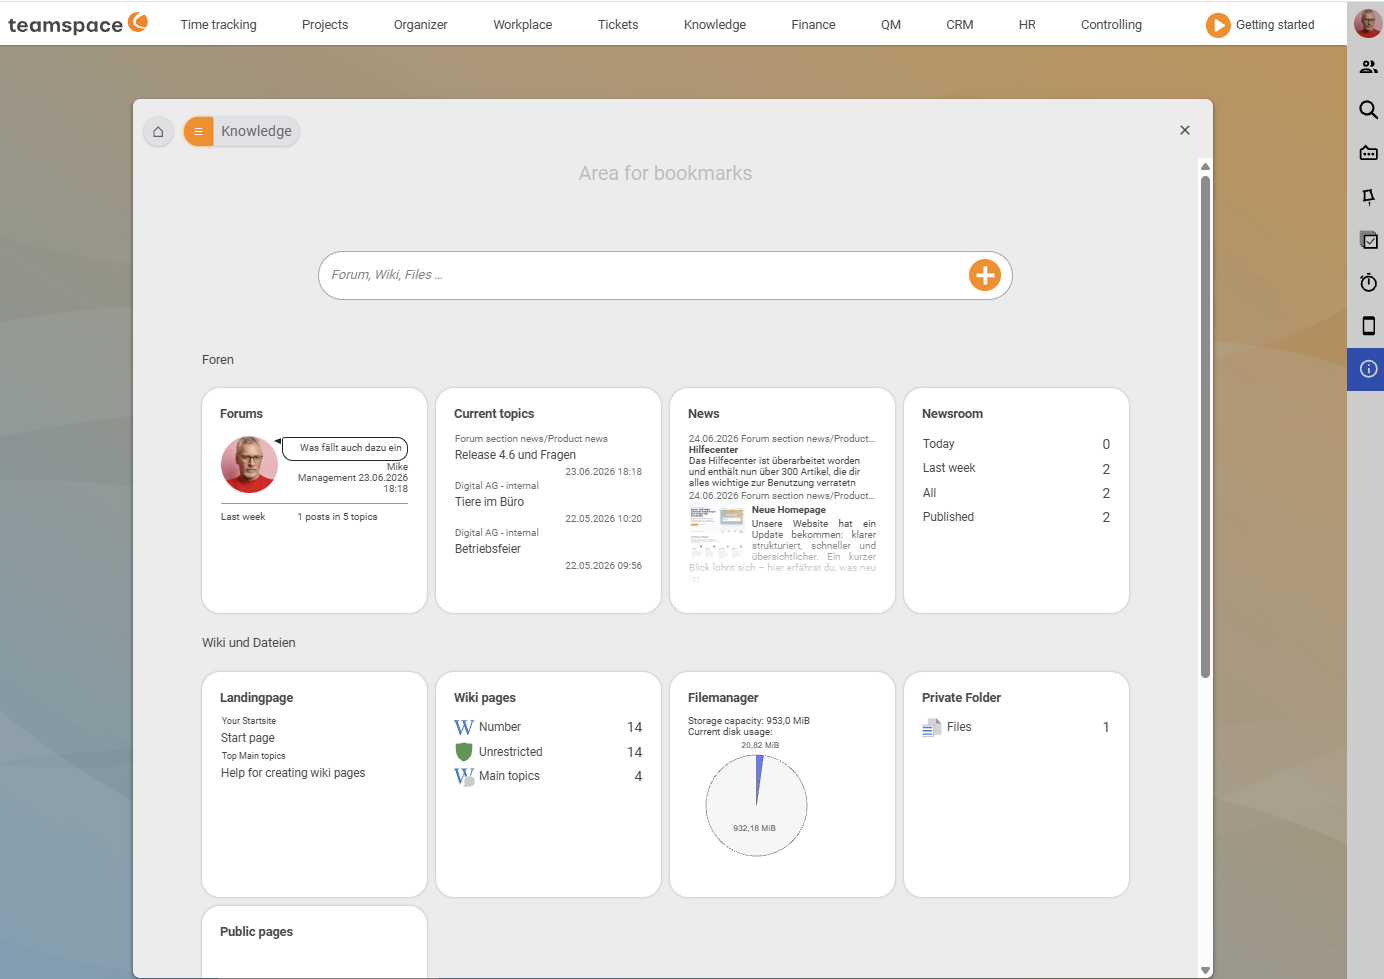
Knowledge → "File manager" tile or "Private directory" tileIn the file manager you navigate freely – in, out, into subdirectories, back to the main directory. In an element file area, by contrast, you are in a closed context: you can go down as deep as you like, but not up and out of the element. This is a security feature – no one should accidentally get from a ticket’s file directory into the shared main directory.
Note. The menu in teamspace is fully configurable. In your installation the file manager may therefore sit in a different place than described here.
What every file carries with it in teamspace
No matter where the file comes from, it always carries the same properties:
- Audit: Who created it when and last changed it is recorded on every file.
- Permissions: Four modes –
Unrestricted,Restricted,Inherited,Inherited from element– govern reading and writing per file or directory. More in Control access to files. - Versions: Every new version is created automatically; the old ones are kept. More in Manage versions.
- Links (systemic links): A file is stored once but can appear in several places – this way you keep, say, the latest version of a manual in one place and access it from many projects without using up storage.
- File classes & required files: A categorisation with which teamspace knows, for example, an employment contract as a contract and an NDA as an NDA – the basis for checks such as “which customer is still missing an NDA?”. More in File classes and required files.
- Placeholders from templates: Word or Excel templates with placeholders (customer name, address) are filled automatically from the context when you create a document – you set the template up once and produce any number of finished documents from it.
How files get in
Three ways, depending on the situation:
- Manually via drag & drop – drag files with the mouse from File Explorer or Finder into the table. Fast, and good for many files at once. See Upload files.
- Via WebDAV – connect the teamspace file directory as a drive in Explorer or Finder and work with it like a network drive. Permissions still apply, and versions are created automatically when you save. See Connect the file directory via WebDAV.
- From within teamspace – documents (quotes, orders, invoices) and emails in the ticketing system create files automatically and store them on the matching element.
Files held in the system can be edited online directly – they save back as a new version, with no further down- and upload (see Edit and lock files online). And files can be shared with external people – with a link, QR code, optional password and validity (see Share files with external people).
More handy functions
- Flag for sending: Once a file is in the system, you can flag it for sending and attach it directly to an email – without first downloading and re-uploading it.
- Zip and unzip: Files can be packed (e.g. to shorten download time) and unpacked again within the system.
Related topics
- Working in the file manager: directories, links, documents (with video) File management How-to
- The detail manager of a file File management Concept
- Topic: Permissions Permissions
- File management in teamspace